


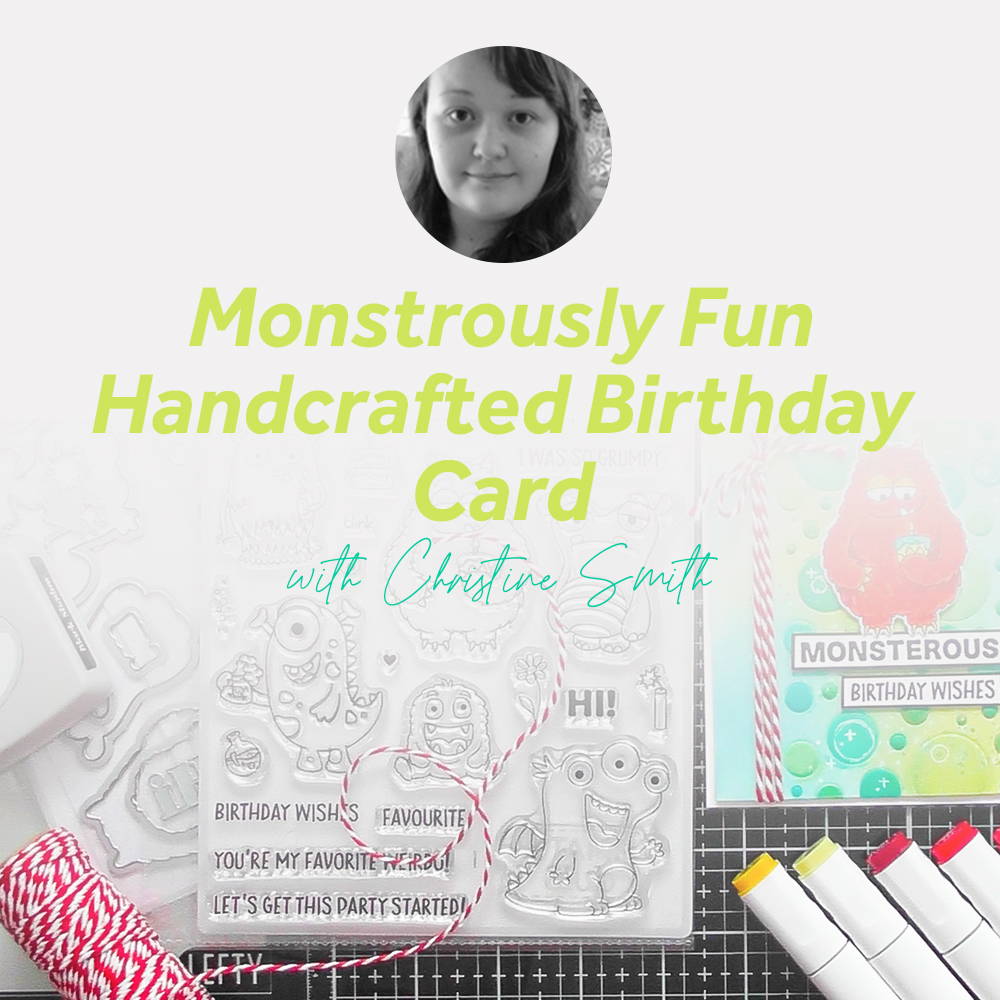
This month’s Stamp Club is so adorable! And even though they’re called little monsters I reckon you could use them for aliens too and they’ll be perfect for your Halloween projects too, cute Halloween :D They’re also so fun to colour and I thoroughly enjoyed using my new Nuvo alcohol pens to colour all 6 characters differently, I also think the new Nuvo Classic Coloured pencils would work fabulously too because you can add lots of texture to them :D For my step by step I thought I’d show you a different way of using the spotty background die to create a background, hope you like it!
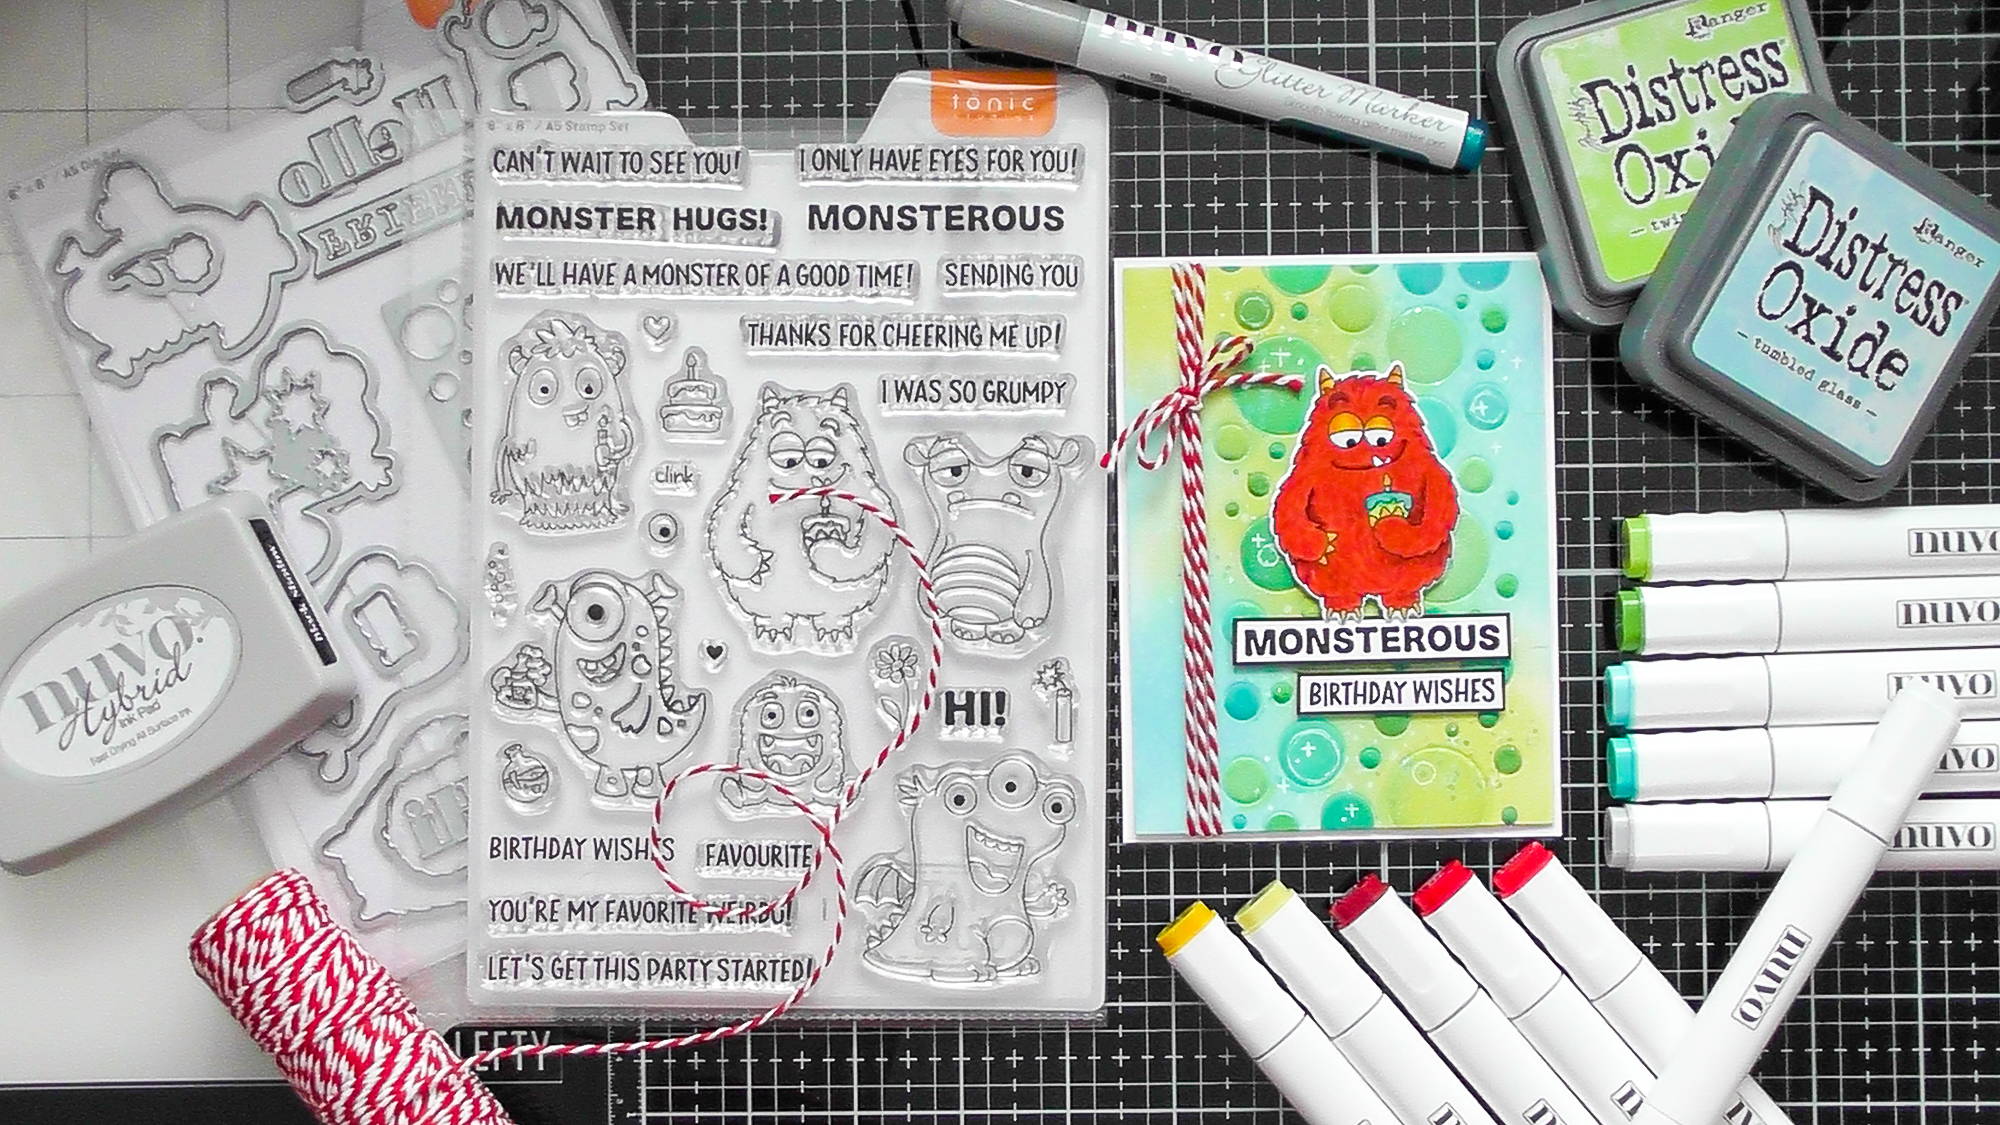
To make today's card, you will need the following:
- Little Monsters Stamp Club
- White and Black Cardstock
- Tonic Tangerine
- Tonic Stamping Platform
- Nuvo Black Shadow Ink Pad
- Nuvo Alcohol Markers
- Large Nuvo Blending Brushes
- Green and Blue Water Reactive Inks
- Athenian Blue Nuvo Glitter Marker
- Tim Holtz Sheers
- Chilli Red Craft Perfect Bakers Twine
Step 1
Stamp out your chosen monster.
Step 2
Colour in your monster.
Step 3
these are the colours I used.
Step 4
Use the coordinating dies to cut out your monster.
Step 5
Emboss the background spotty die into your panel of white card. Tangerine sandwich shown is green plate, green rubber mat, card, die cutting edge face down, white base plate.
Step 6
When you remove the die, you get this cool debossed/embossed effect.
Step 7
Messily colour your spots using colours that contrast with the monster, I used the same colours for the cake he’s holding so everything coordinates. If you were neater, this could be the final background.
Step 8
You can also add some ink blending over the spots, this disguises the messy colouring and makes the background subtler.
Step 9
Splash on some water to reveal the original colour of the spots in areas.
Step 10
For some extra detail, squish some Nuvo Glitter Marker (Athenian Blue) onto your glass cutting mat and...
Step 11
...you’ll get this gorgeous sparkly effect.
Step 12
Stamp out your sentiments and use your sheers (or long bladed scissors) to cut them into strips, then mat them onto black card and trim around again leaving a rough 1mm border around the perimeter.
Step 13
Stick your monster and sentiments onto your card panel as shown.
Step14
Add 3 strands of bakers twine around the card as shown, then take a smaller piece and thread it under the 3 strands.
Step 15
You can then use this strand to tie a little bow, it’s a cheats way to get a good bow
Buy The Craft Project
