


Hello Crafters!
Happy Monday! I know that sounds like an oxymoron but I honestly hope your week is starting off right. You know what helps with that?
Glitter.
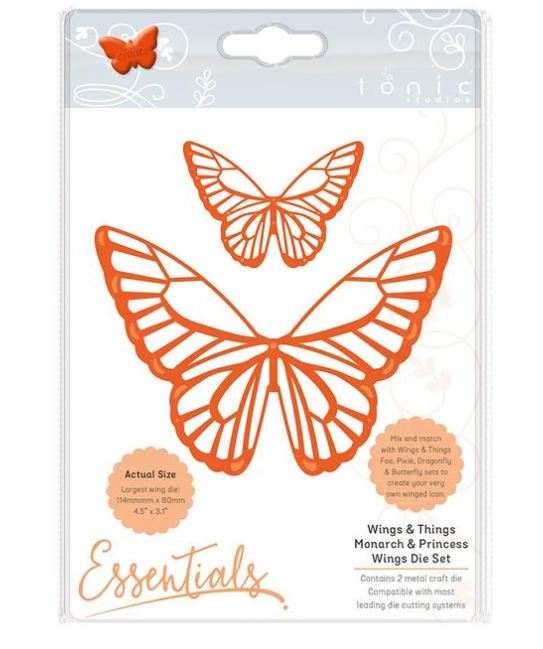
These butterflies die cuts came out so glittery and gorgeous. I couldn’t love them more!
How I do it
- I used Distress ink to lay down some blue ink on my card base. I thought it would give the feeling of a soft sky.
- Then, I set that aside and started working on a separate piece of card stock for my die cutting.
- I created a rainbow gradient for my background using the inks.
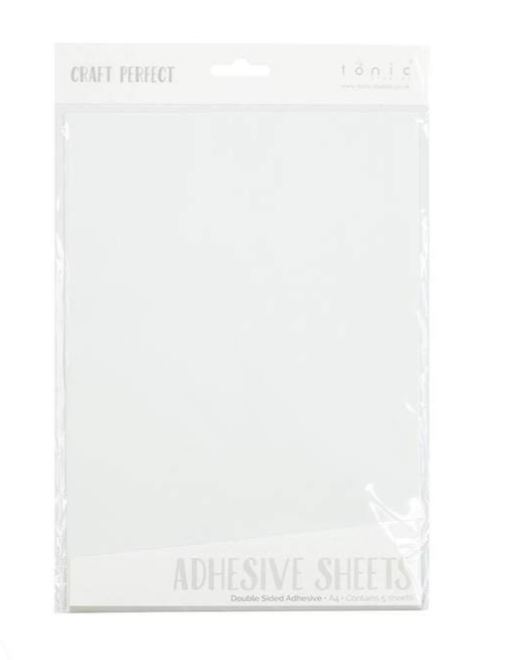
- Once the distress inking was done I adhered my inked panel to an adhesive sheet and trimmed off the extra.
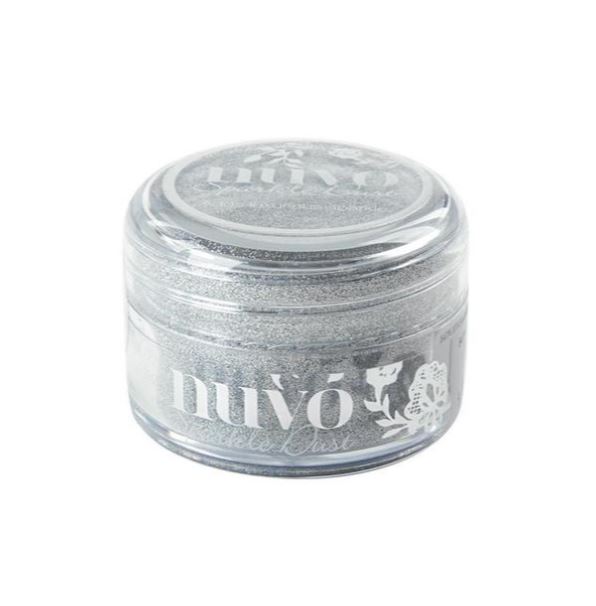
- I removed the backing sheet to reveal the sticky inked panel then dumped my glitter on.
Top tips
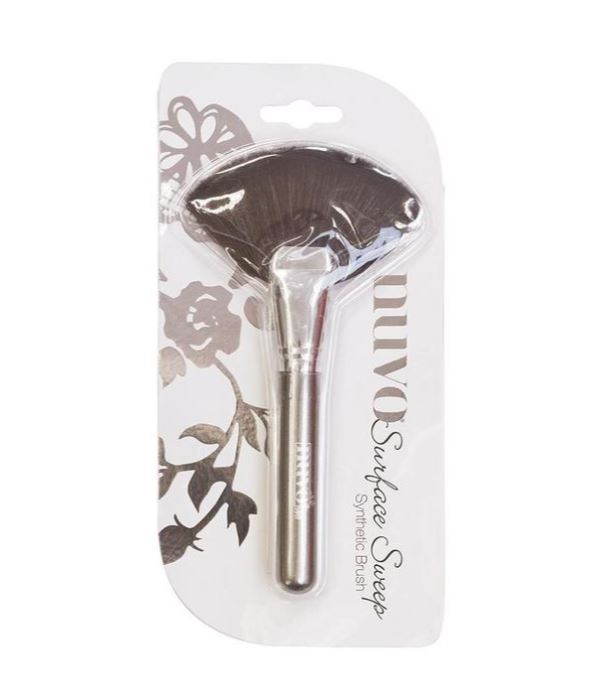
- Pushing the glitter into the adhesive with your fingertips is what’s going to keep it from coming off your project.
- Make sure you put a scrap piece of paper underneath so you can catch all your glitter and put it back in your container.
You can see the entire card from start to finish in the video below, including my boo boos ;
I love the look of all different coloured butterflies!
Here’s a close up of all the beautiful glitter! You can see the distress ink colours peaking through making each butterfly look completely different. Love it!
Thank you so much for dropping by today!
I hope you’ll give this technique a go soon.
XoXo
Kelly
| New Column | New Column | New Column |

|

|

|
|

|
|
|
|
|
