


Hello everybody! Thanks for joining me today as I have a special project I’ve been working on for quite some time and let me warn you, this is a LONG tutorial as it covers a step-by-step for an entire 12 page memory book!
Welcome to the brand new Hexagonal range of My Memory Book Dies. Perfect for creating stand-out, quirky Memory Books, this brand new shape is an absolute essential for every Memory Bookmaker. Also new - the My Memory Book Staggered Stage Spine Creator die set brings two oft-requested spine widths to the crafter's arsenal. Perfect for creating spines for thin gap photo albums, large gap pocketed spreads or even a mixture of the two within the same book - this is another must-have addition to the range.
We’ve created a large and easy to create memory book, focusing on design and aesthetic. Let’s get started!
PAGE ONE
Step 1
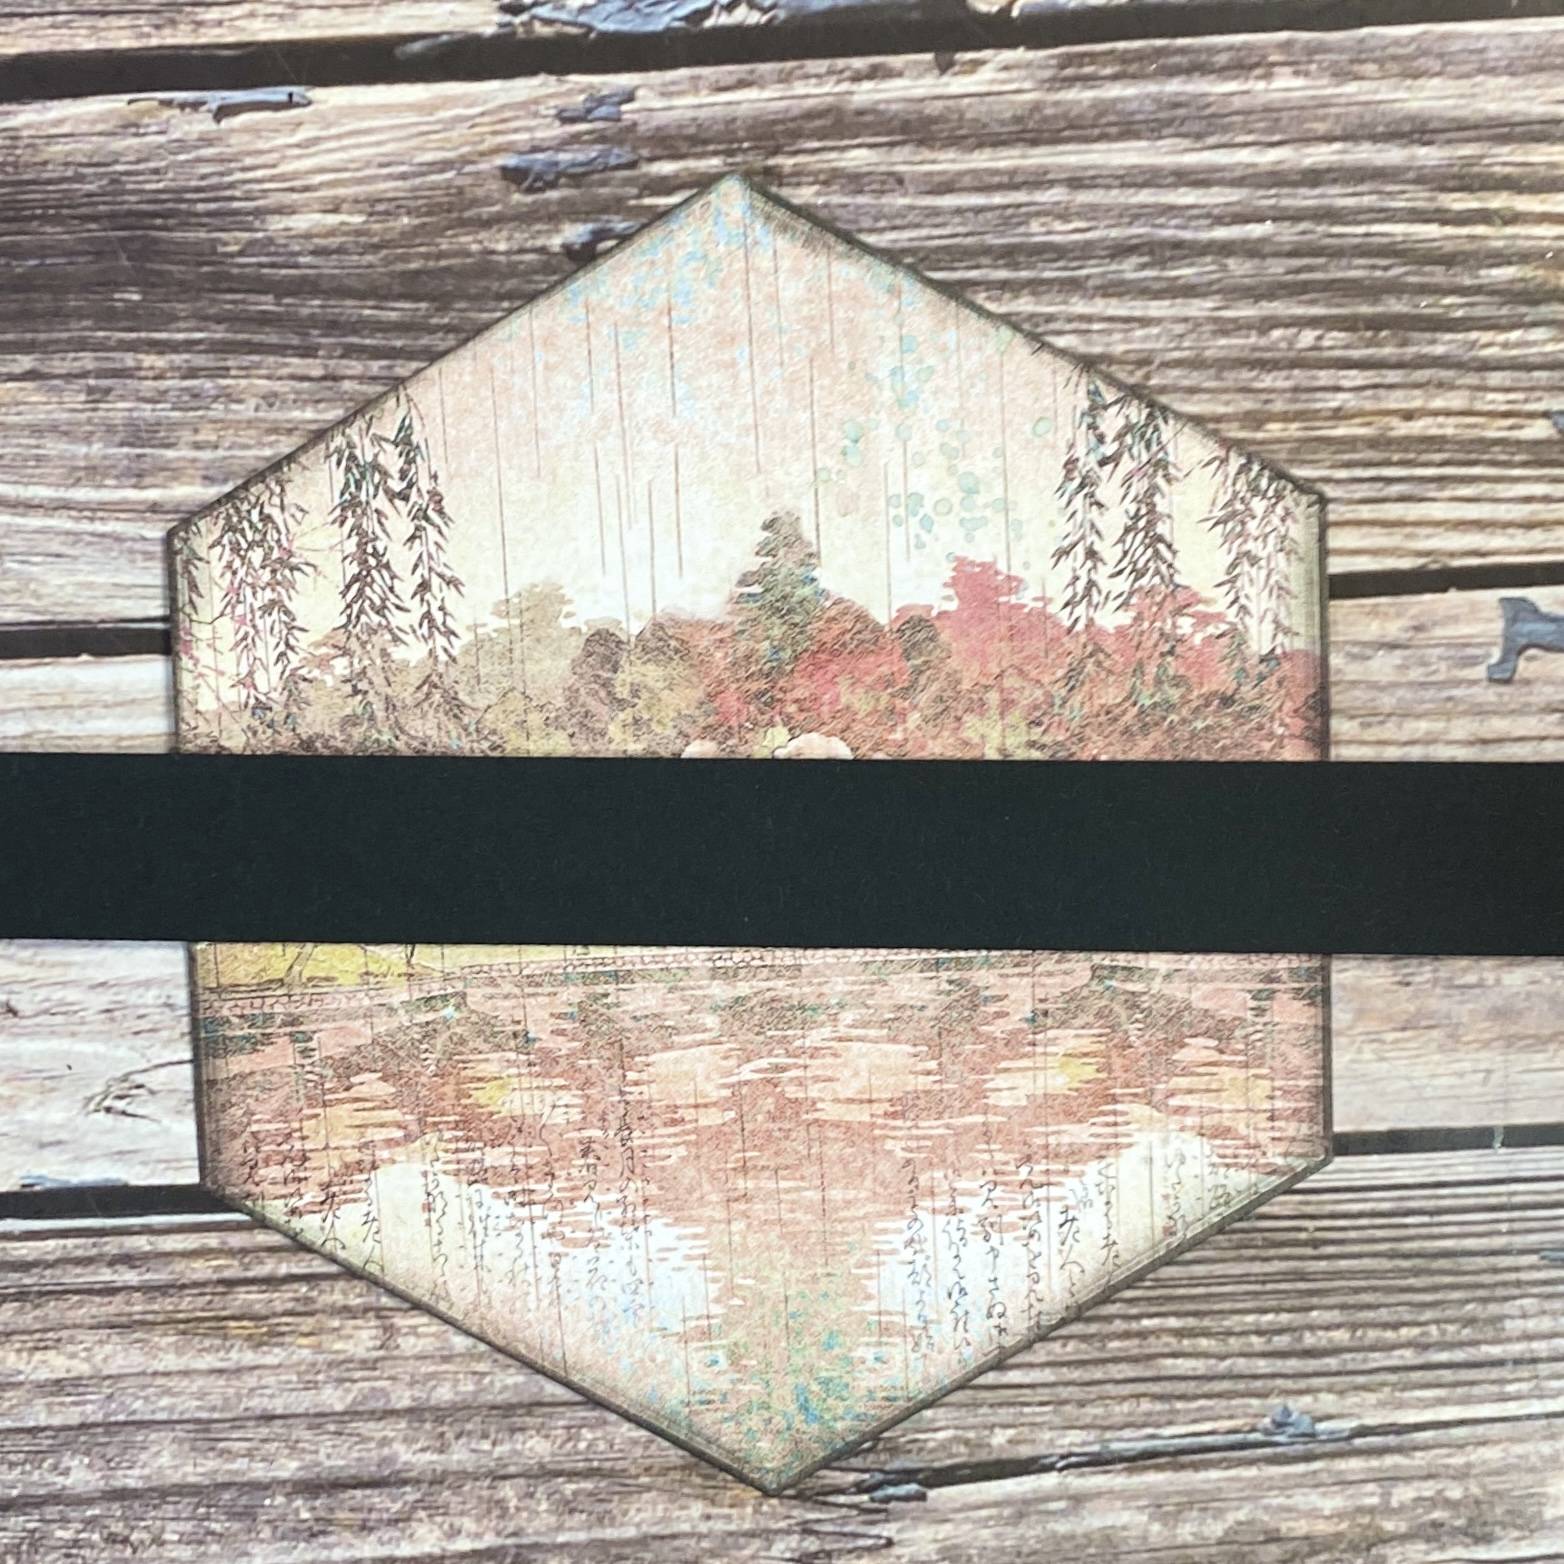
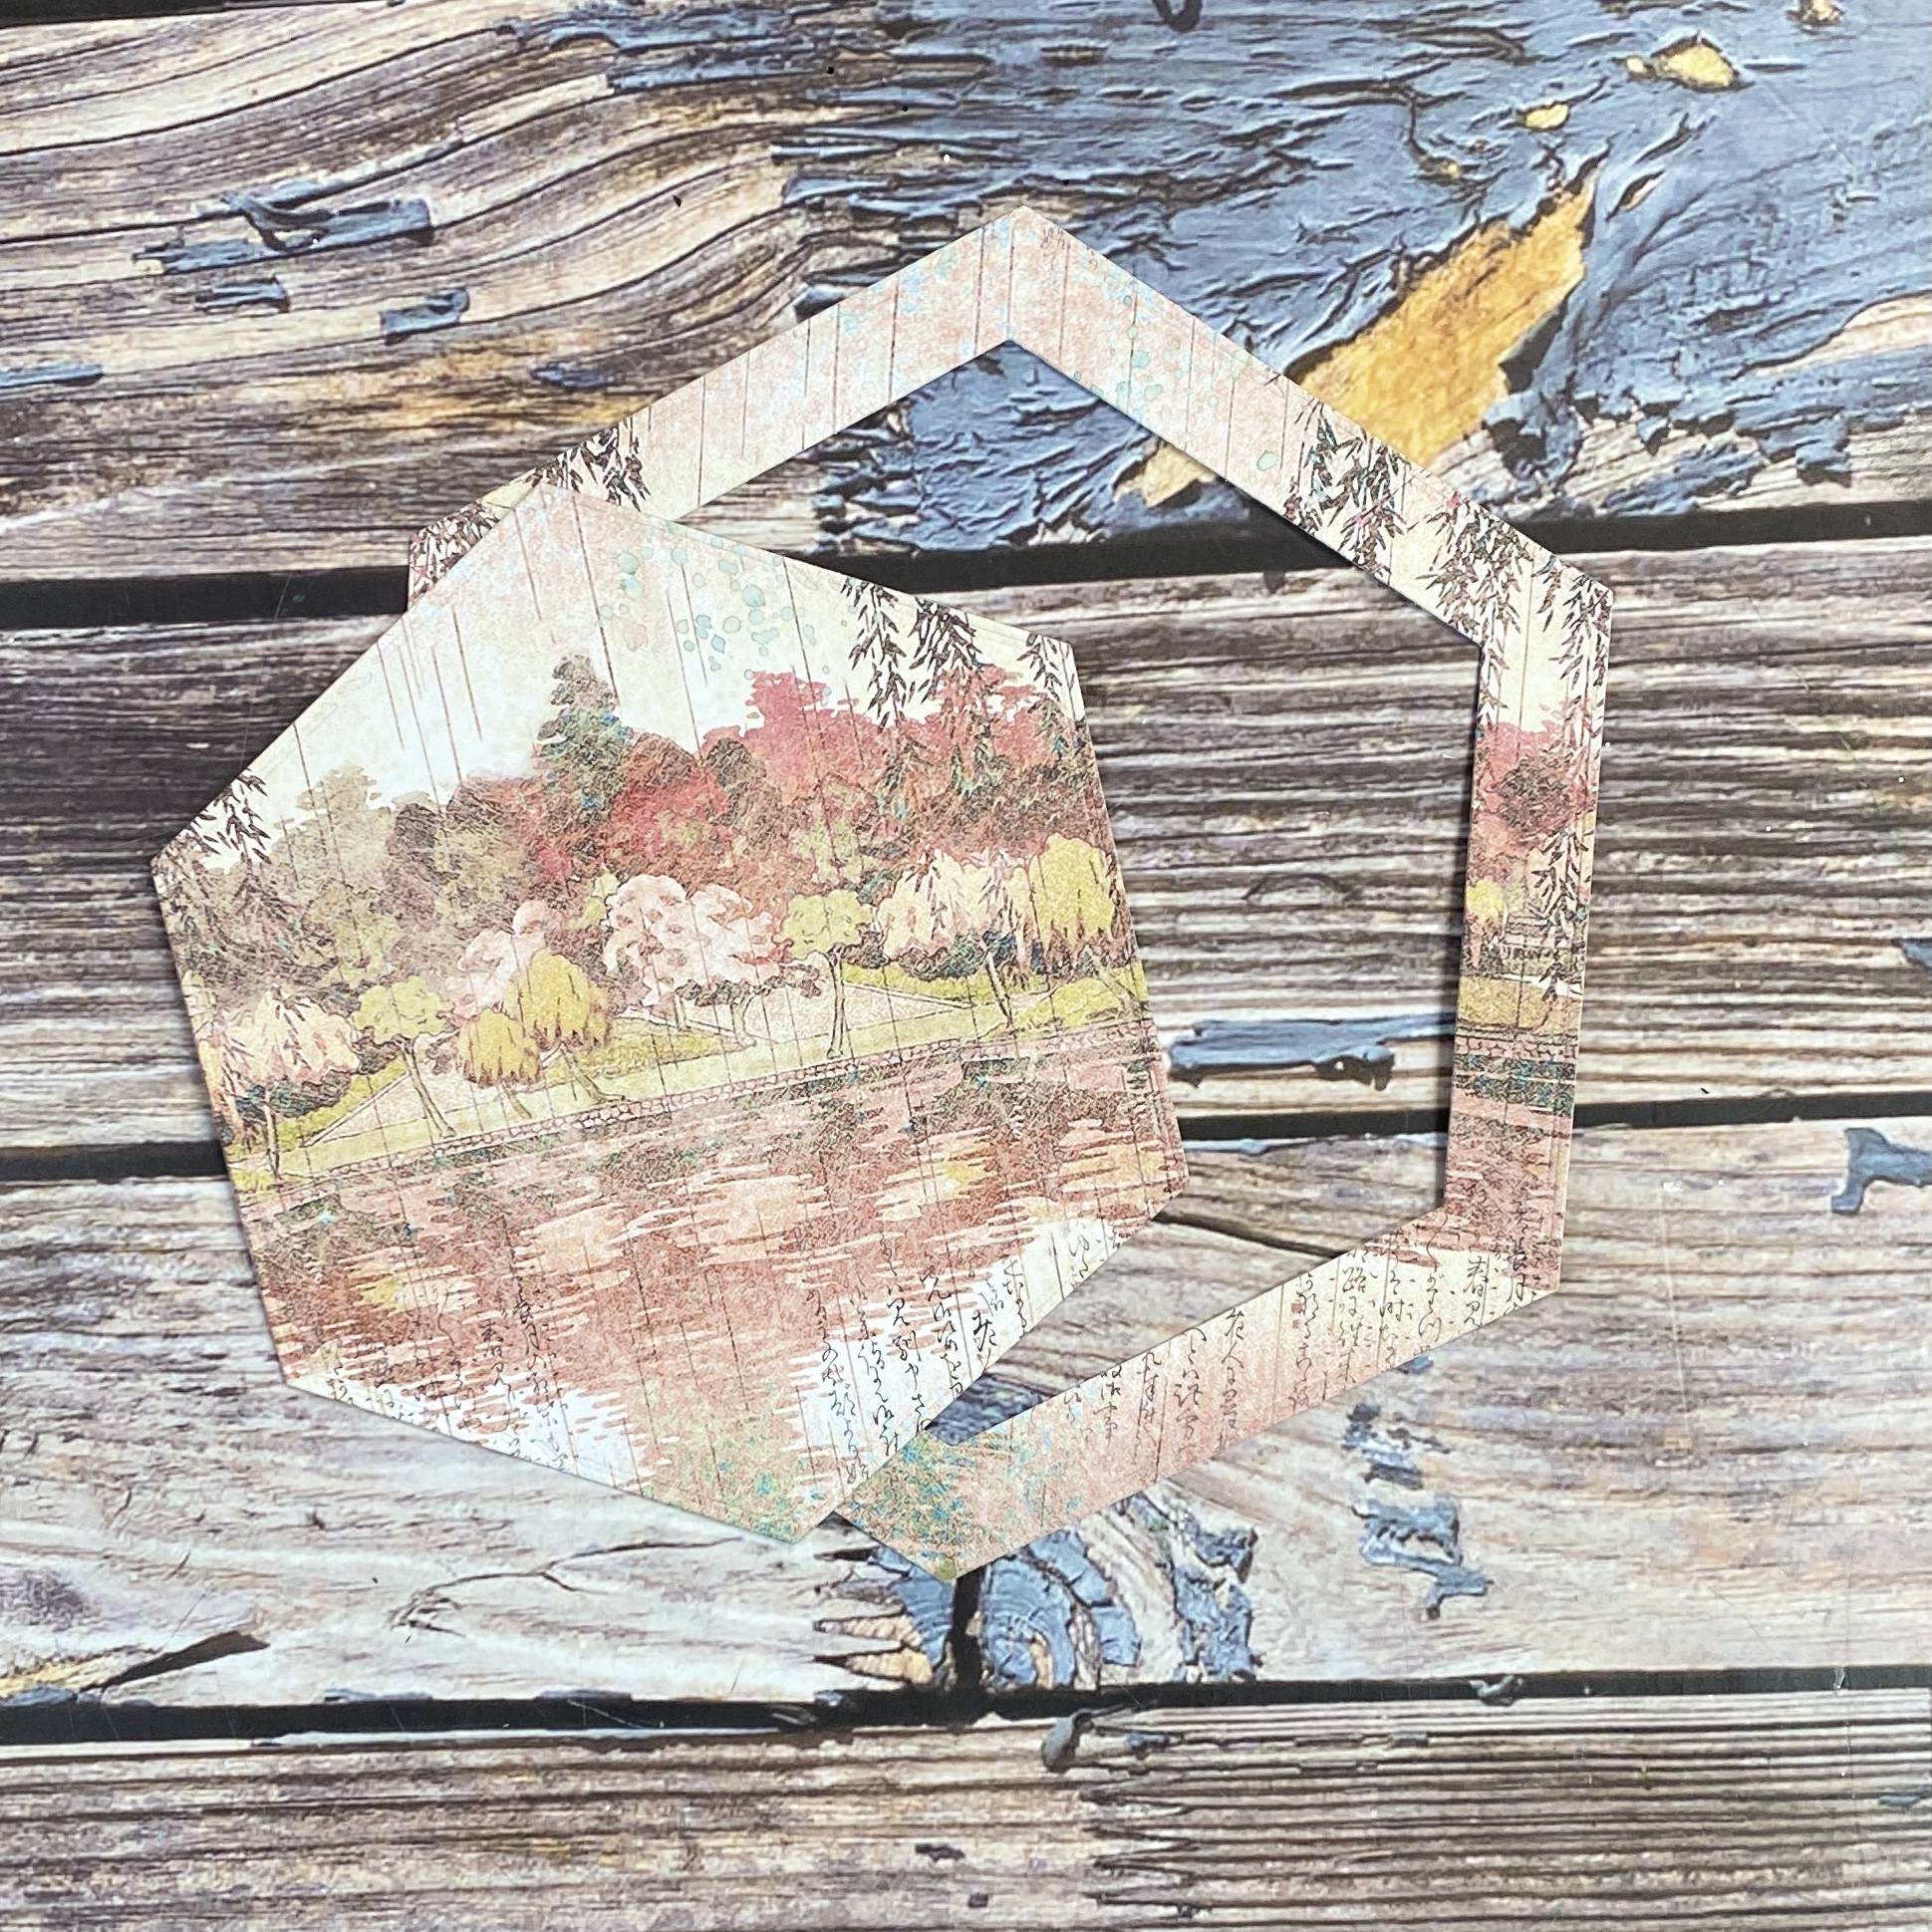
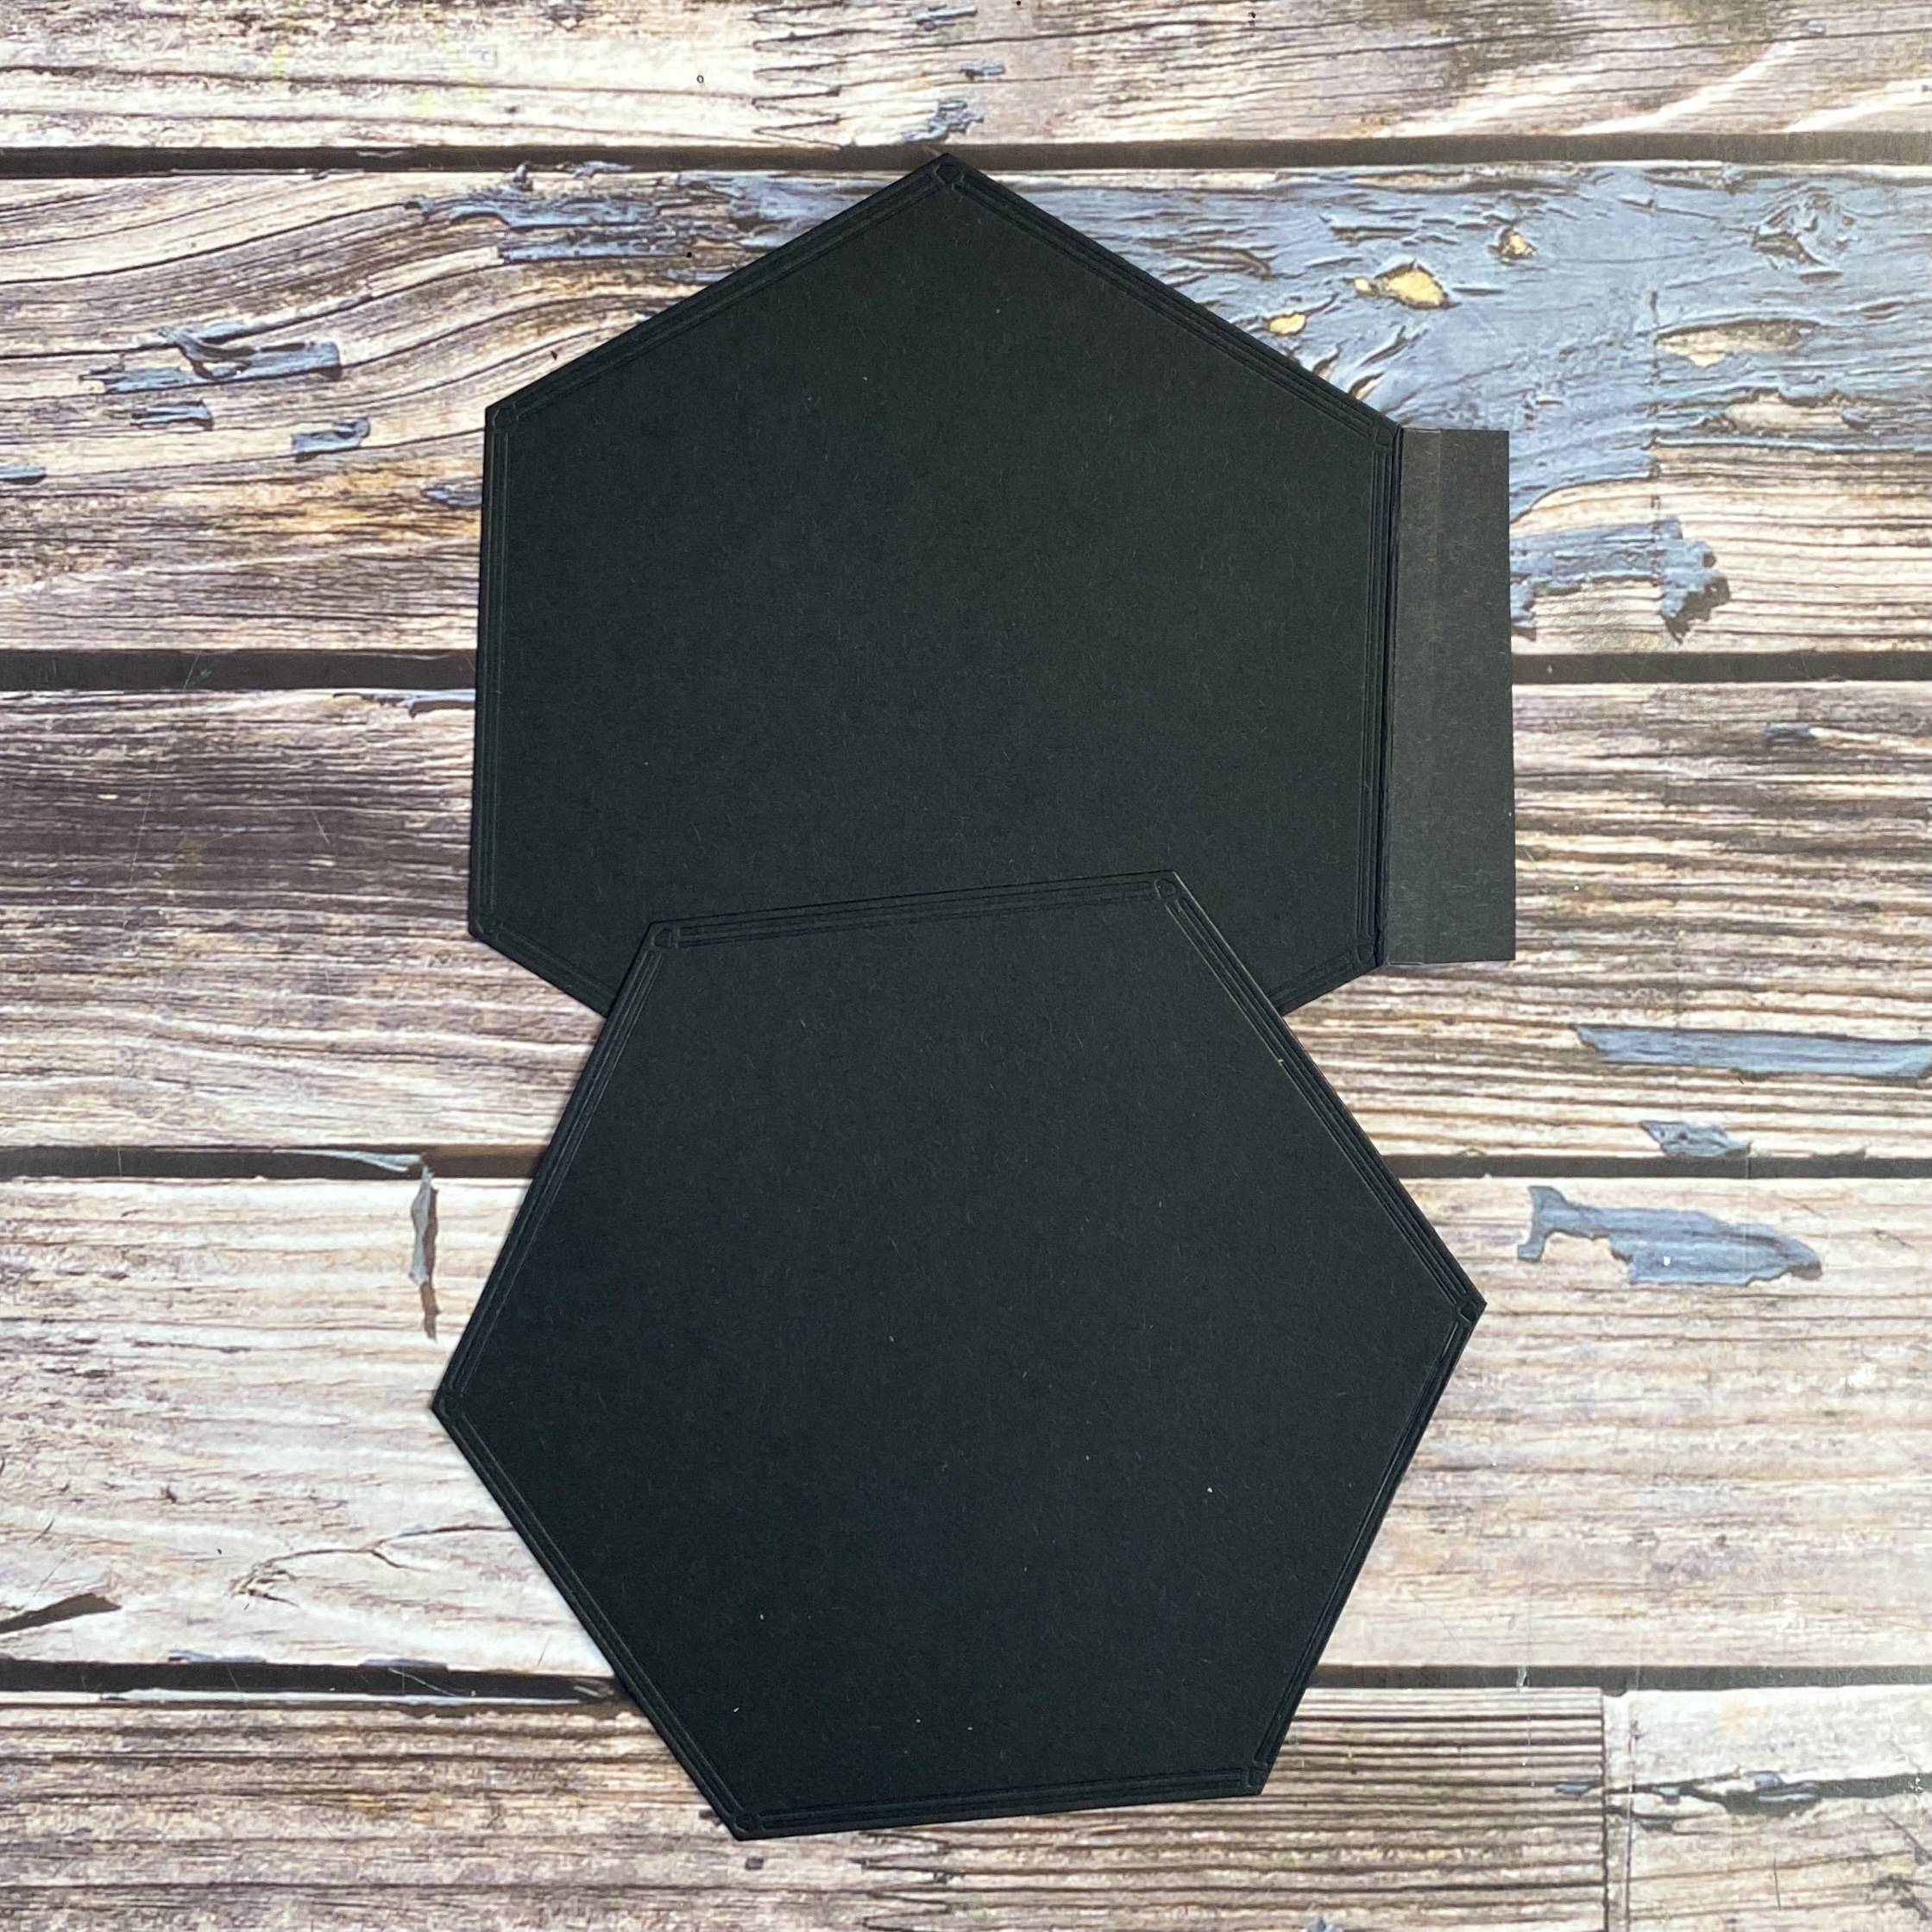
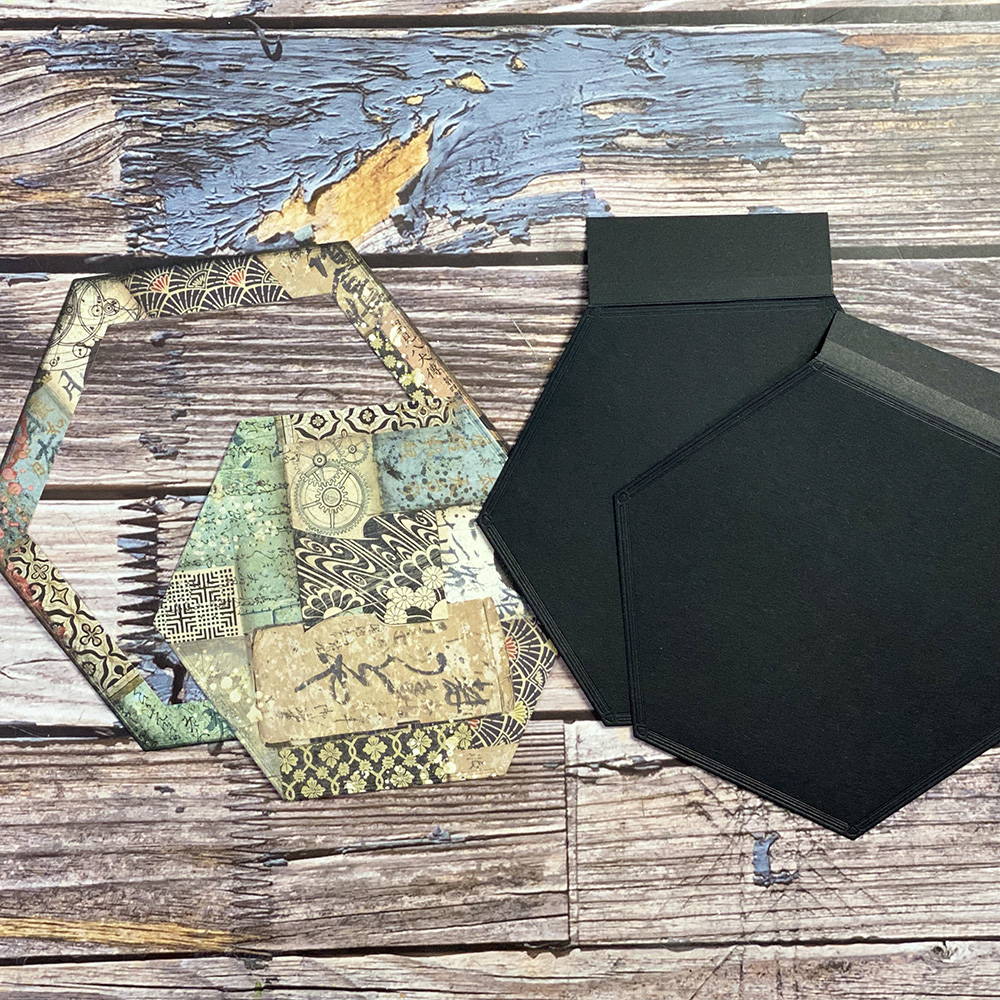
Die cut the largest layer and a 1.25 inch strip of black card.
Step 2
Score strip of card on both sides and attach to the back of the patterned paper and attach to the first page of your book.
Step 3
Add a one-inch strip of patterned paper as shown.
Step 4

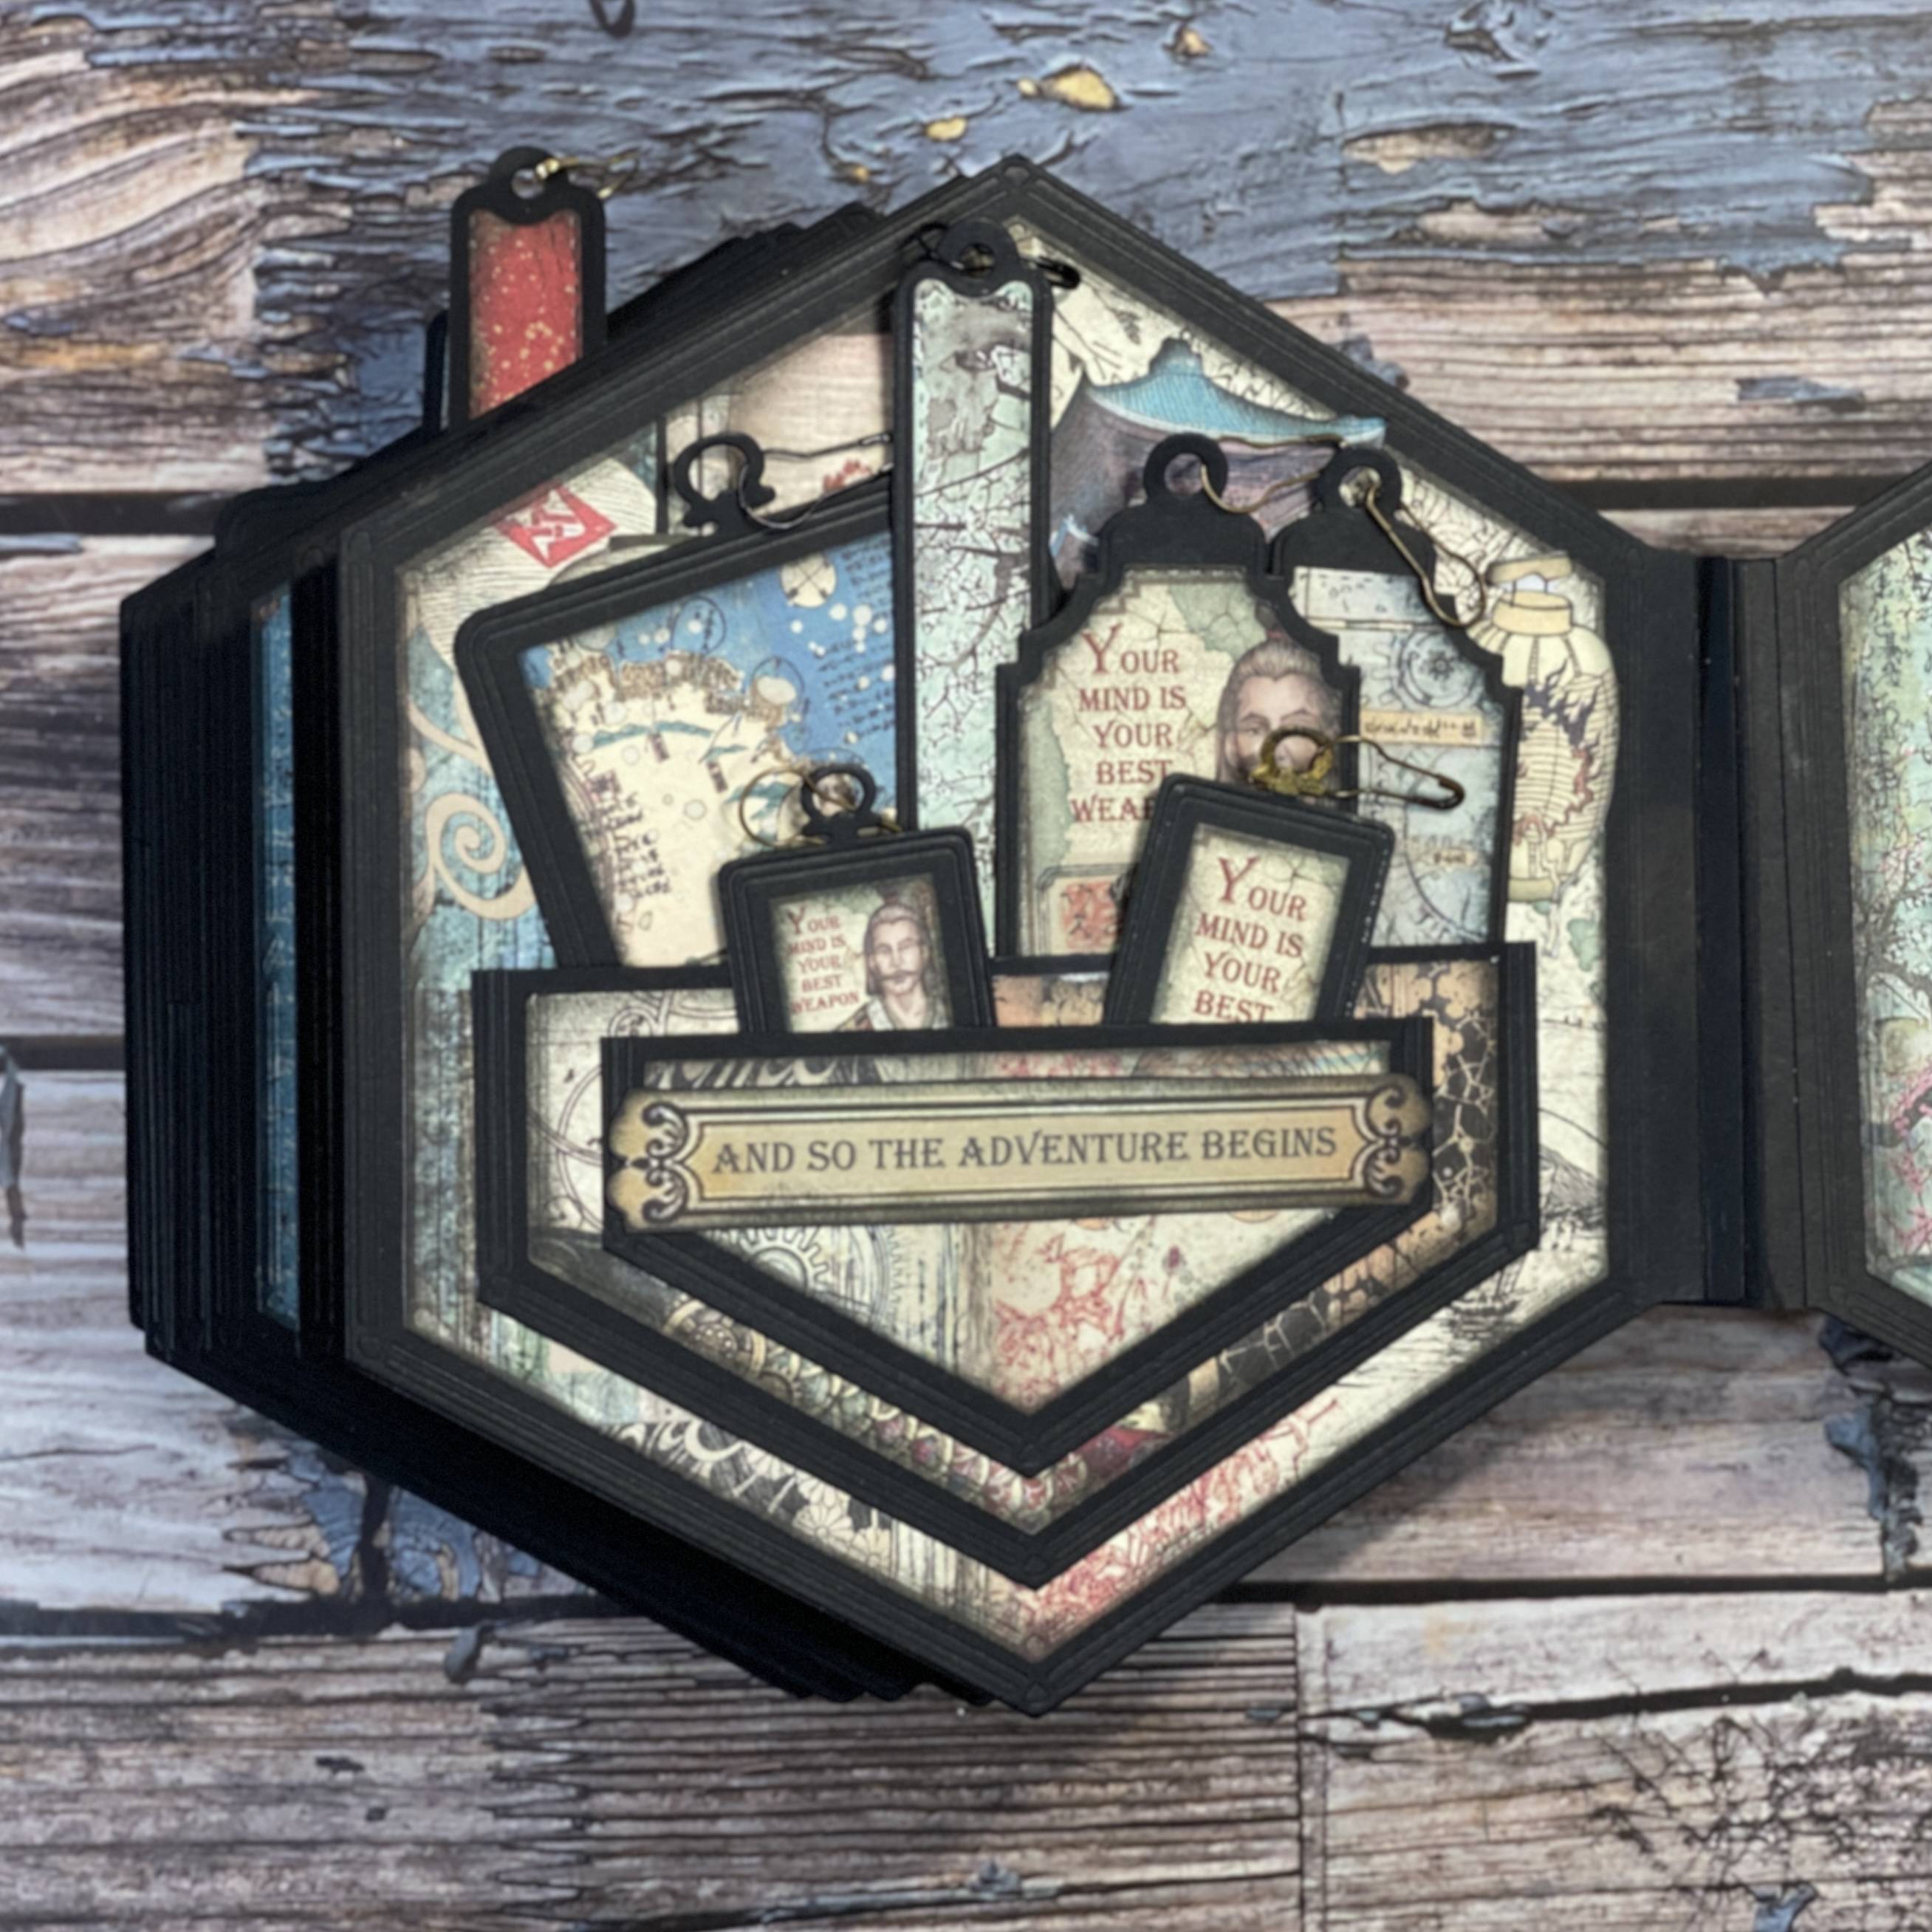
Create your tags and page pieces.
Step 5
Add elements to your first page, step back and admire your work. You did it!
PAGE TWO
Step 1
Die cut your patterned paper with the two largest layers (not the page dies).
Step 2
Die cut two page dies to create flips and flaps.
Step 3
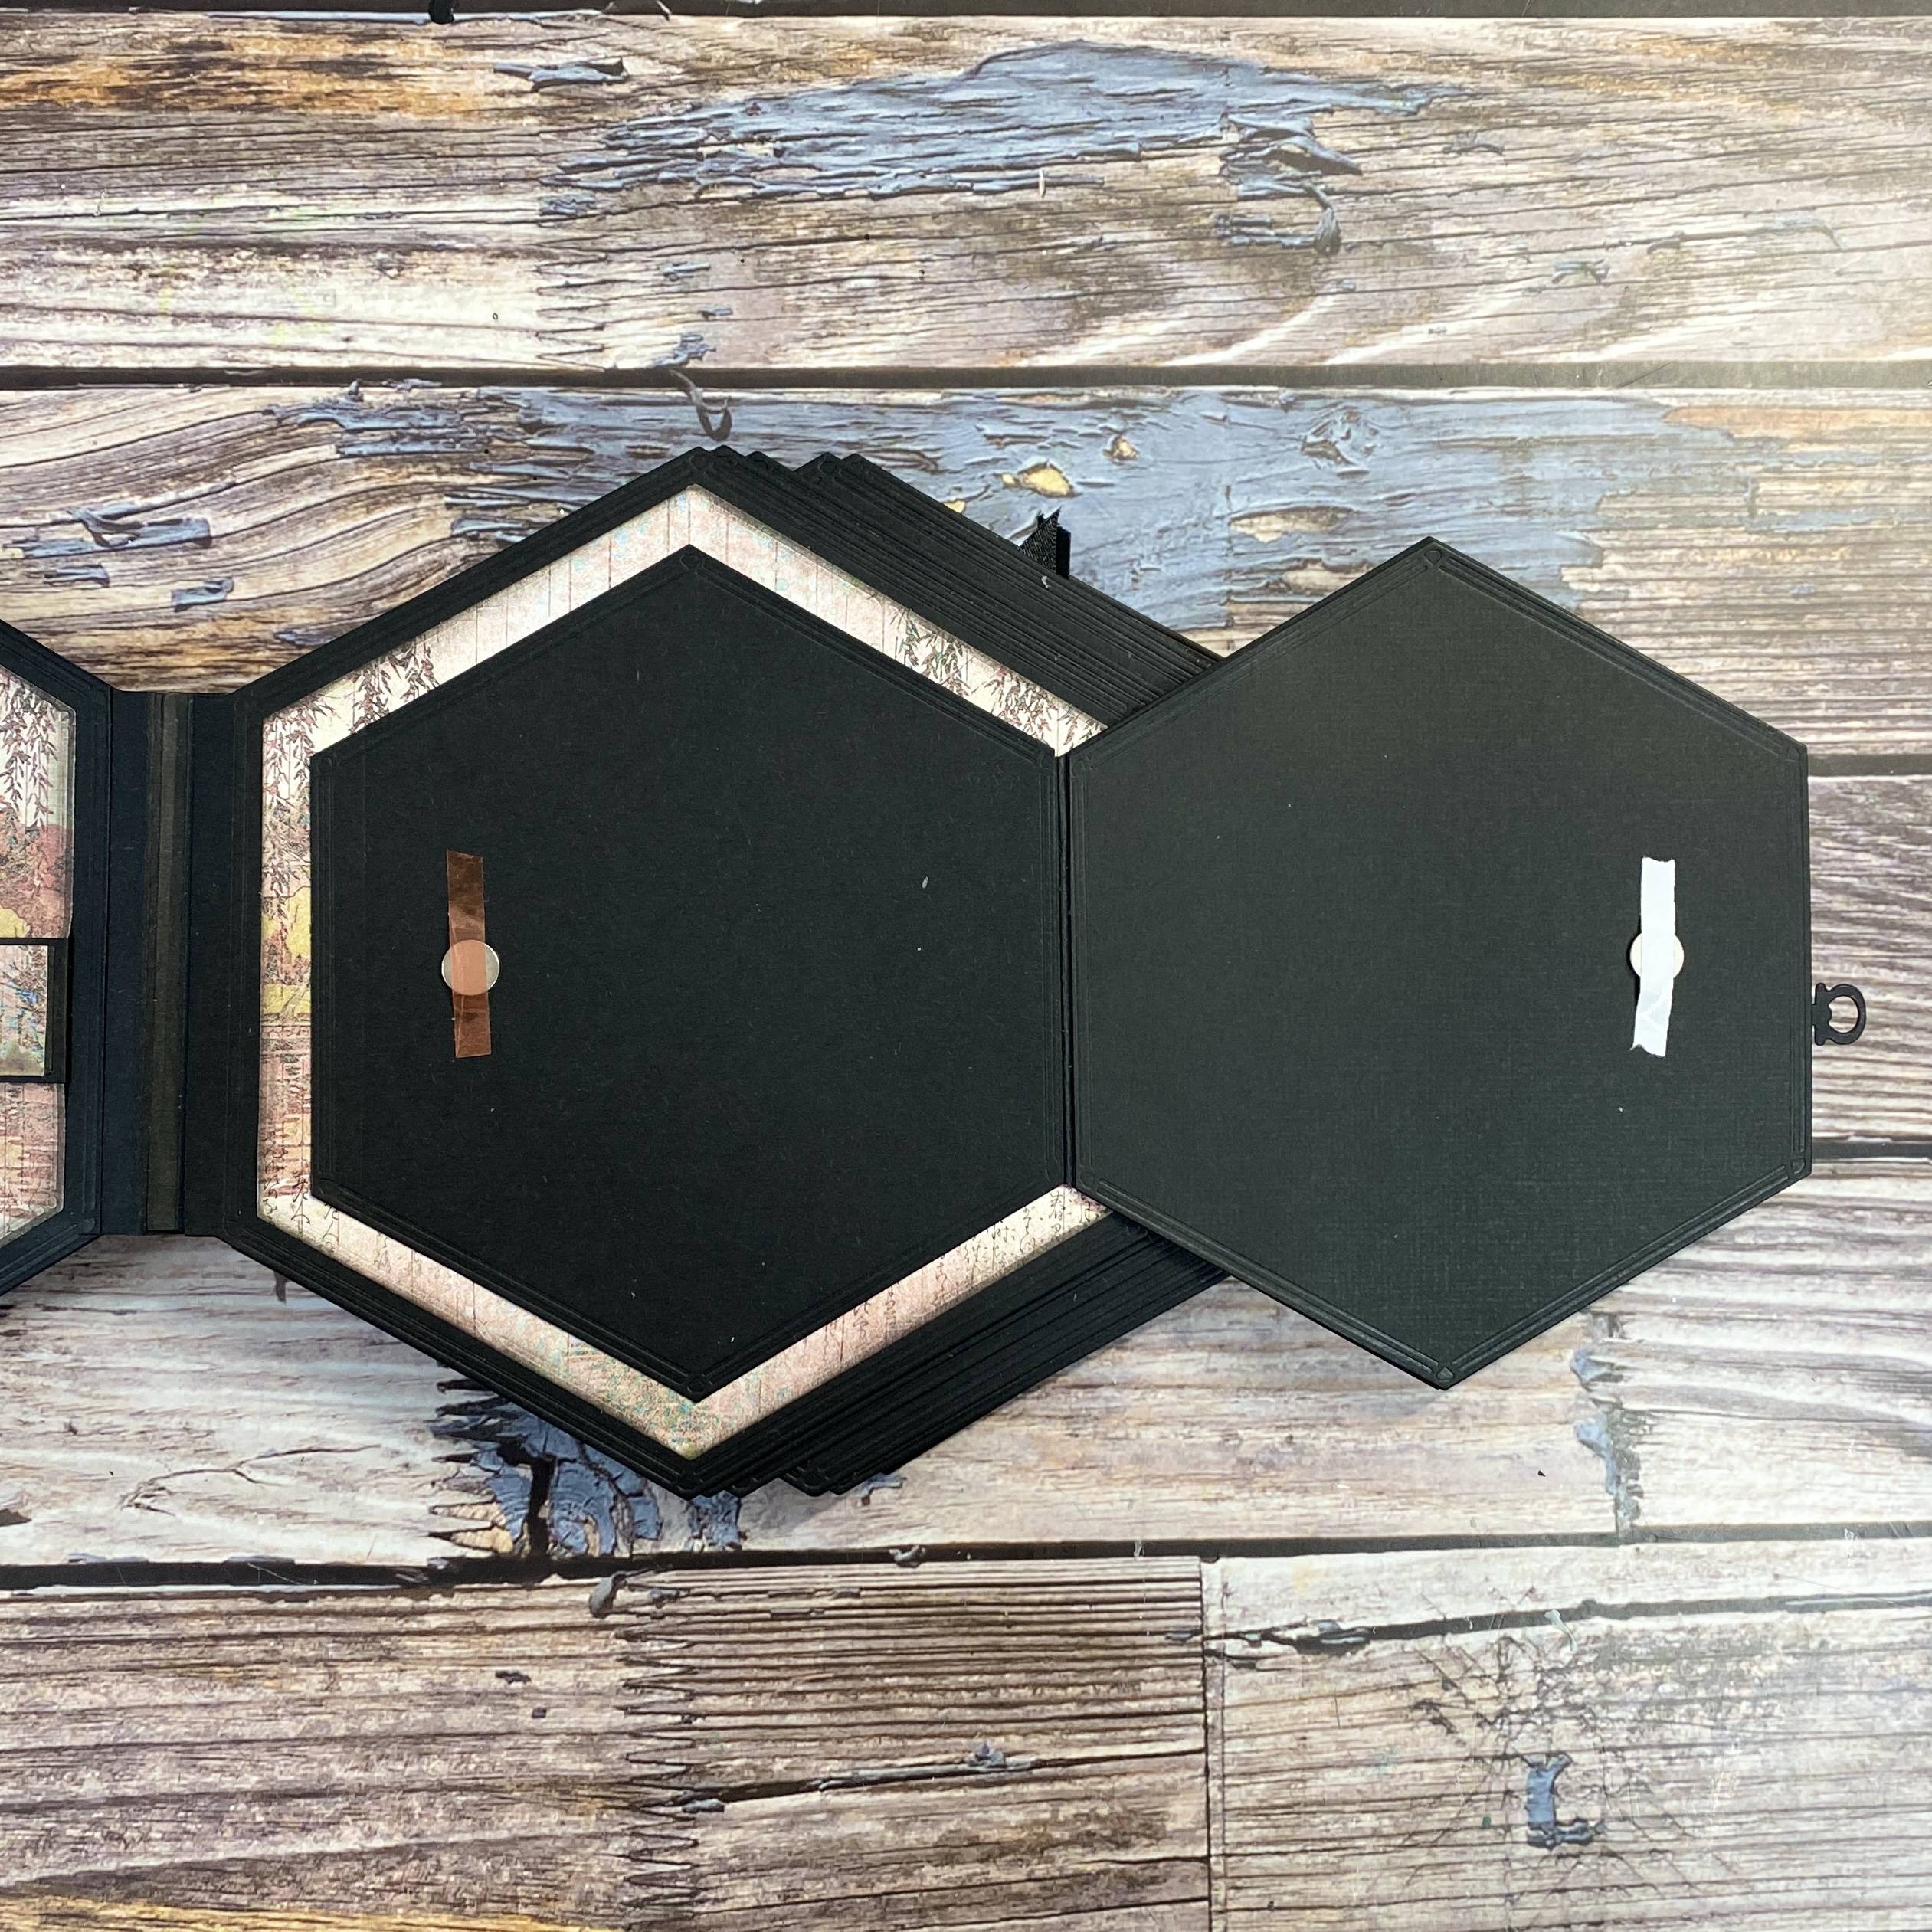
Attach as shown and use magnets.
Step 4
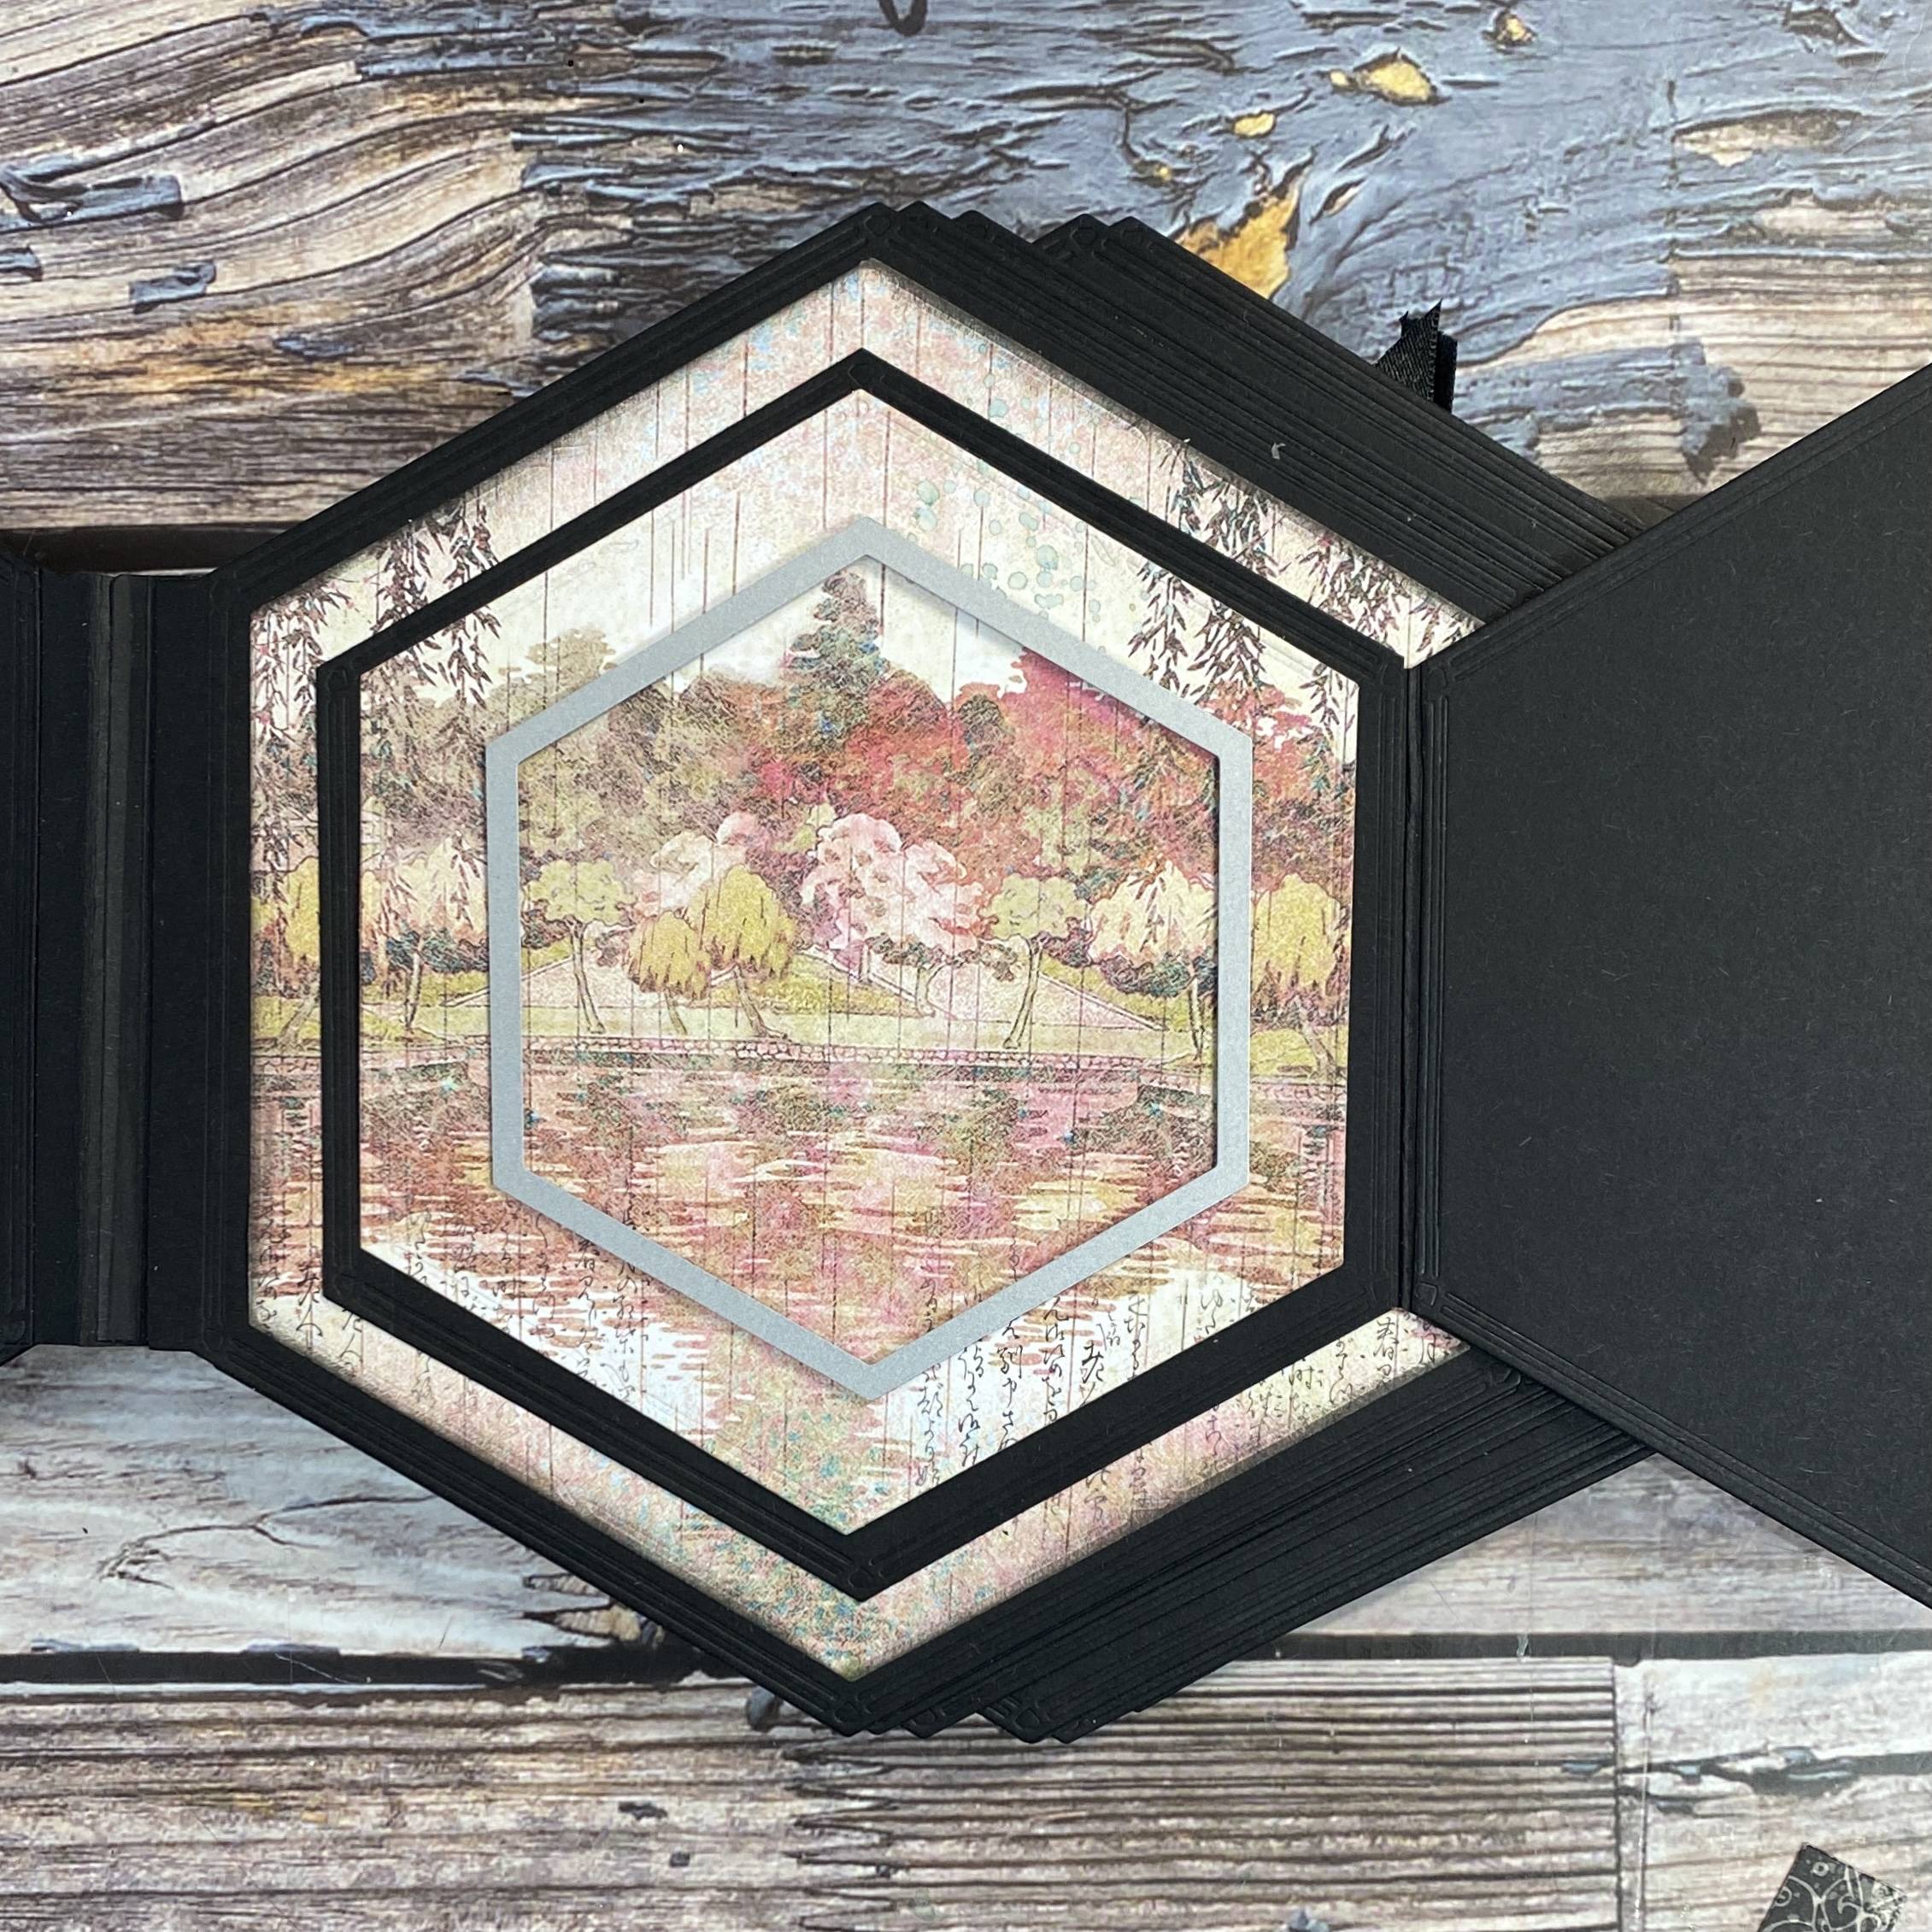
Add your second layer of patterned paper.
Step 5
Die cut a smaller layer and attach.
Step 6
Repeat step 3 to create the smaller flap.
Step 7
Pics 8 & 9 is how the flaps will look.
Step 8
Top view.
Step 9

Smallest flap open.
Step 10
Adhere a sentiment but only glue it partially. This will let you add a journal page without magnets.
Step 11
Add more journal pieces to your smaller flips.
PAGE THREE
Step 1

Die cut both layers for your double page spread and out the left one aside for page 4.
Step 2
Create a pocket by die cutting another of the largest page dies and cut just below half. Use your layering die to cut you’re the bottom section off your largest layer as shown.
Step 3
Attach the top portion of your patterned paper on your page and then attach your pocket with wet adhesive but remember to not adhere the top as you want to make a pocket.
Step 4
Adhere your bottom portion of your patterned paper on top of your pocket. I like to have a small gap as it really makes the papers pop.
Step 5
Die cut one of the smaller layering dies with patterned paper. Take a ruler and a permanent/waterproof black fine liner to create a journal space. I’ve done this through the entire book and feel that it’s a great way to make use to space and your patterned papers.
Step 6
Create all the elements for your pocket and fill your page with pieces you’ve created.
PAGE FOUR
Step 1
Retrieve your second large layer that you cut out with Page 3.
Step 2
Die cut the smaller layer into your patterned paper die cut to create a frame and also cut two smaller page dies as shown.
Step 3
Attach the flips and add magnets as shown.
Step 4
Now attach a magnet on the top layer to secure your page. You will do this through the album is varying sizes and directions.
Step 5
Cover with patterned papers.
Step 6
Add a sentiment and decorate.
PAGE FIVE
Step 1
Die cut largest layer with patterned paper and cut in half (approx.) Also die cut largest page and cut in half.
Step 2
Attach to page for a simple pocket. Do not adhere the top of the pocket, only the three sides.
Step 3

Add tags and journal pages to this quick page.
PAGE SIX
Step 1
This pocket is slightly different than Page 5 as it’s smaller. Instead of using the largest page die, use the next size down.
Step 2
Attach the layers and pocket with adhesive.
Step 3
Attach Sir Vagabond to the front of your pocket.
Step 4
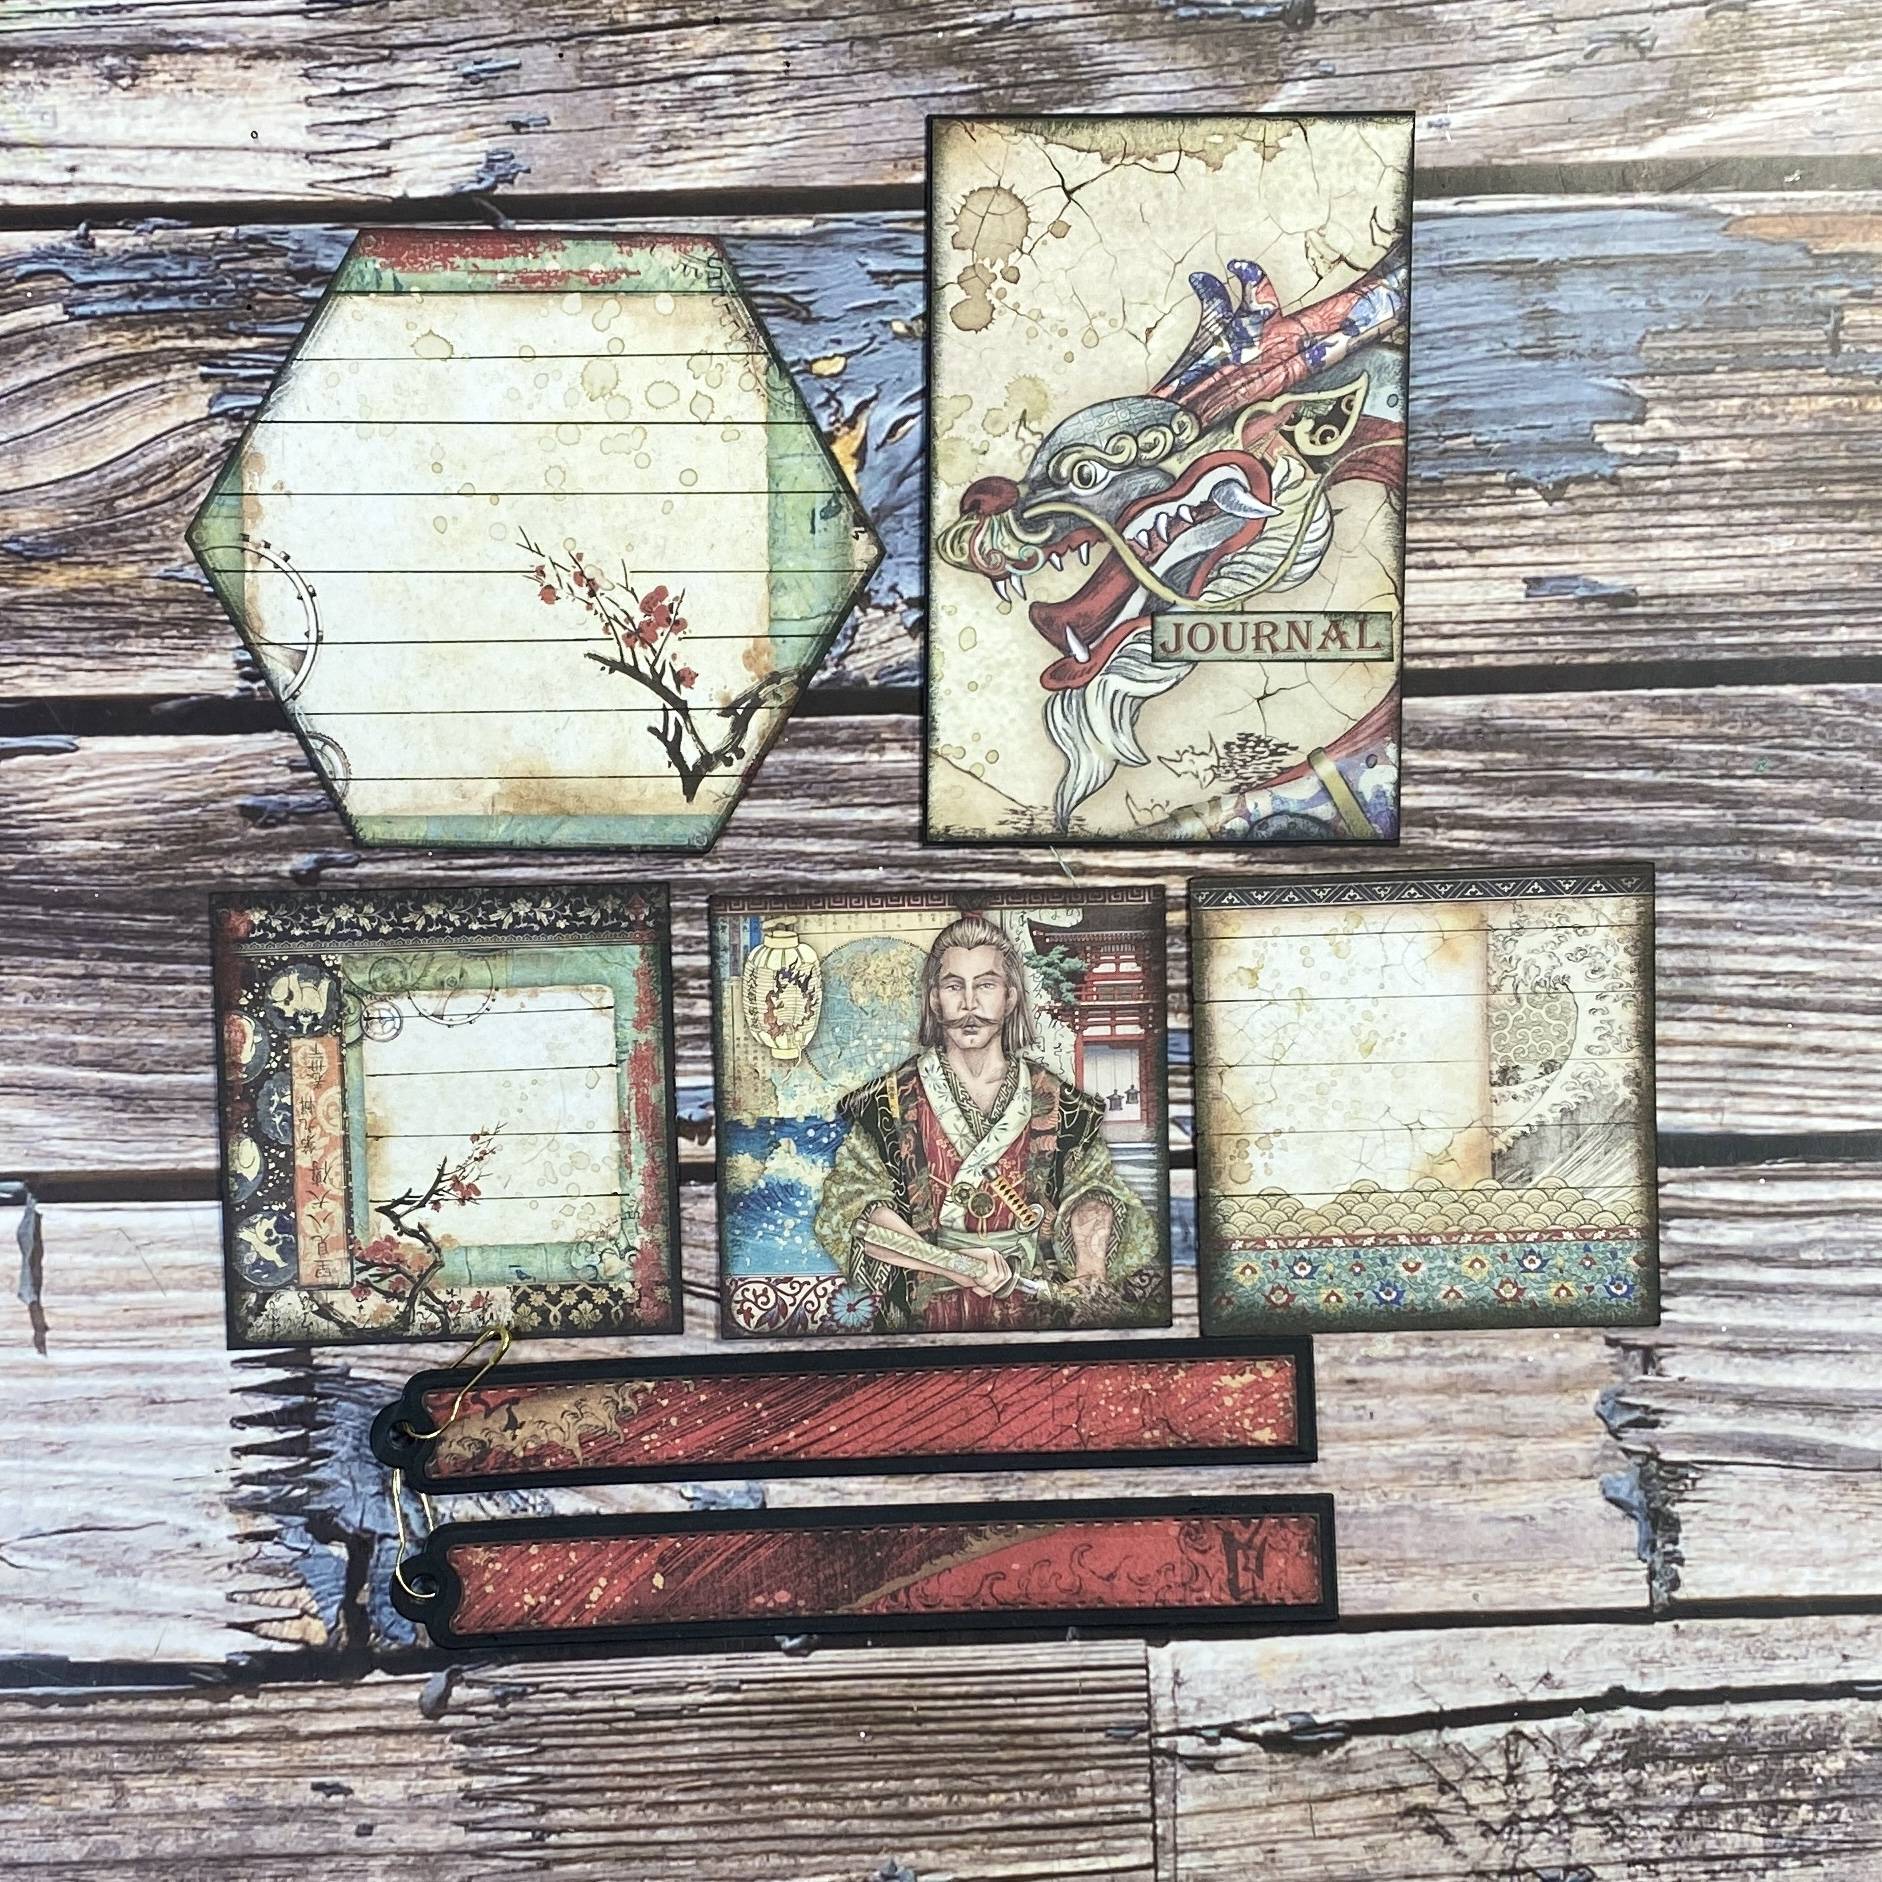
Die cut and create tags and journal pieces.
Step 5
Add your elements to fit inside your pocket.
PAGE SEVEN
Step 1
This pocket is the same style as Page 6.
Step 2
Fill your pocket with tags and journal pages.
PAGE EIGHT
Step 1
Use approx. 10 small page dies to create a beautiful waterfall page feature. Attach your patterned paper to the base and then trim each small page die at the score line. Attach onto your base and stagger each additional page die just to the end of the score line as shown. This does become bulky so you may want to use less or the next size up.
Step 2
To hold the waterfall in place, create a one-inch magnetic arm. Score the piece of card and tuck under your patterned paper.
Step 3
Add patterned papers to top and bottom of each waterfall die cut. You could add photographs or journal areas to each one for a fun and interactive page.
Step 4
Use magnets on your arm and at the side of the page to ensure everything stays in place. Add a sentiment or decorative elements to your page.
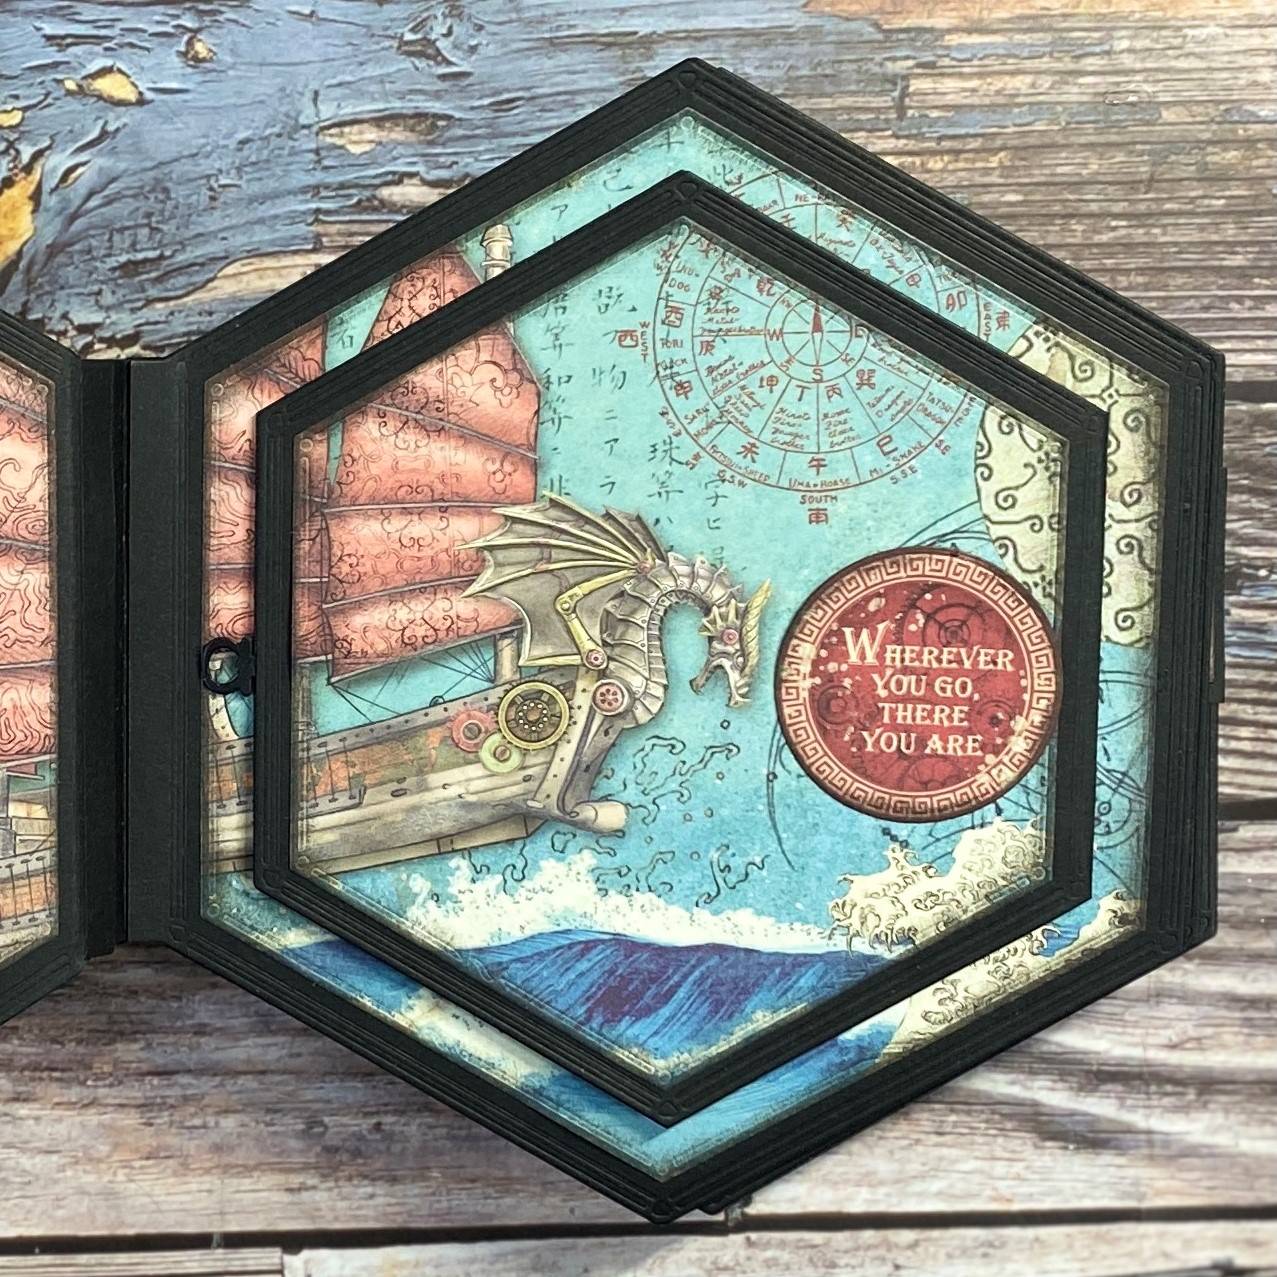
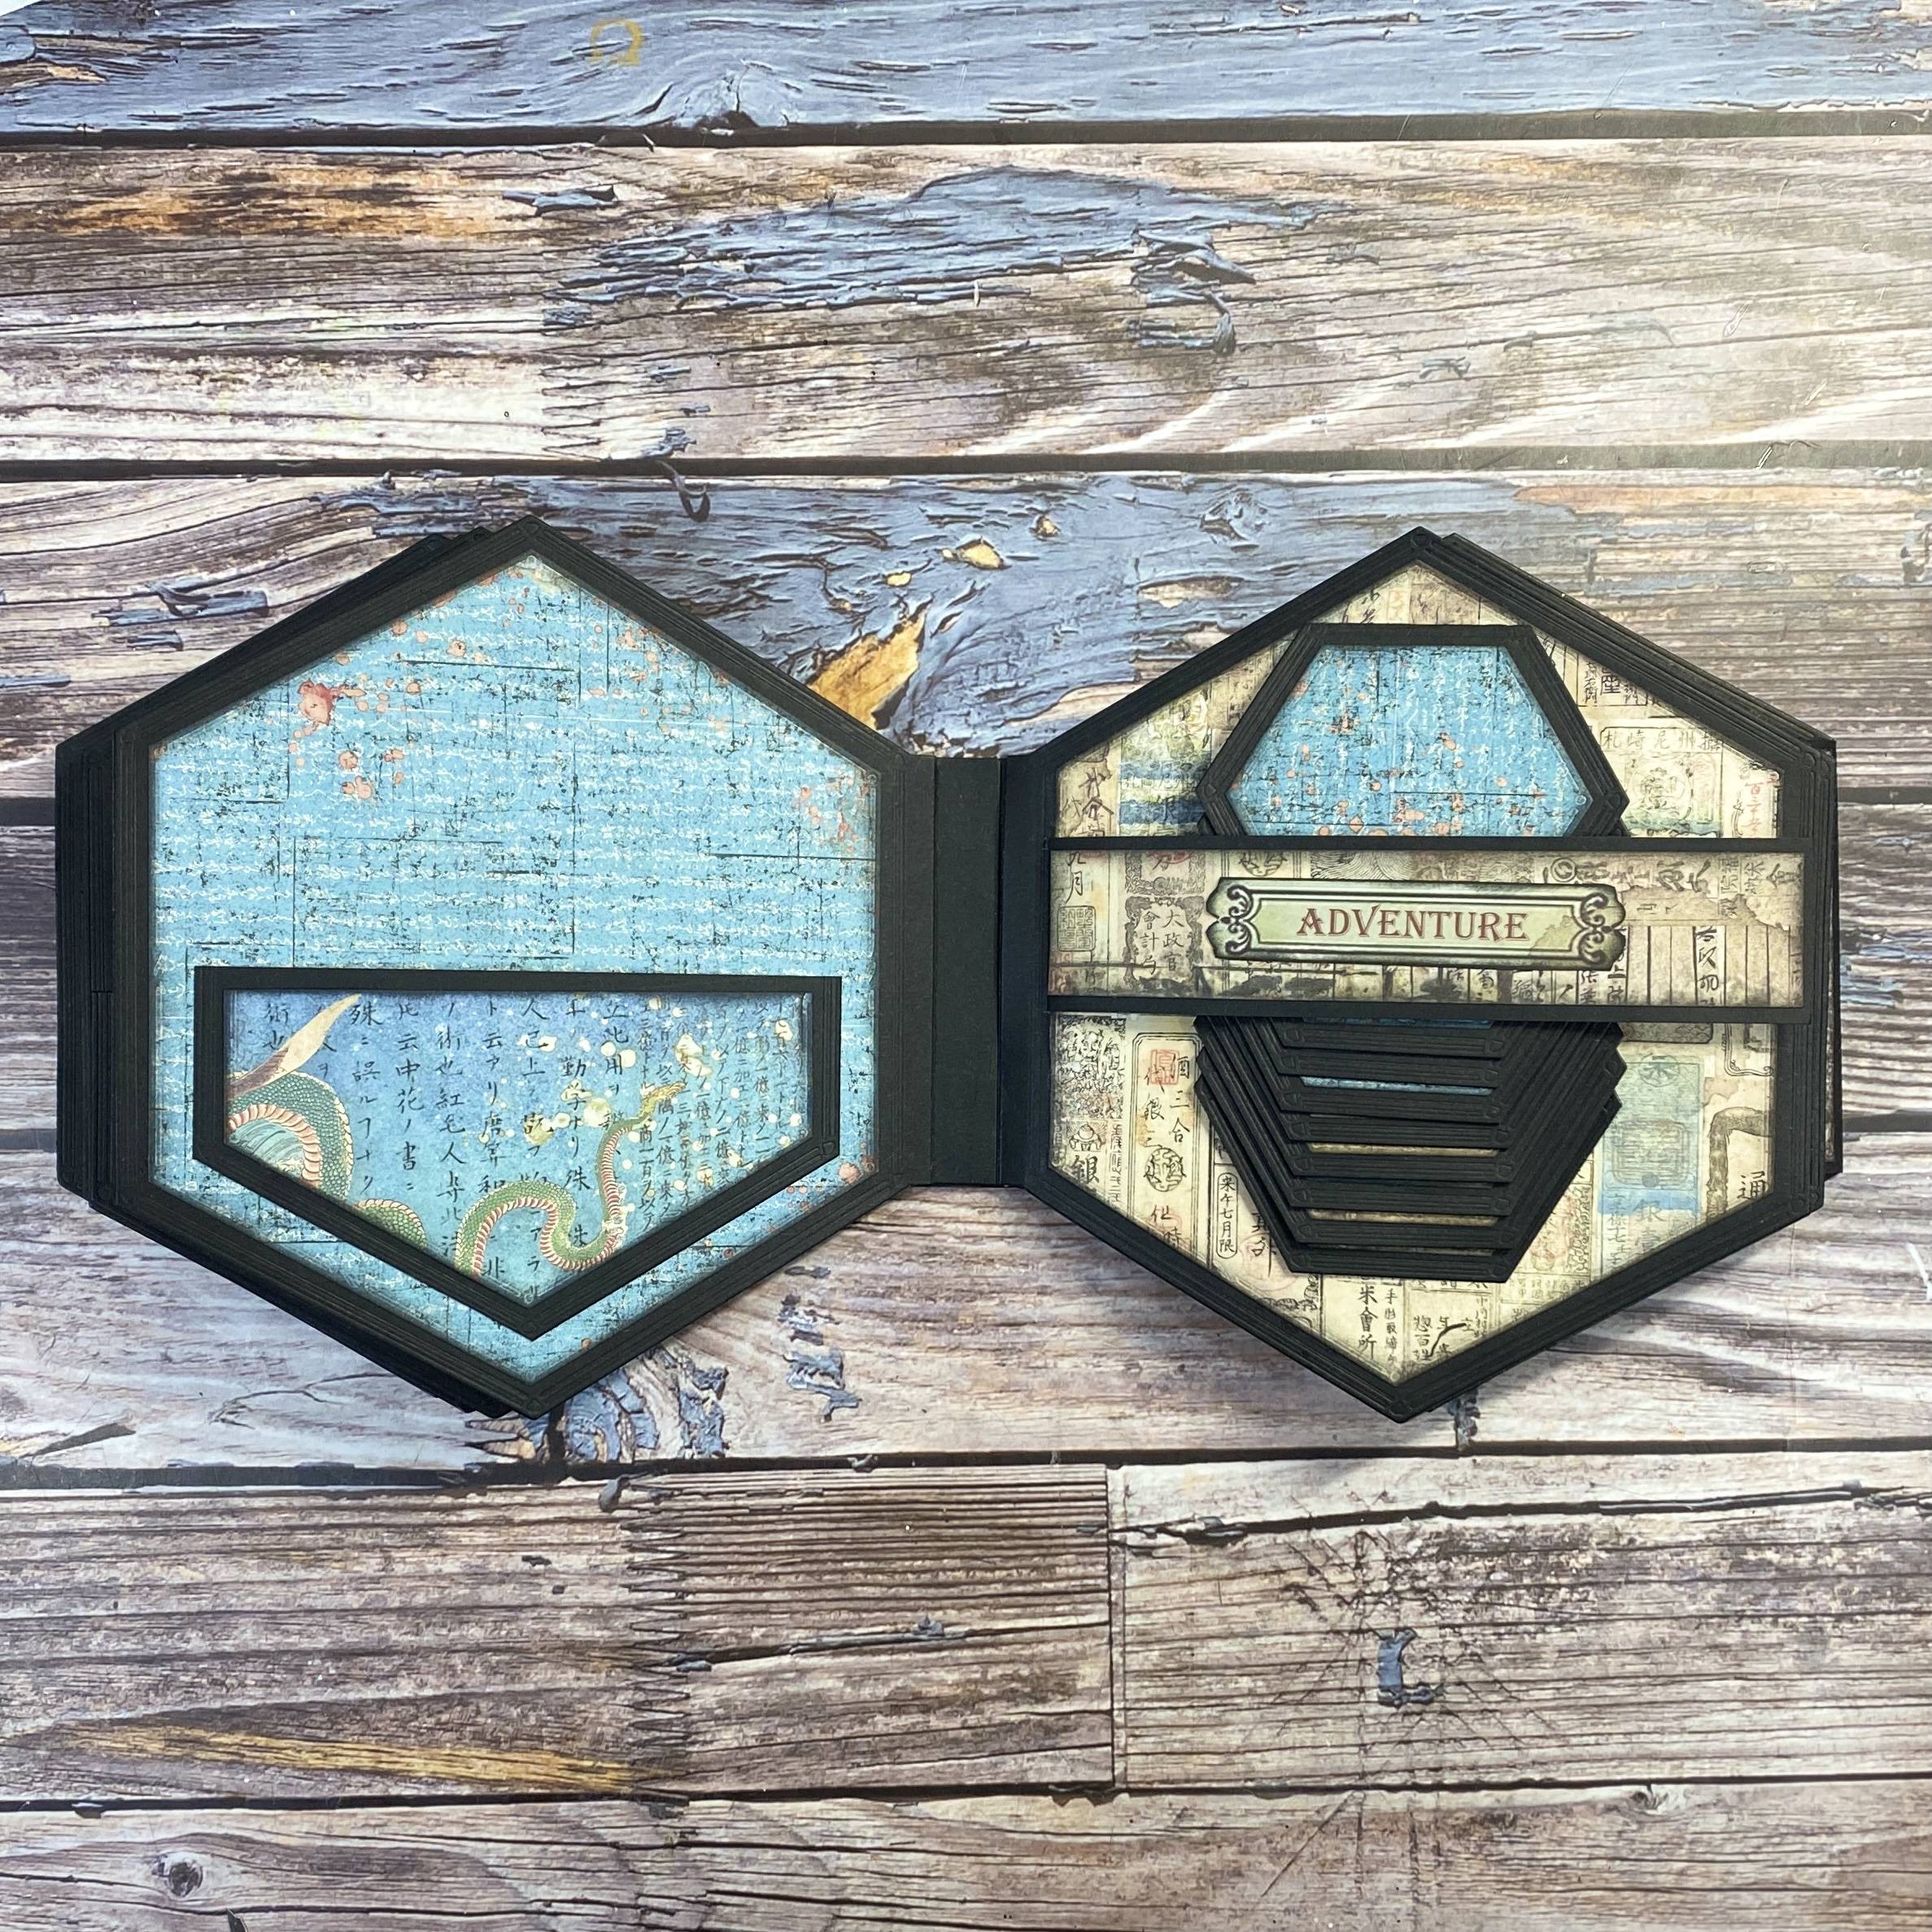
PAGE NINE
Step 1

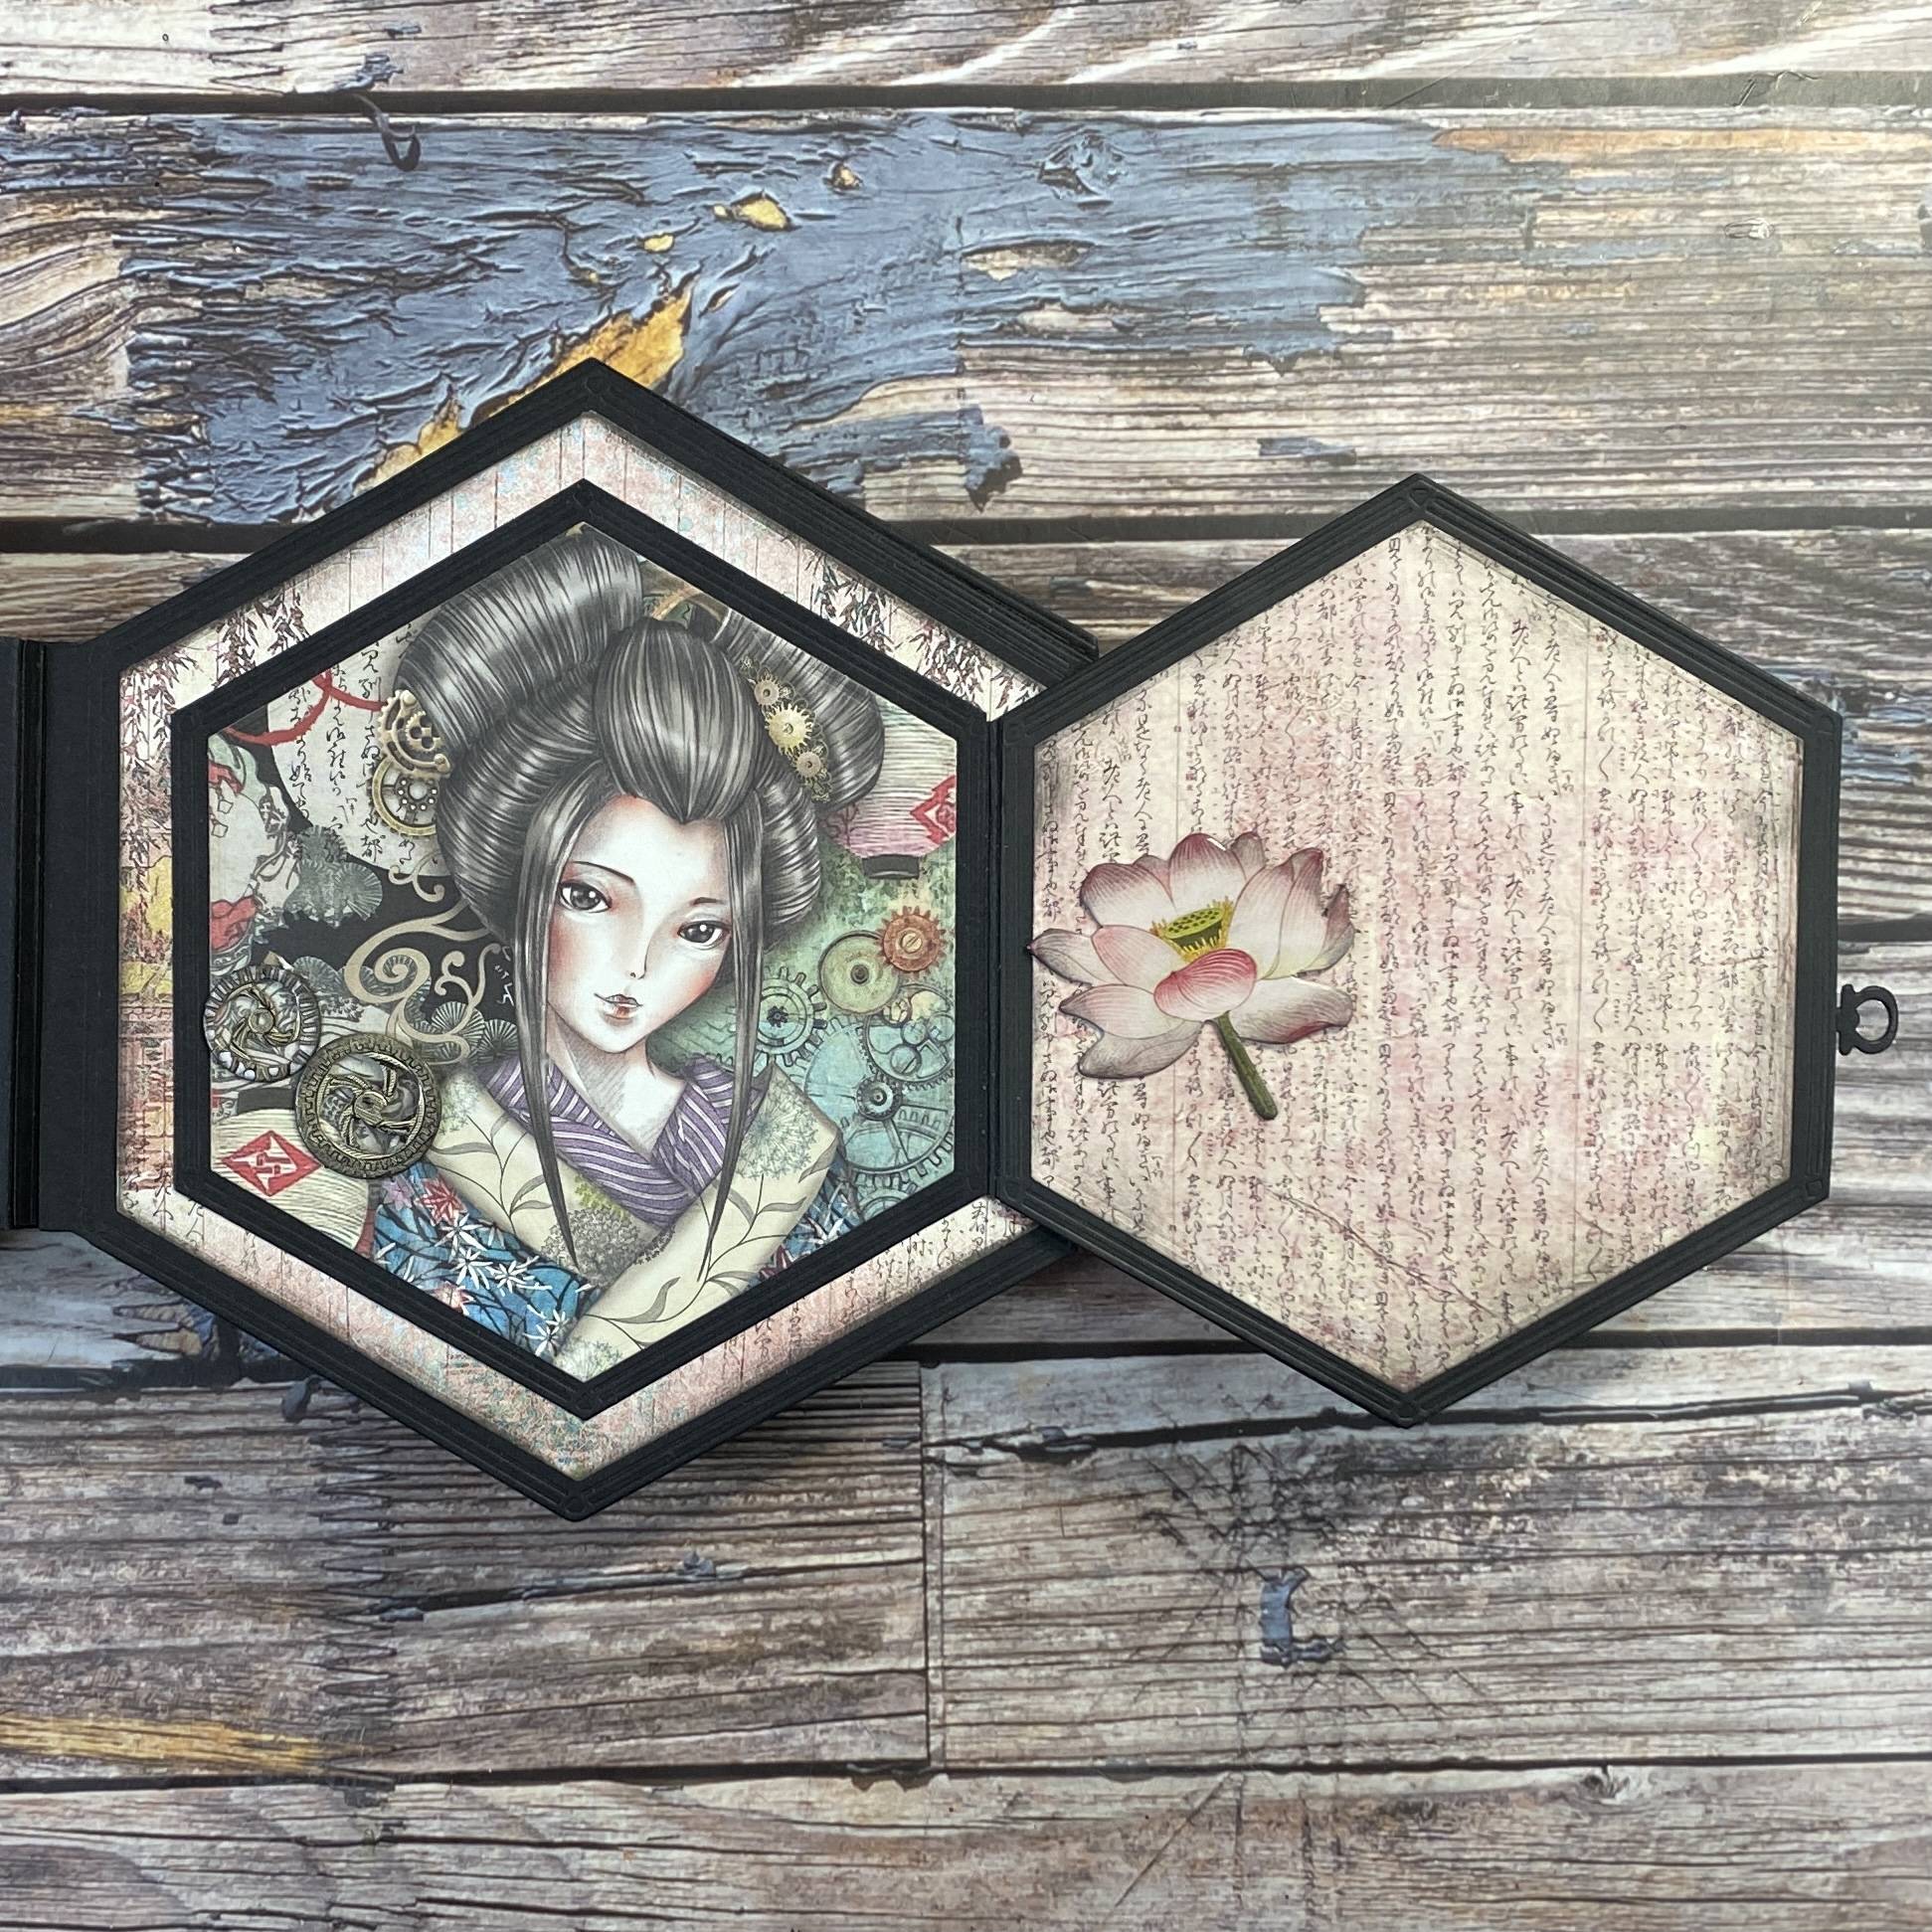
Create a flip and flap like Page 4, but have it open in the opposite direction. There is a lot of layering and fussy cutting to the top image to create a beautiful scene.
Step 2
Decorate your layers with coordinating papers.
Step 3
Create elements to add to your page.
Step 4

Additionally, add journal spaces on your page and with paper, pen and a ruler.
PAGE TEN
Step 1
Create a frame with your patterned paper panels as shown. Cut out two, page die cuts that will create a flip on each side.
Step 2
Attach one of the page die cuts for your first flip.
Step 3
Attach your second flip on the other side of the page.
Step 4
Add magnets to ensure everything closes securely.
Step 5
Decorate your flips with carefully selected paper and journal areas.
Step 6
Adhere sentiments and additional elements, really thinking about paper placement and the overall aesthetic of your pages.
Step 7
Add a chipboard die cut to the front of your page for a big visual impact.
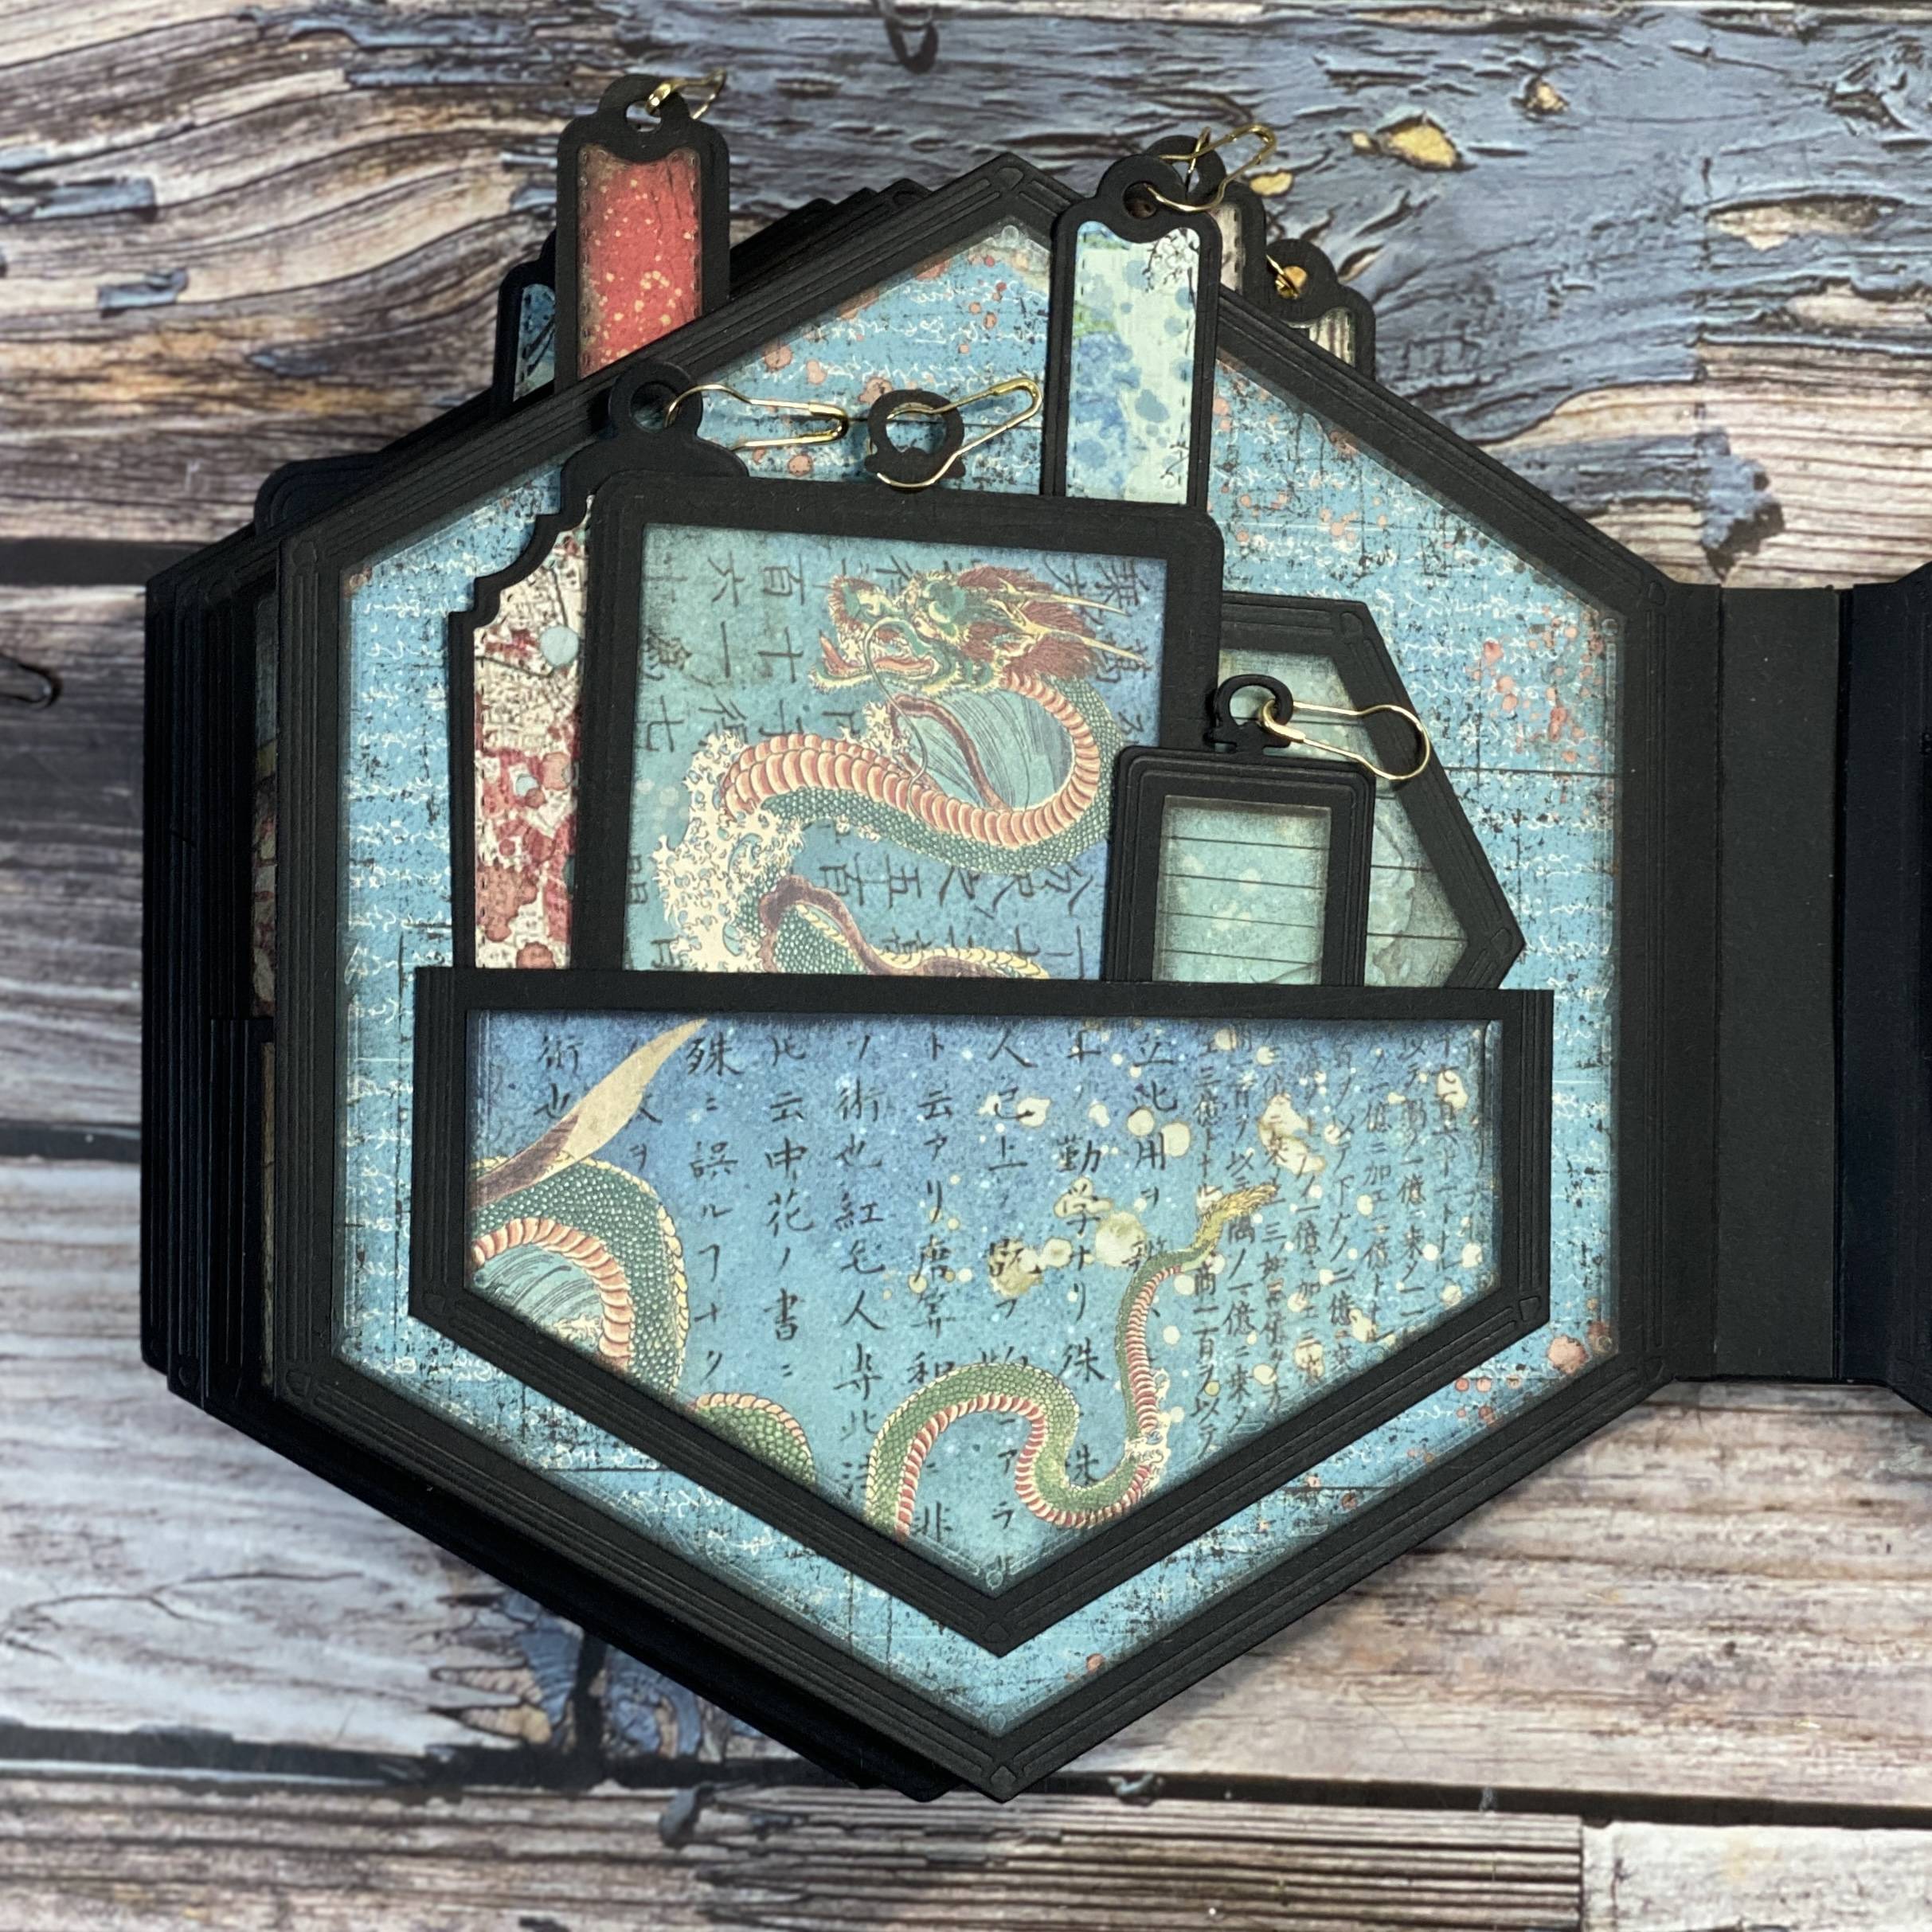
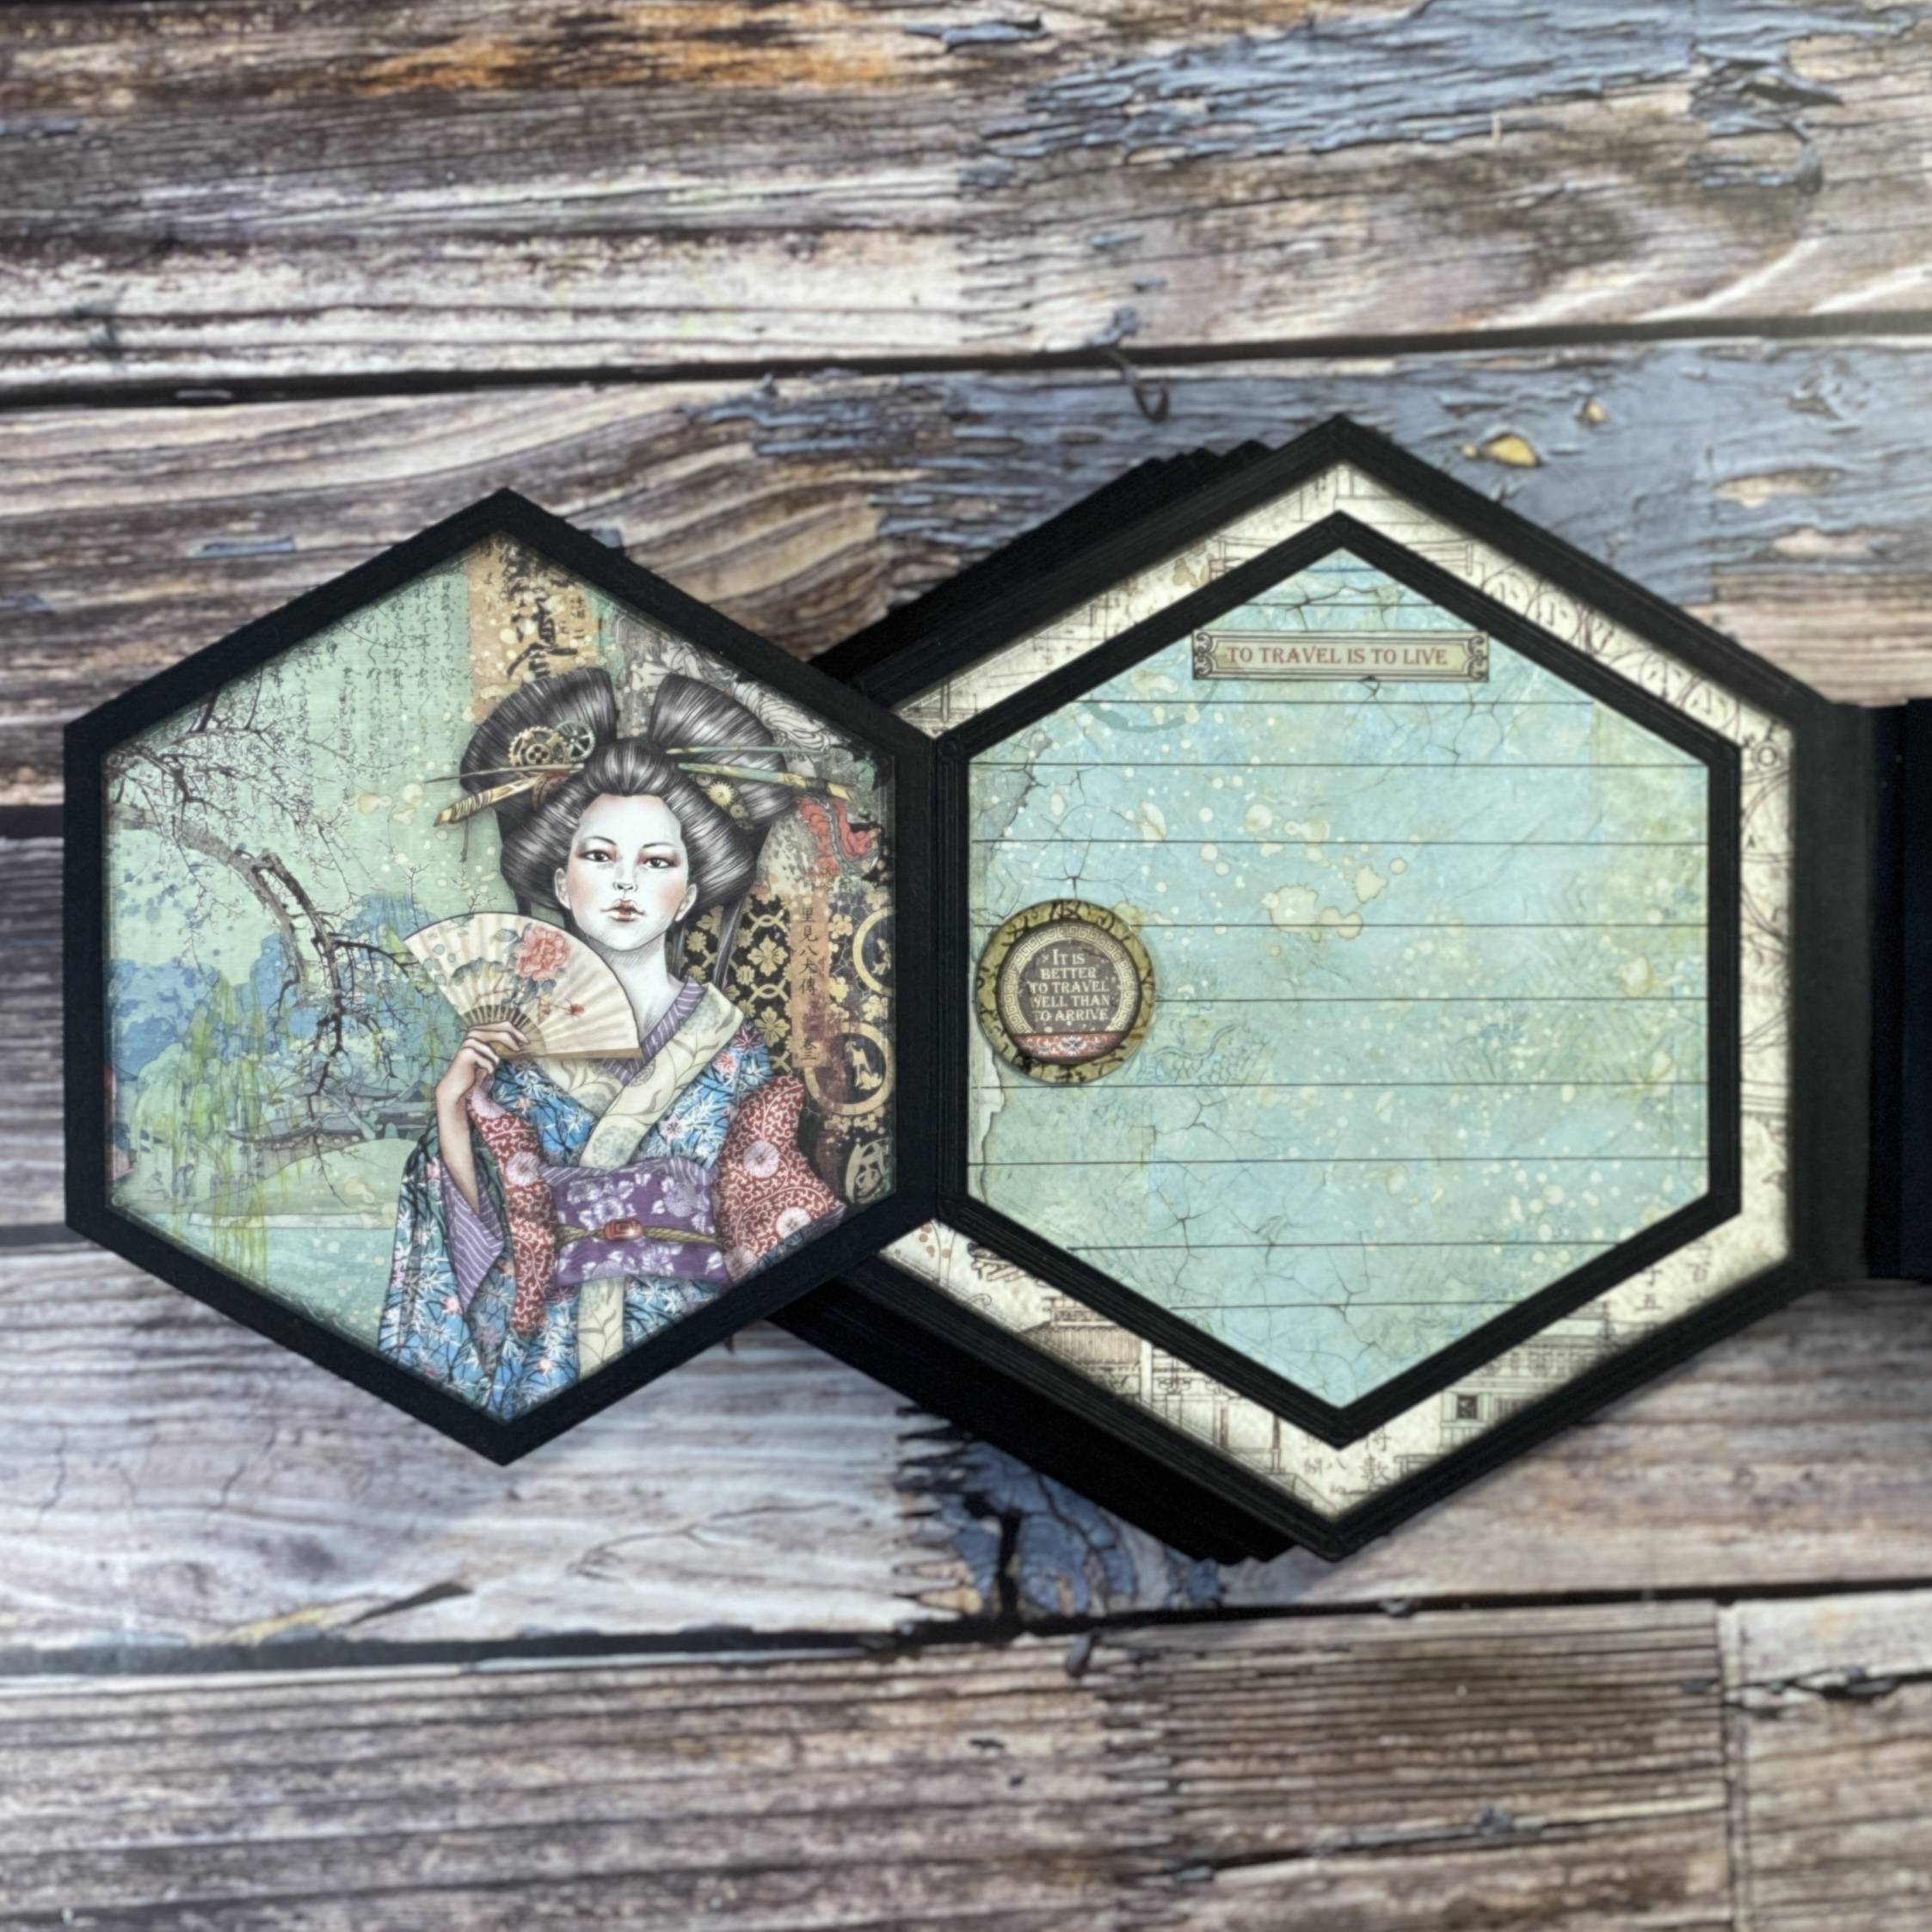
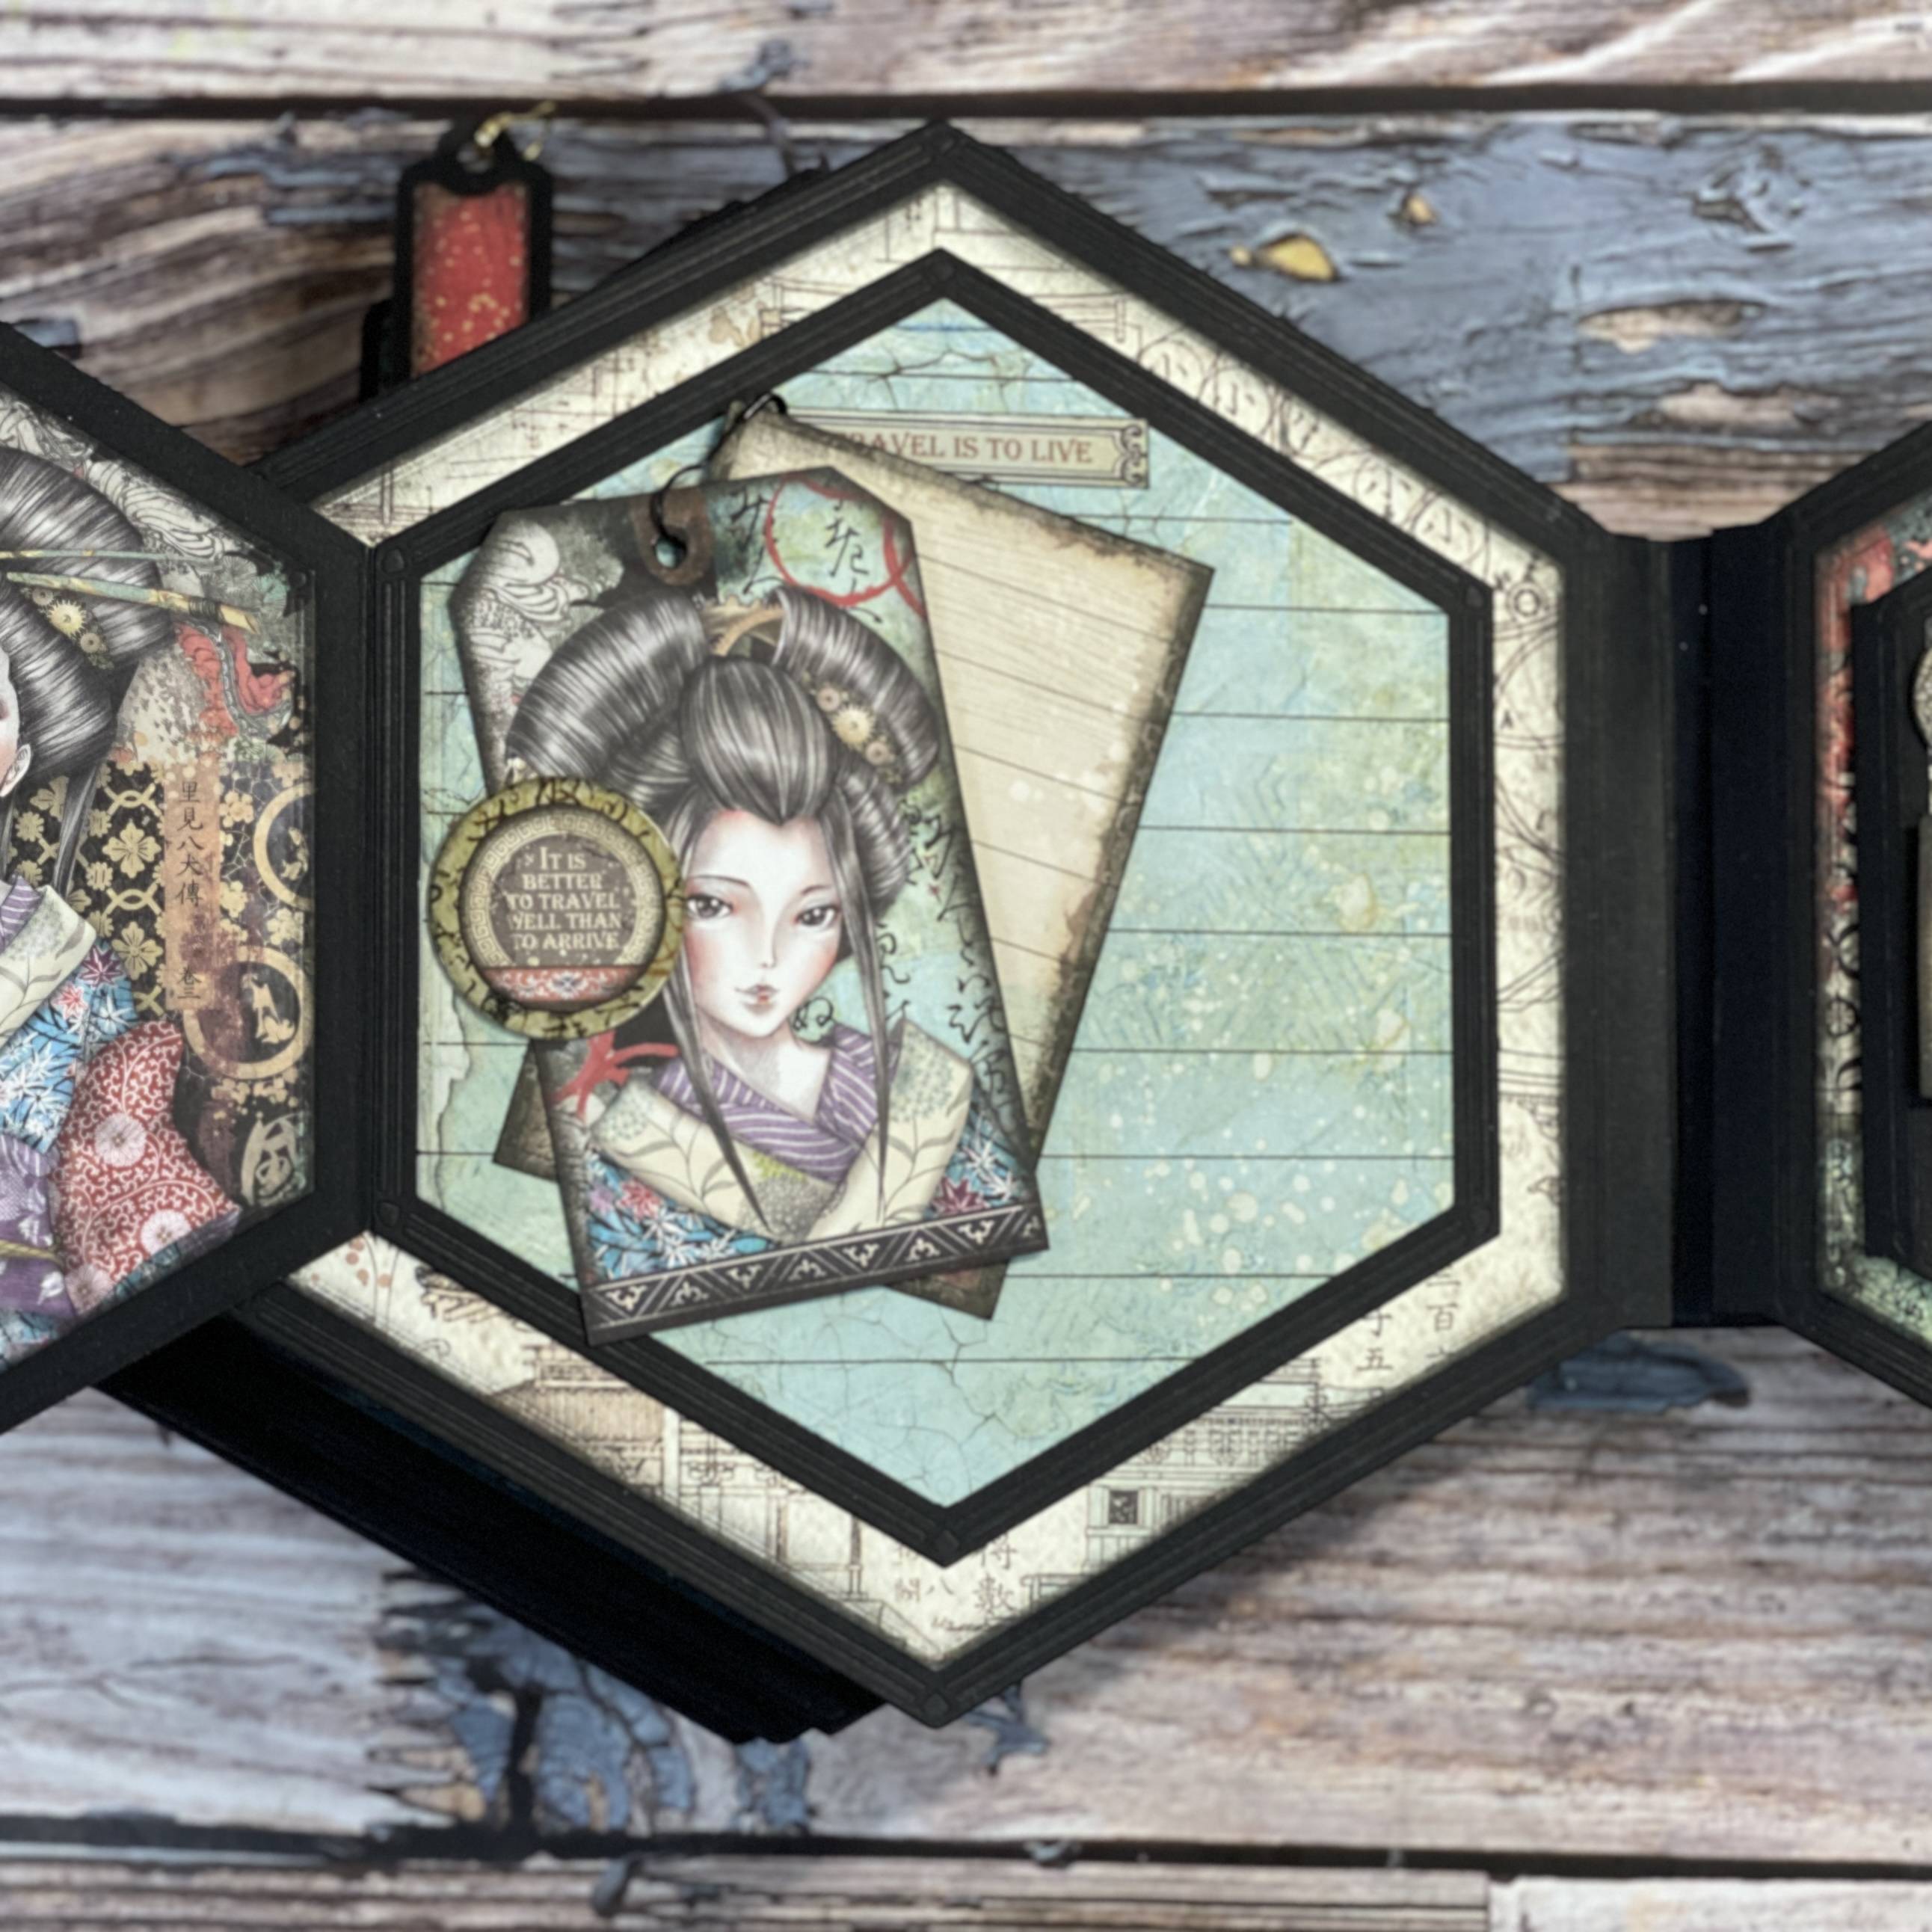
PAGE ELEVEN
Step 1
The first part of the pocket is the same style as Page 6.
Step 2
Remember to only glue three sides.
Step 3
Add an additional pocket, next size down and adhere as shown. Add lots of fussy cut layers and elements to give depth to your page.
Step 4
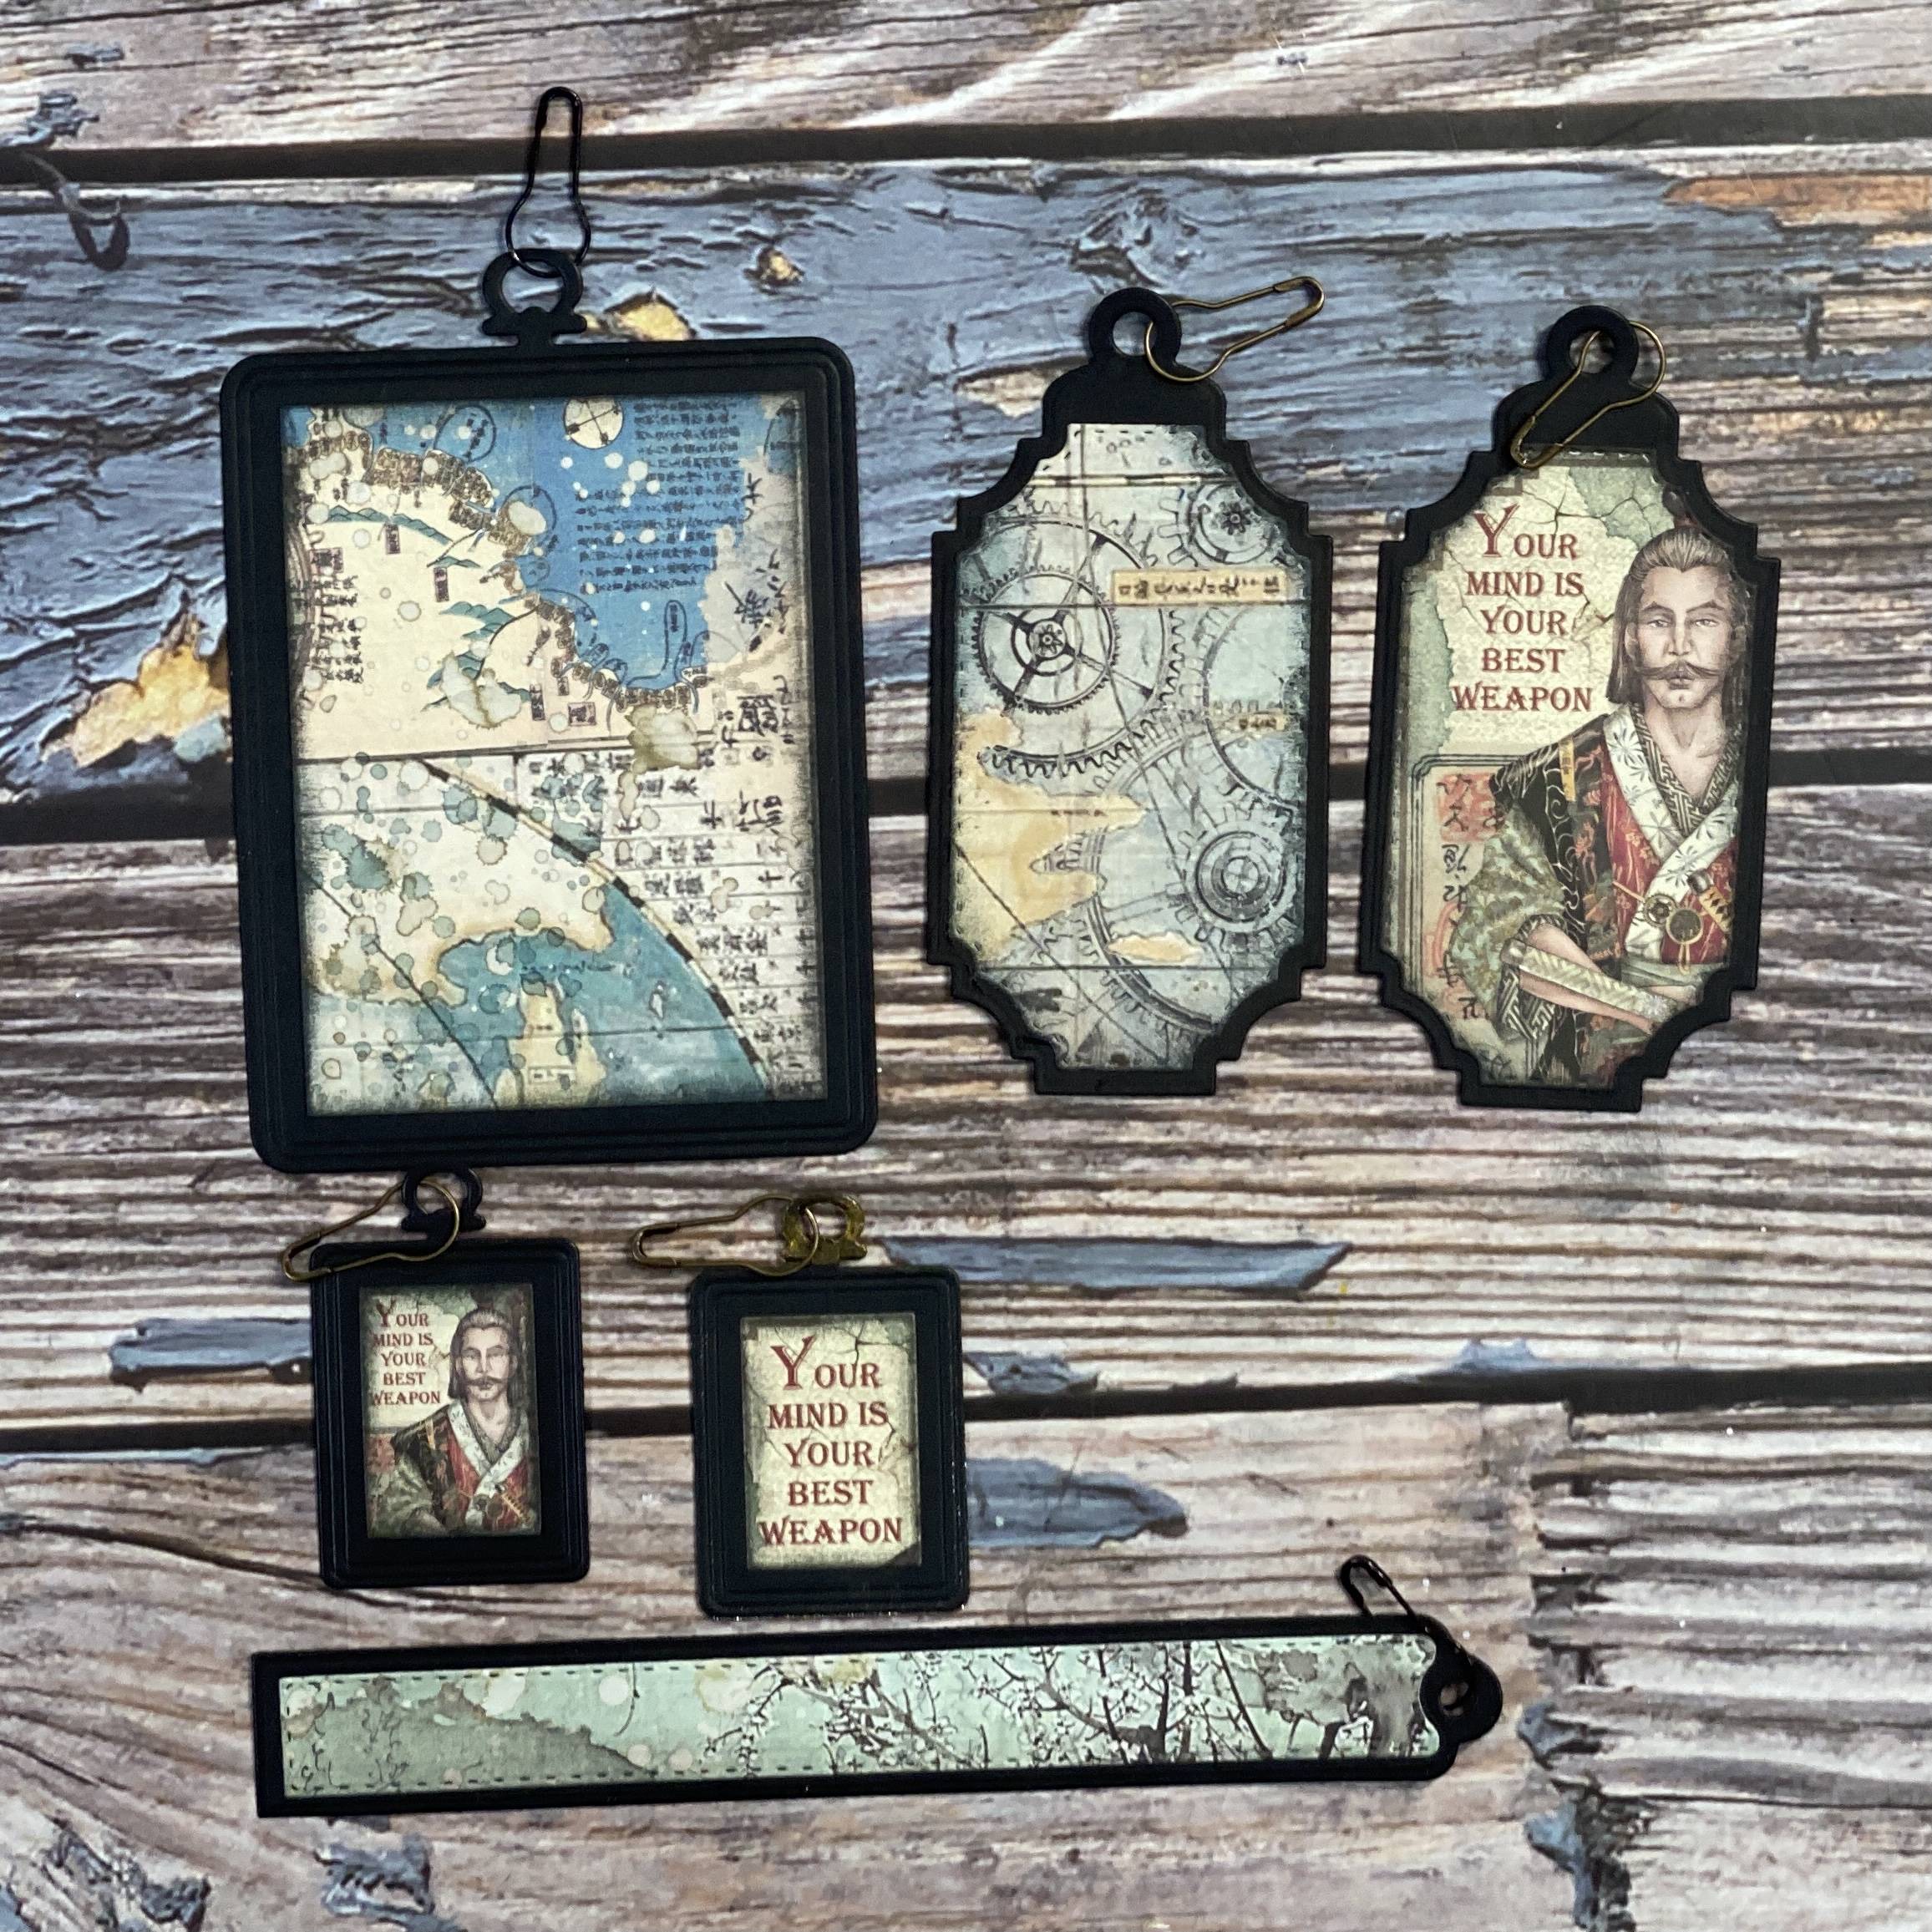
Create all your tags, photos, and journal pieces to pop into your pockets.
Step 5
Assemble.
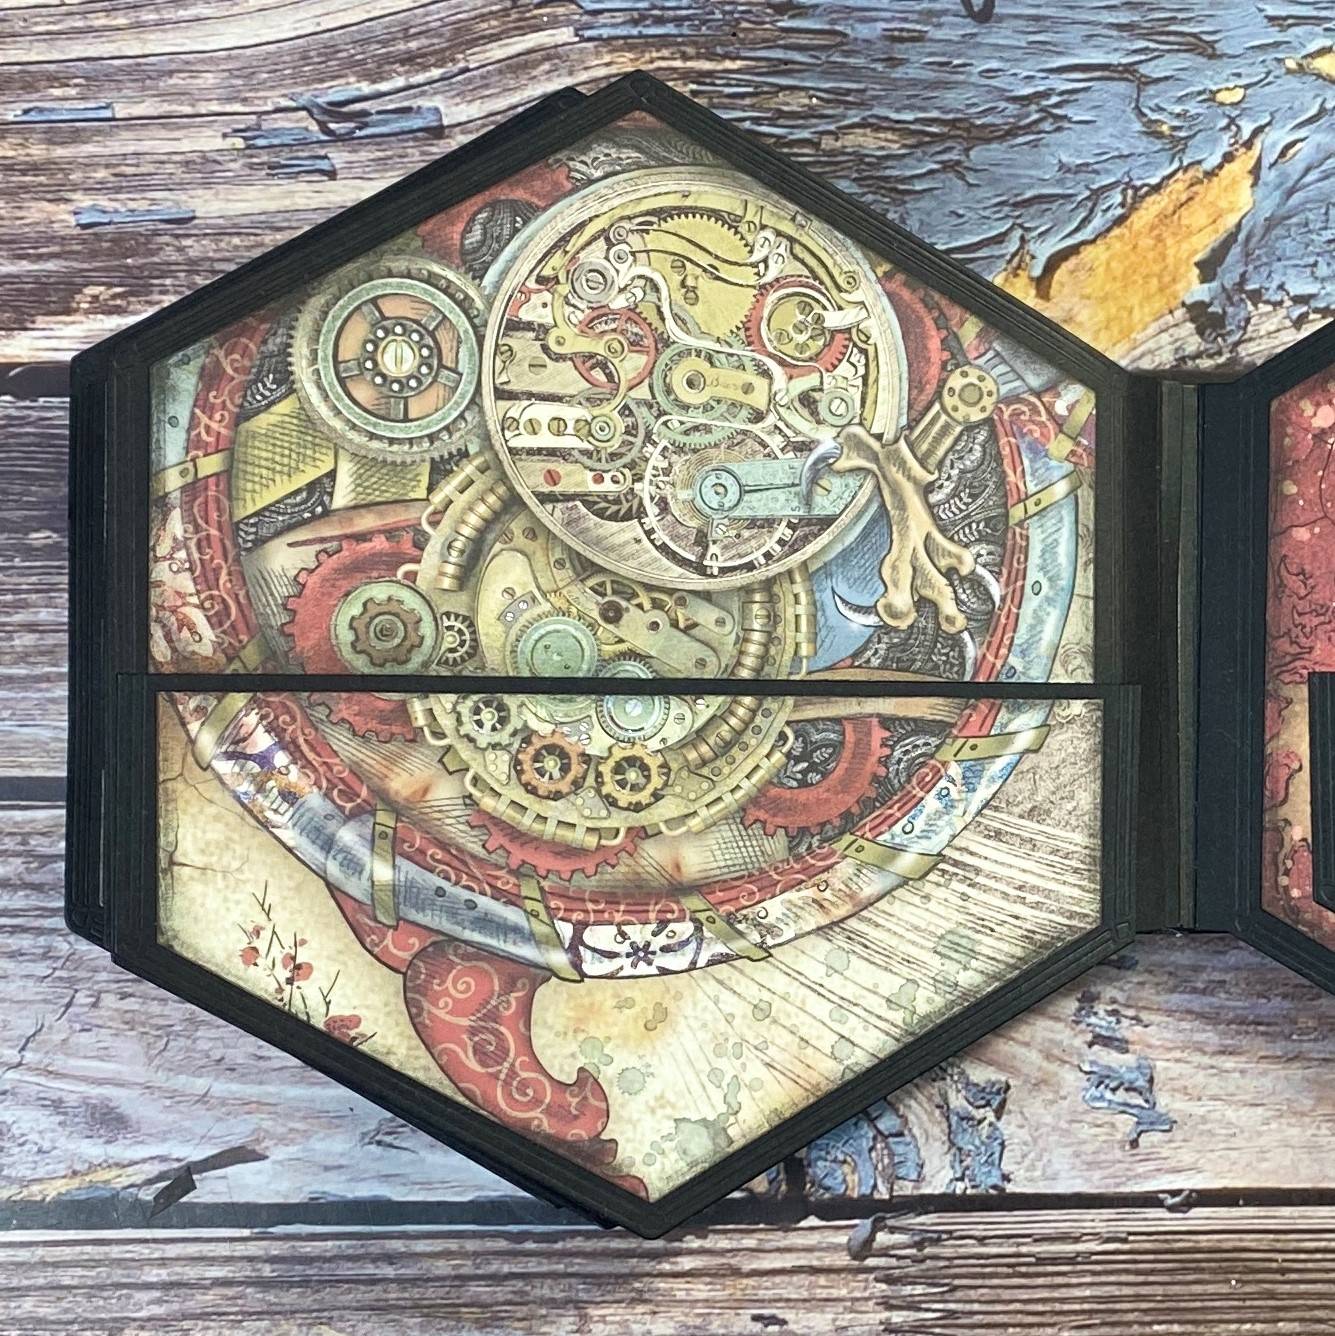
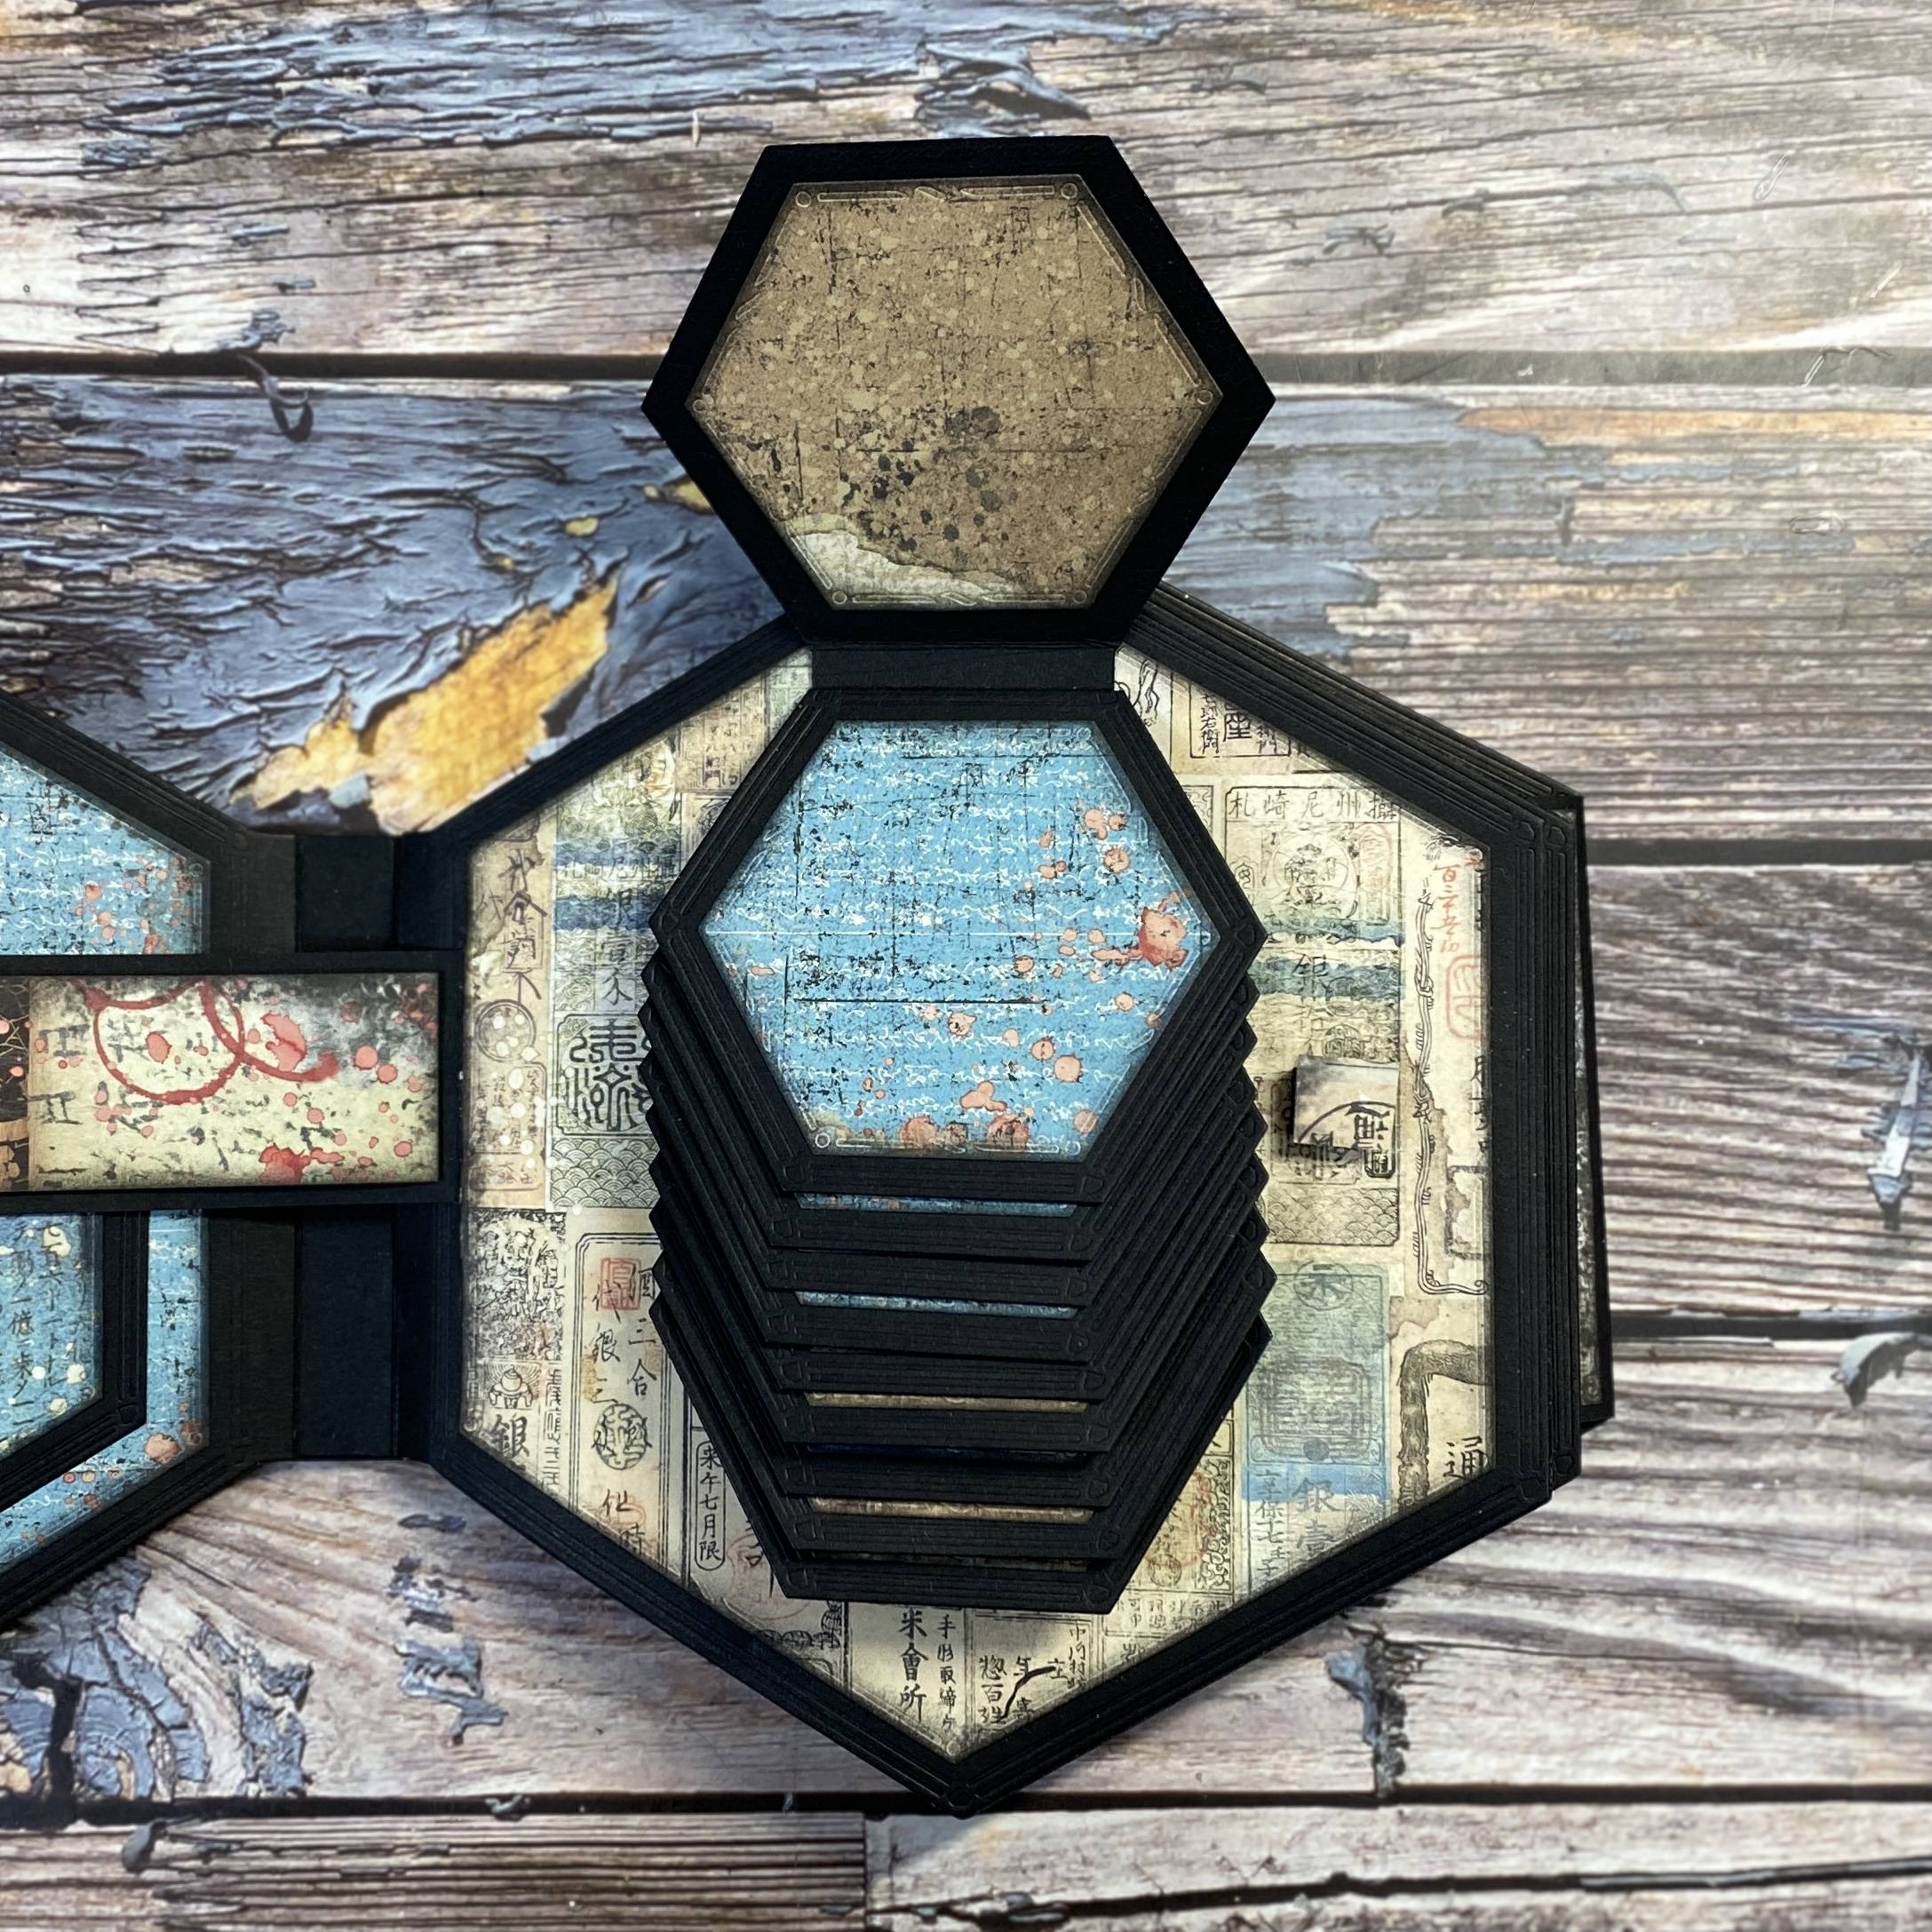
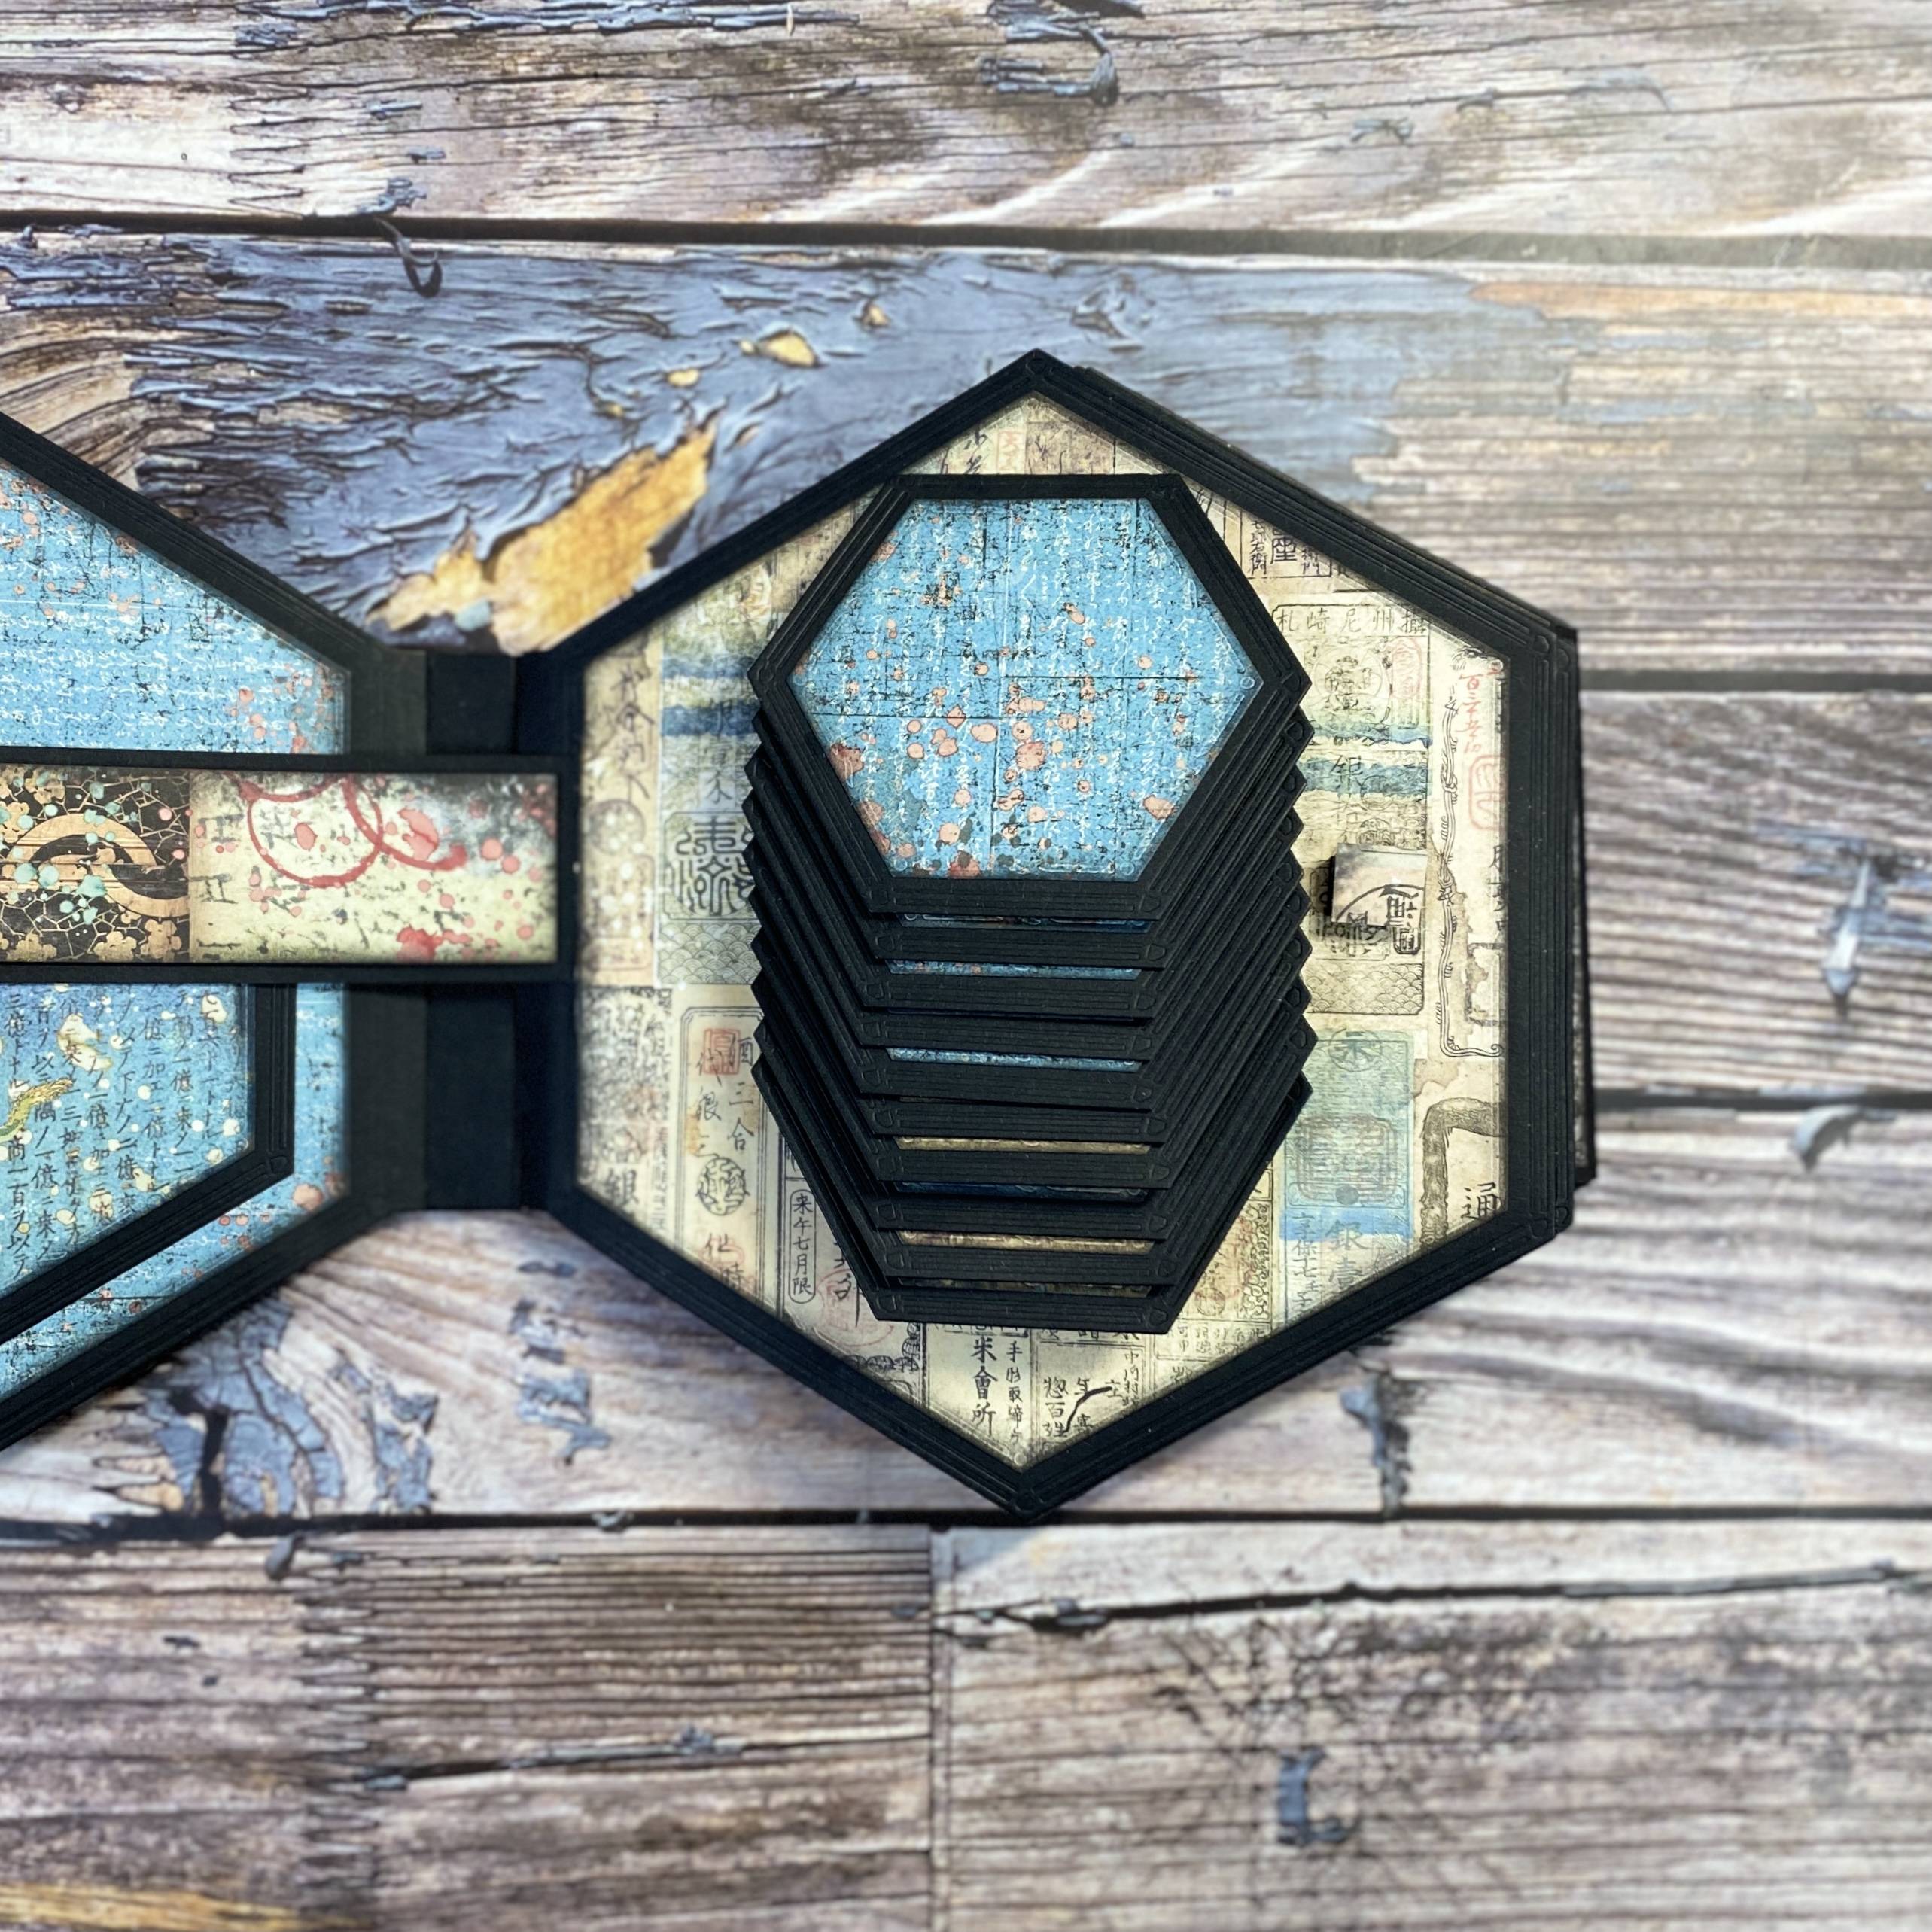
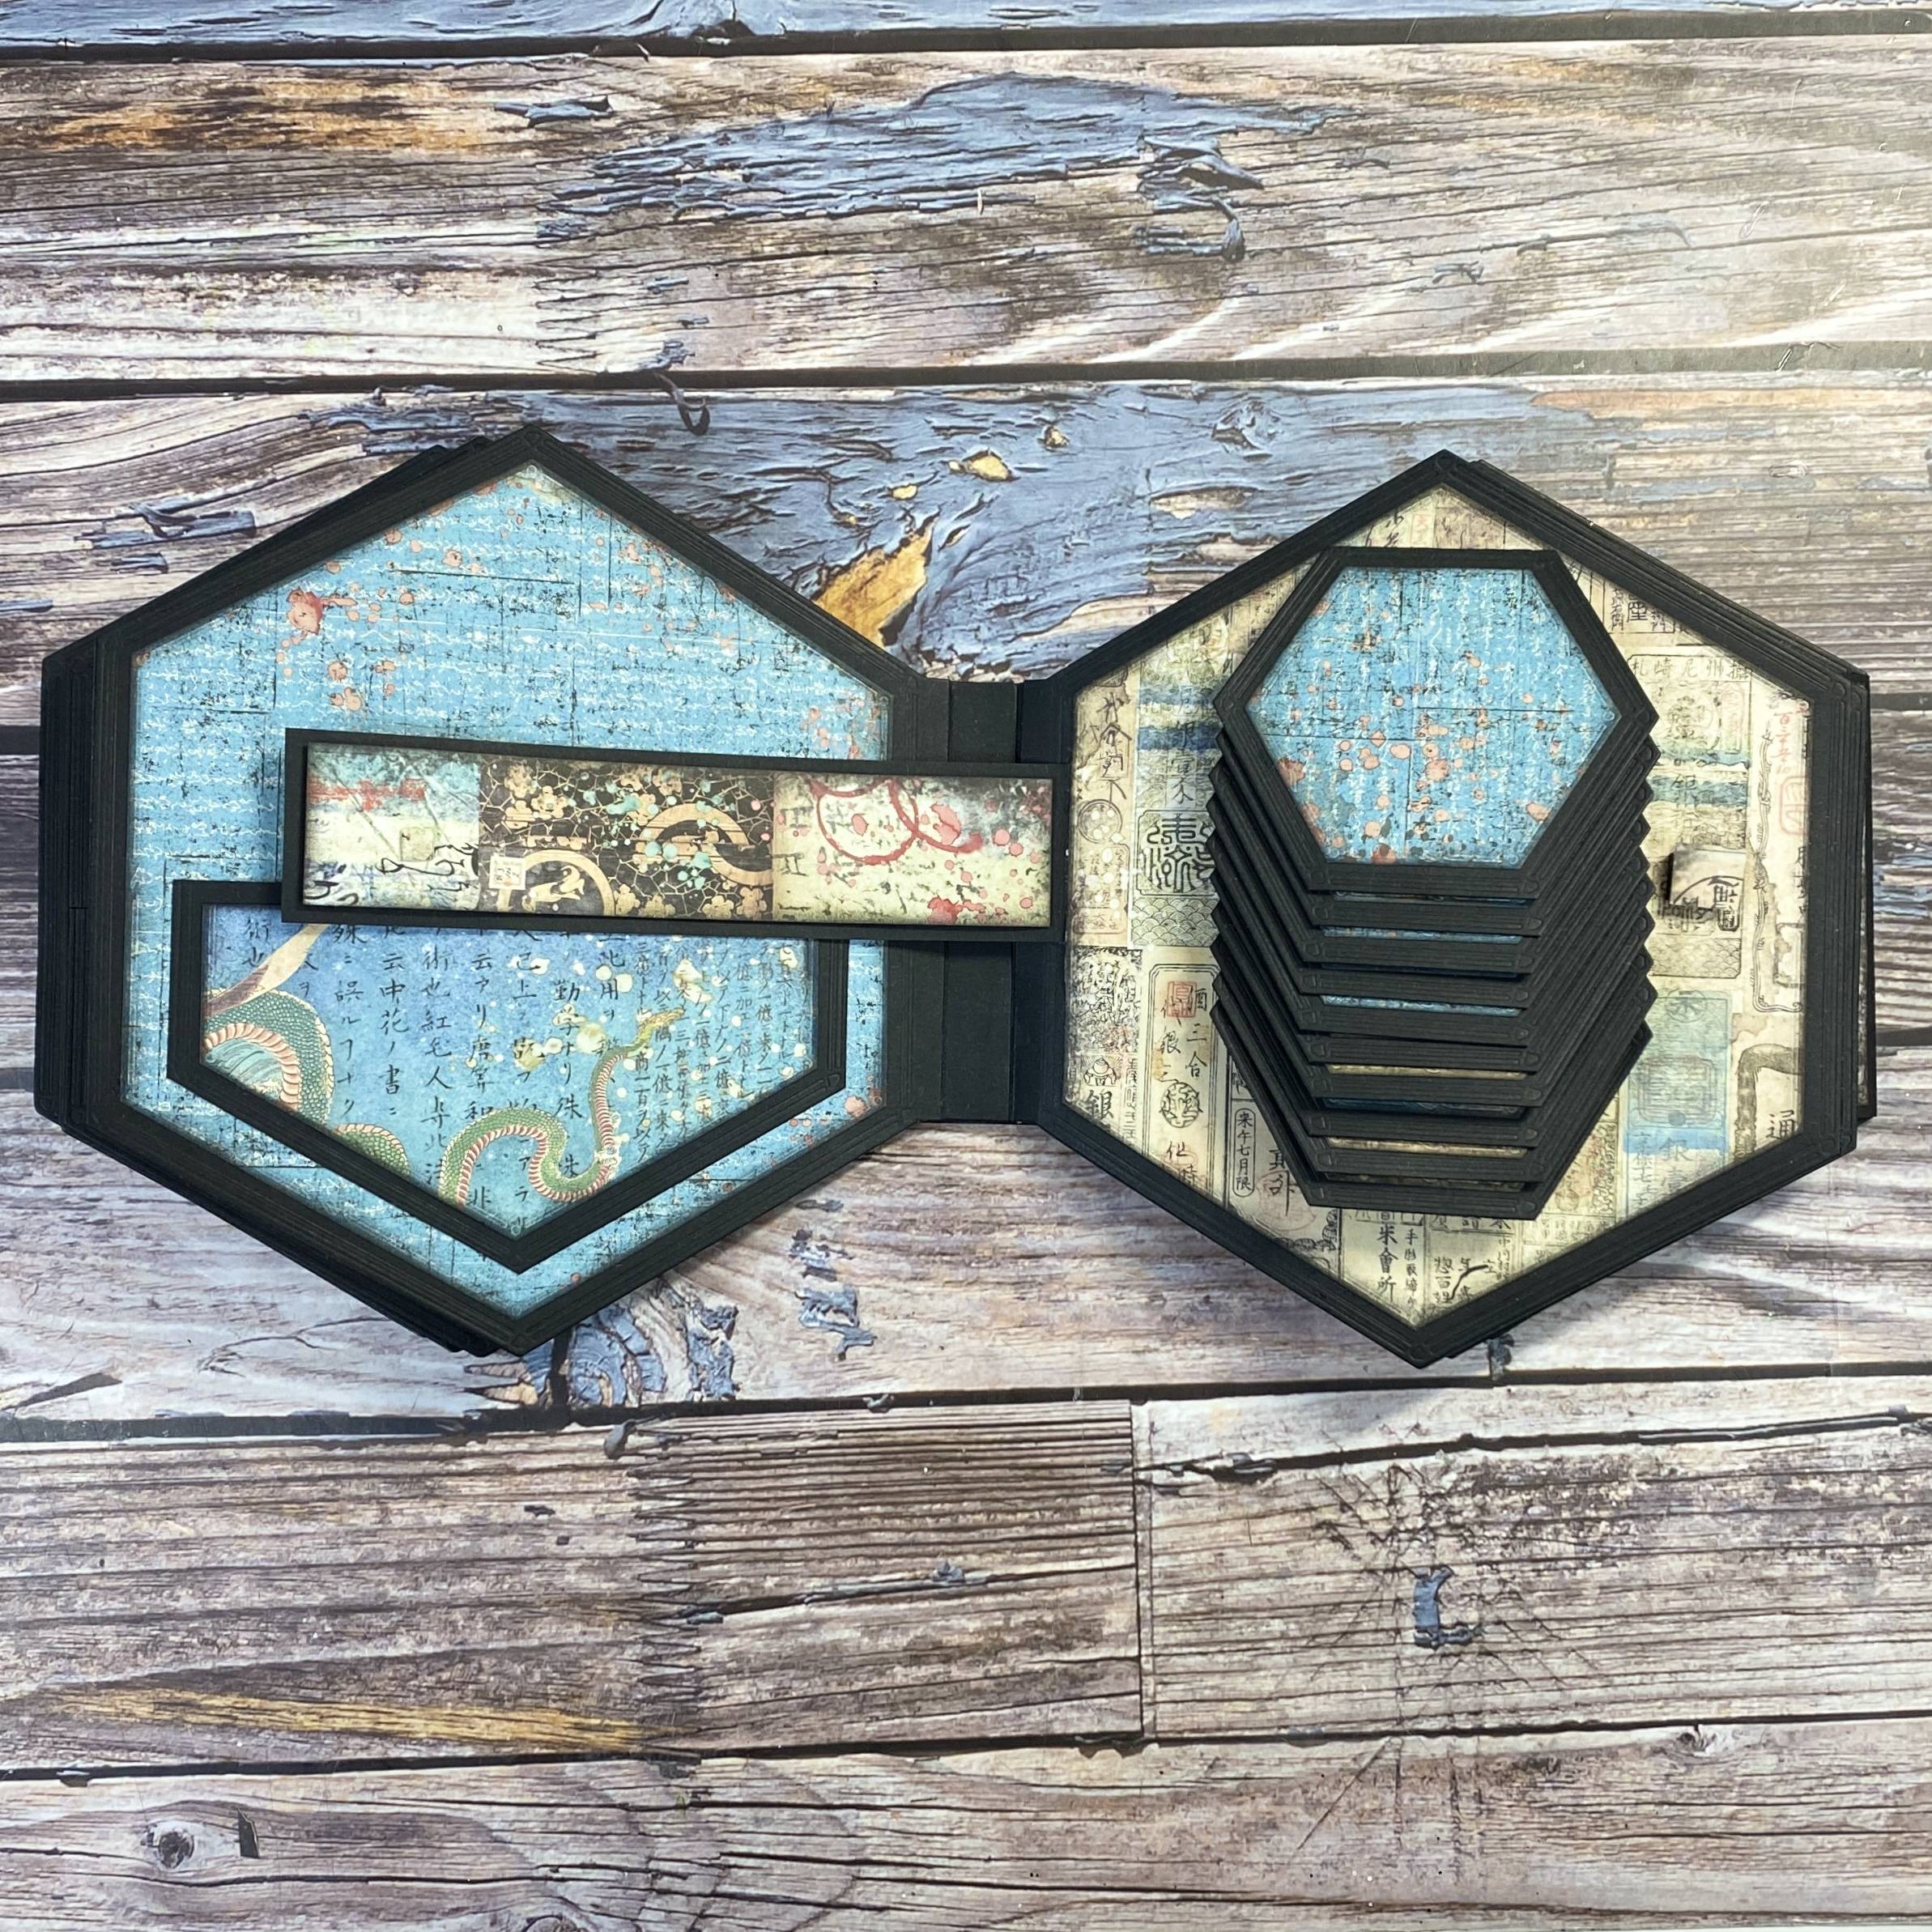
PAGE TWELVE
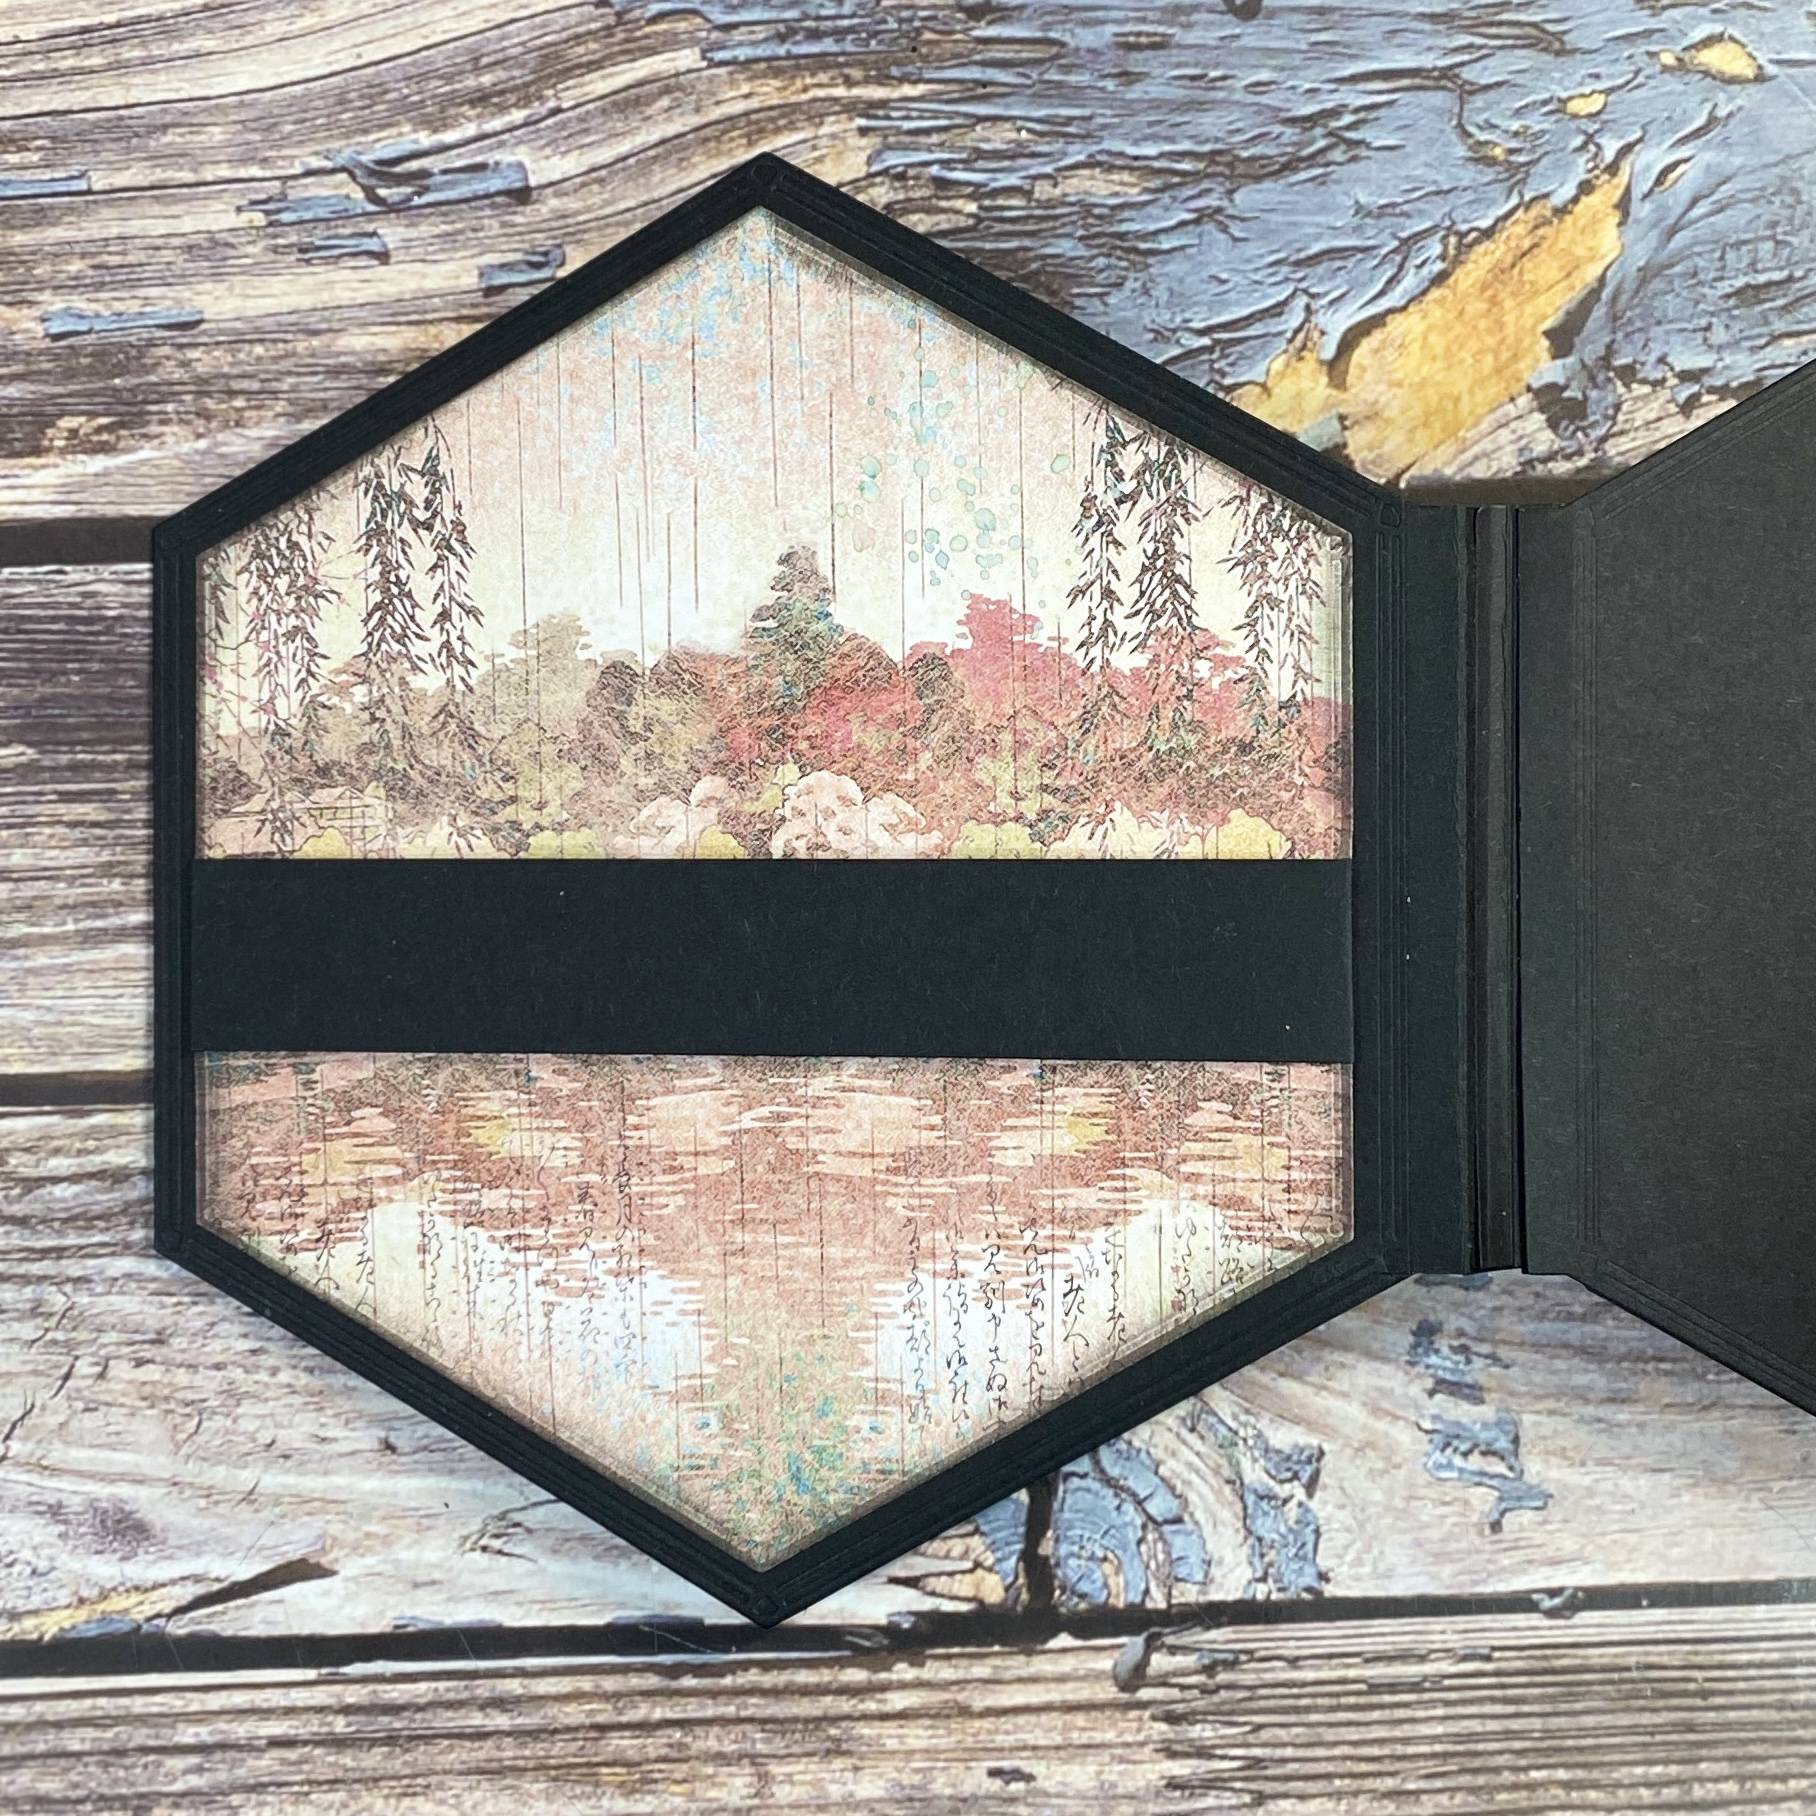
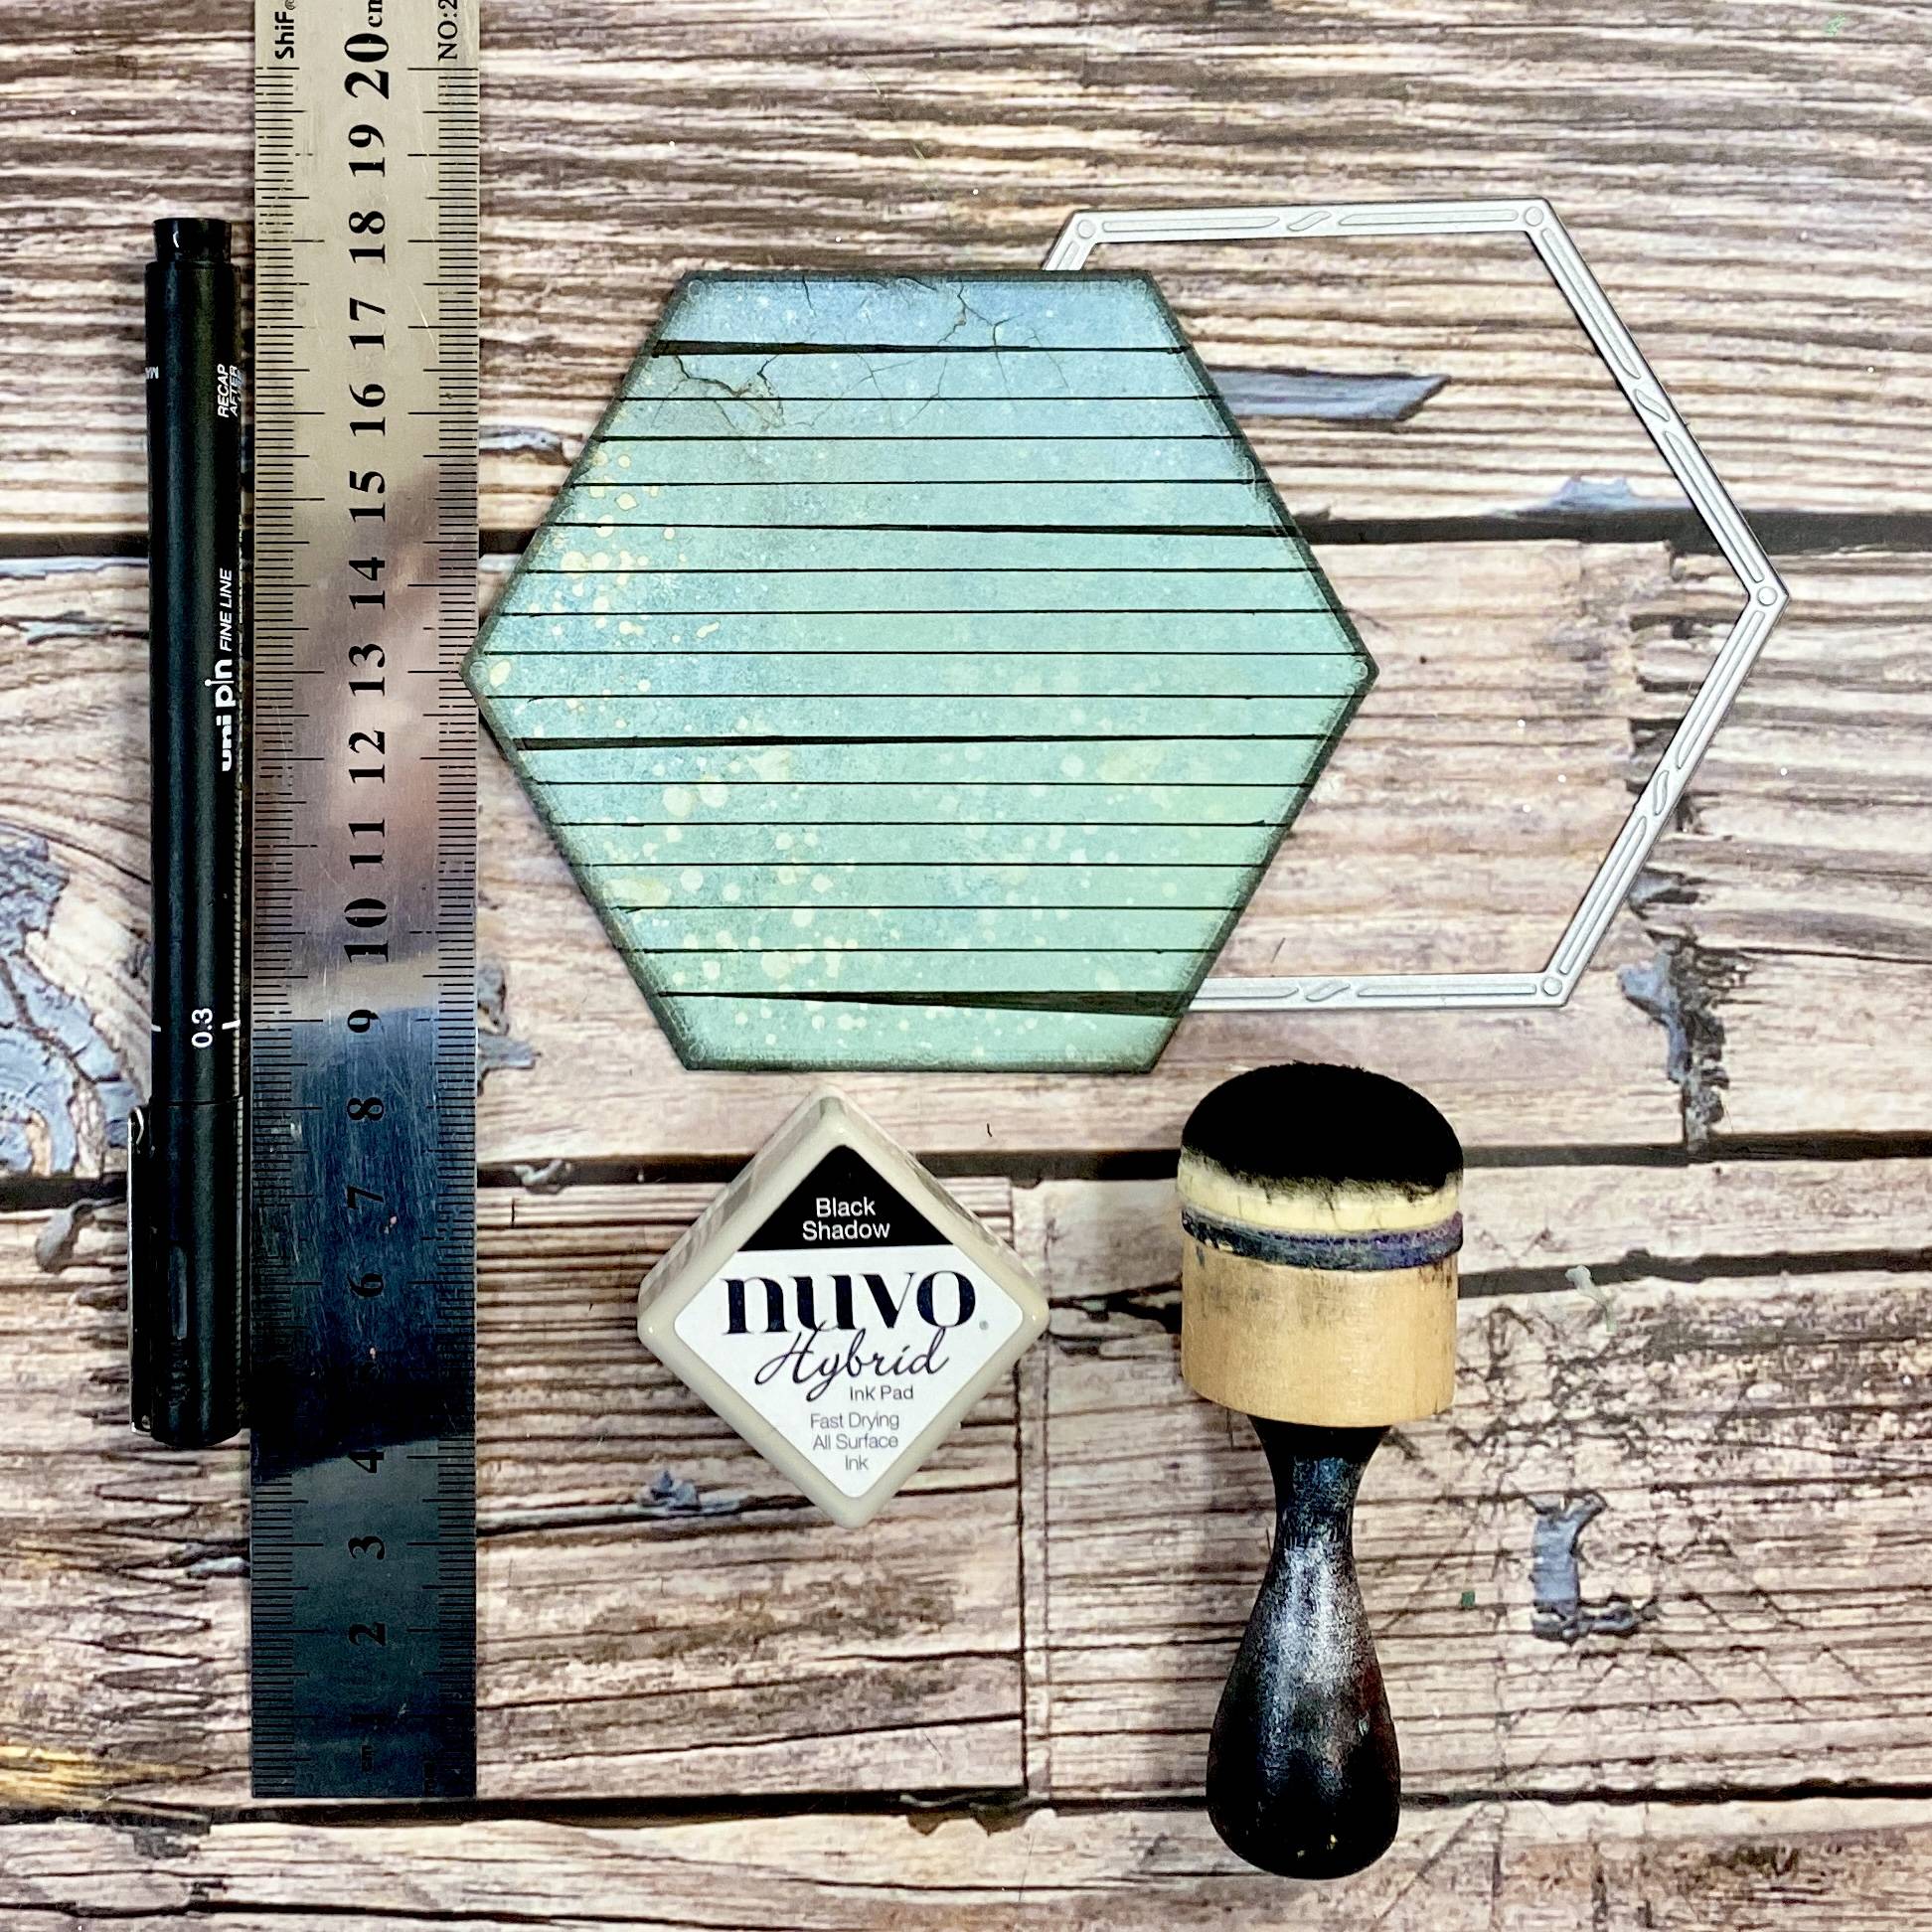
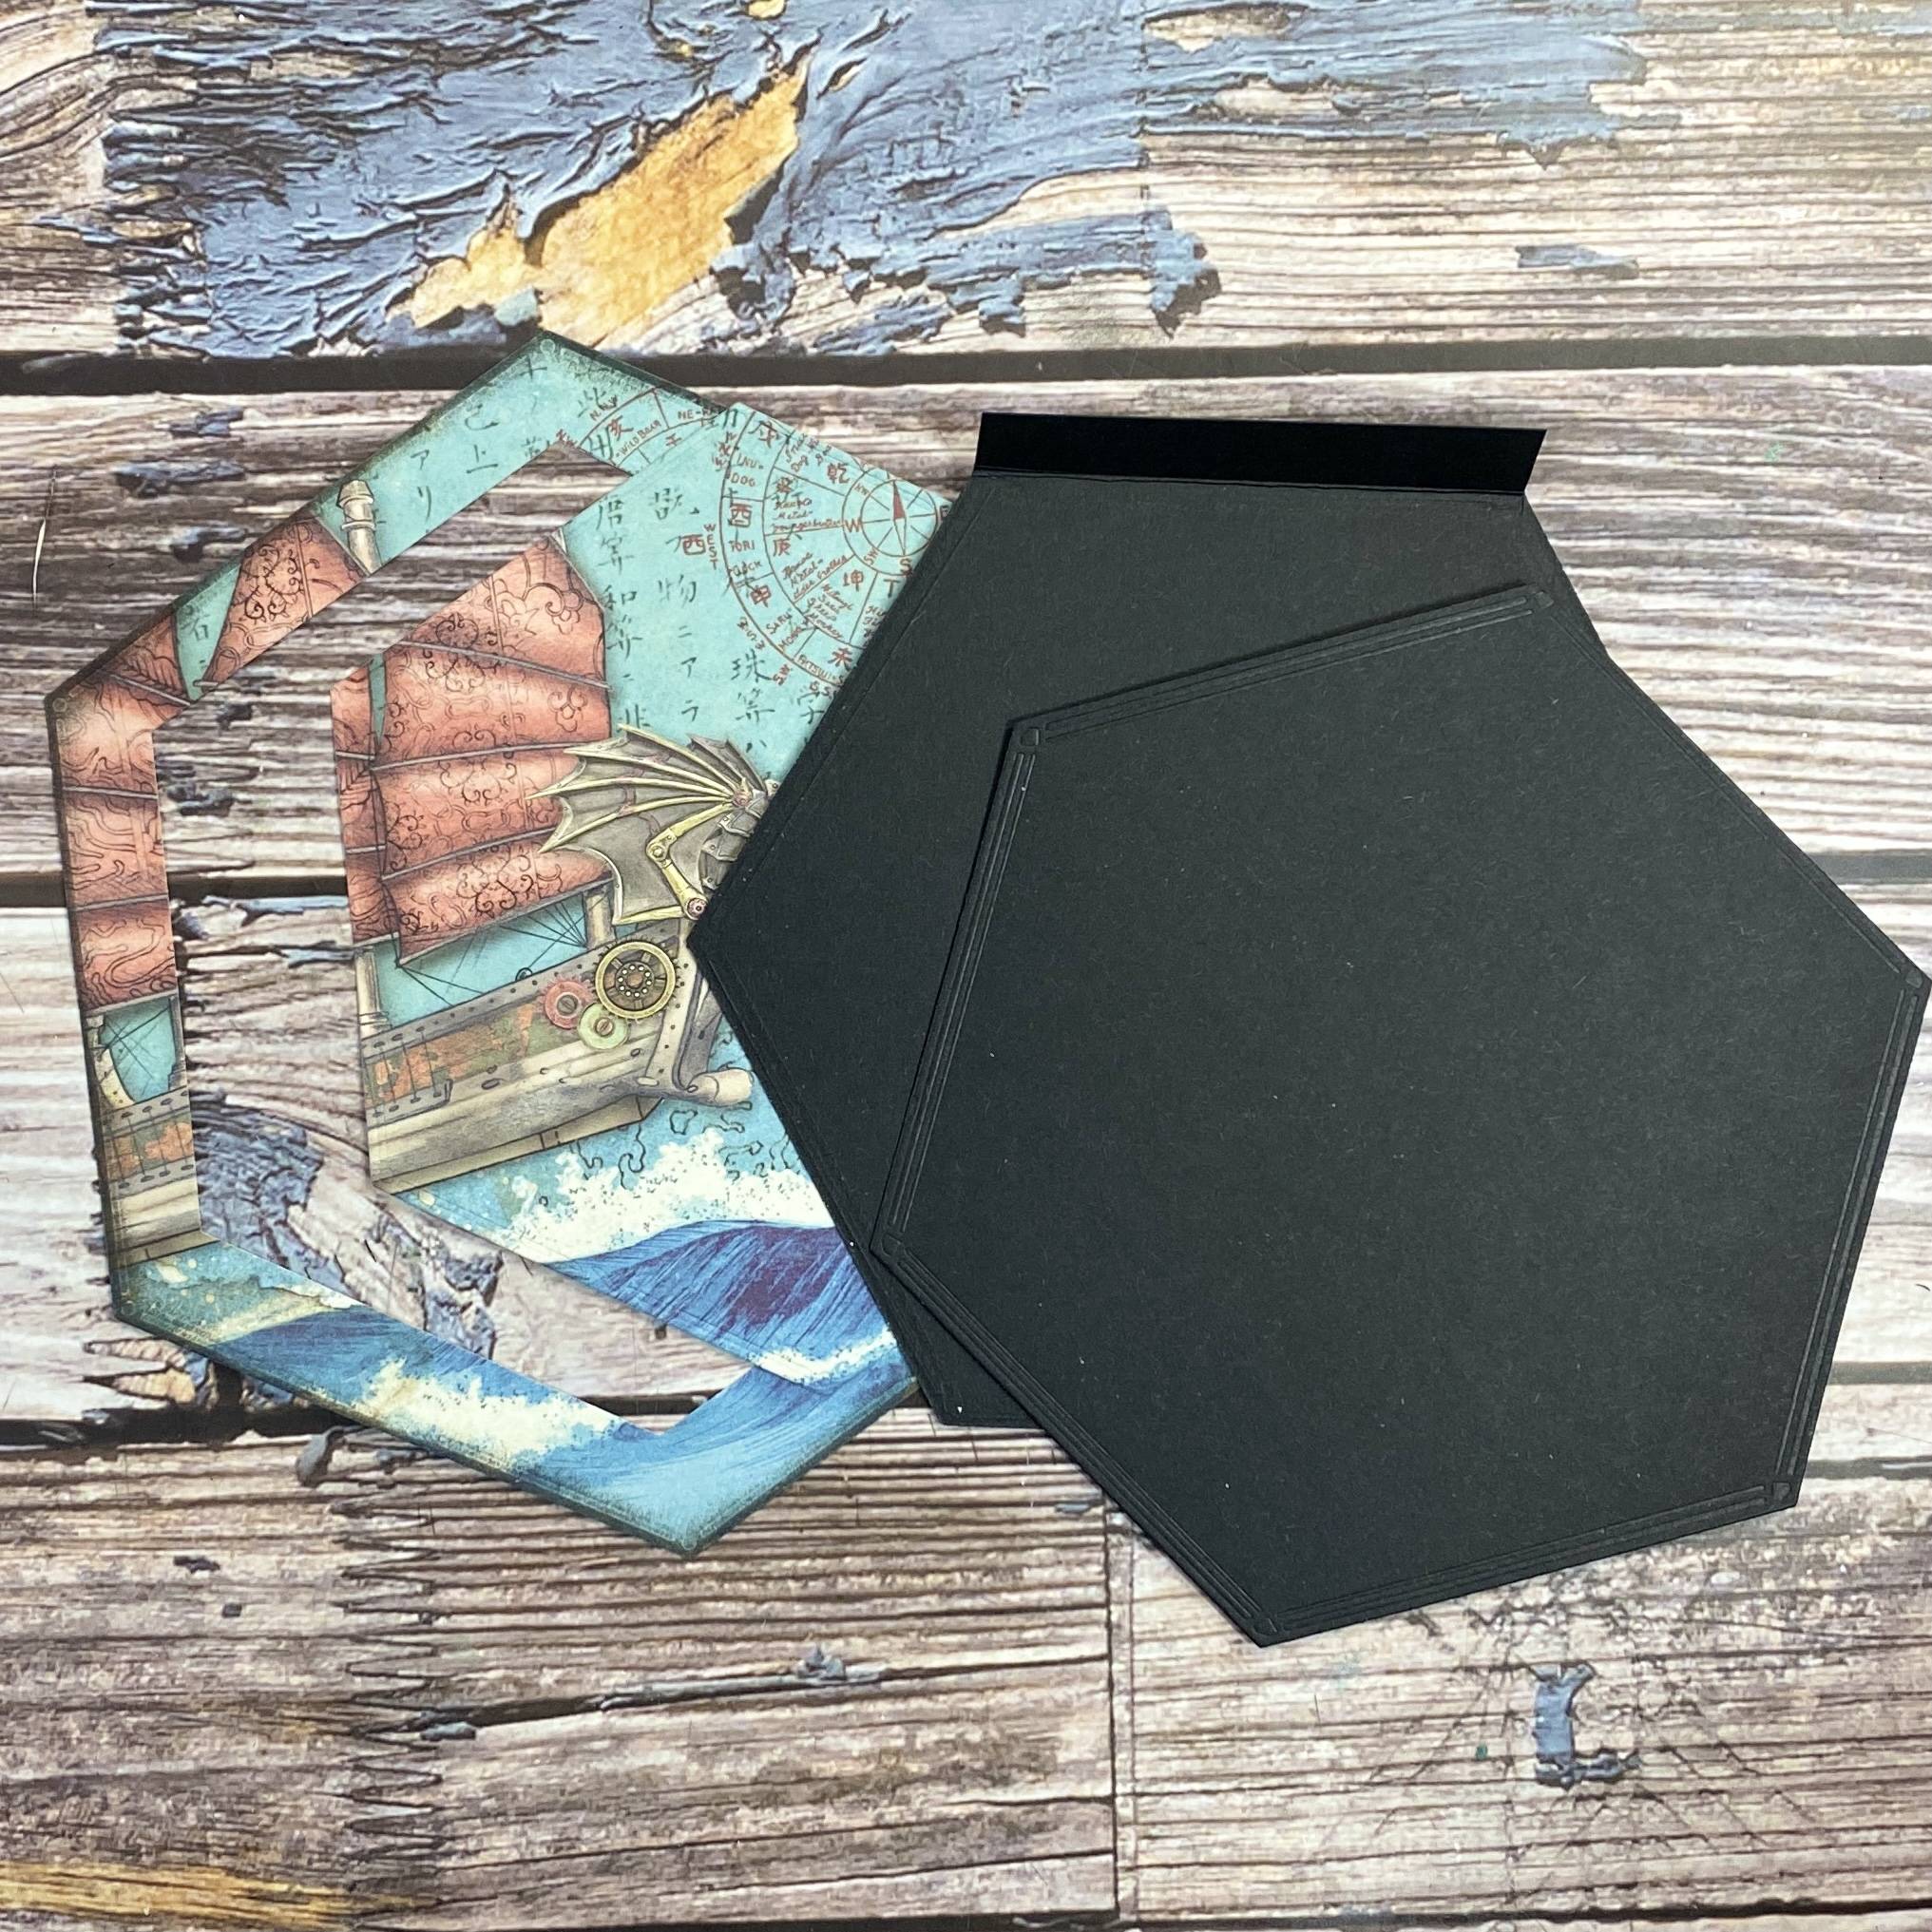
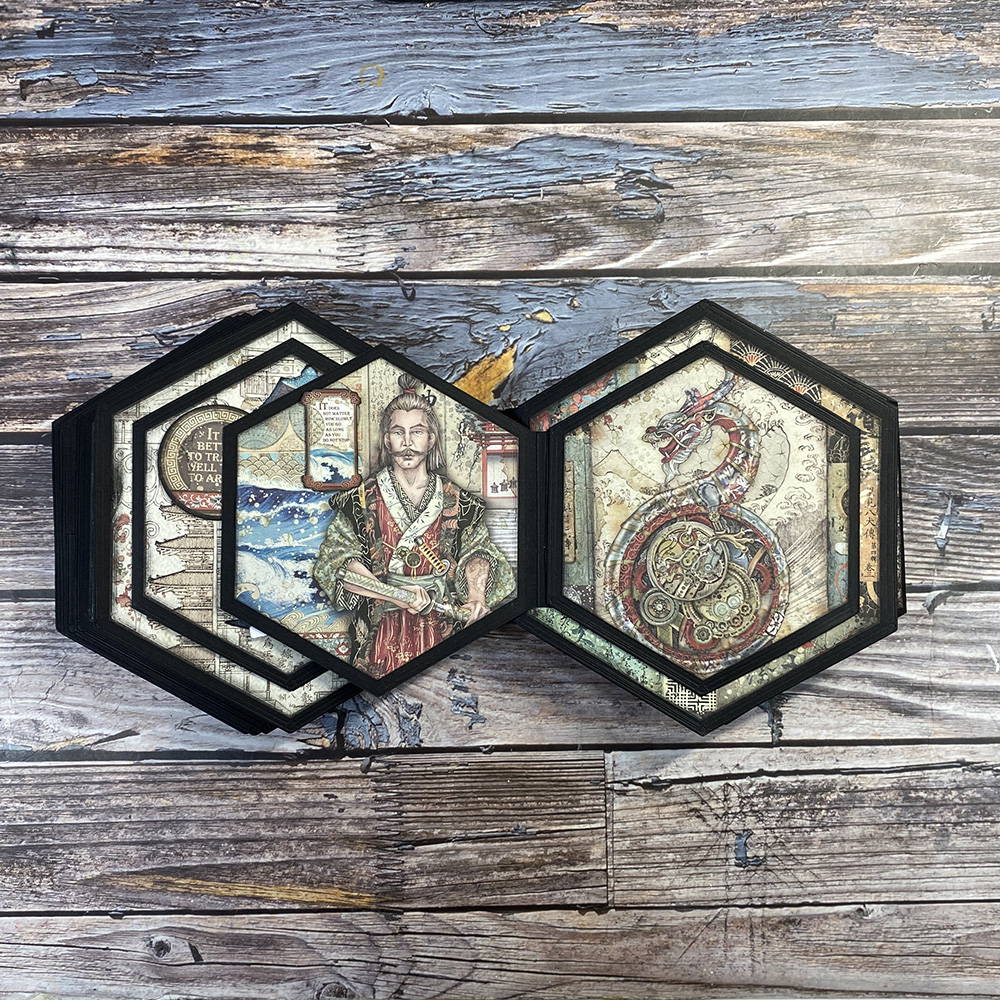
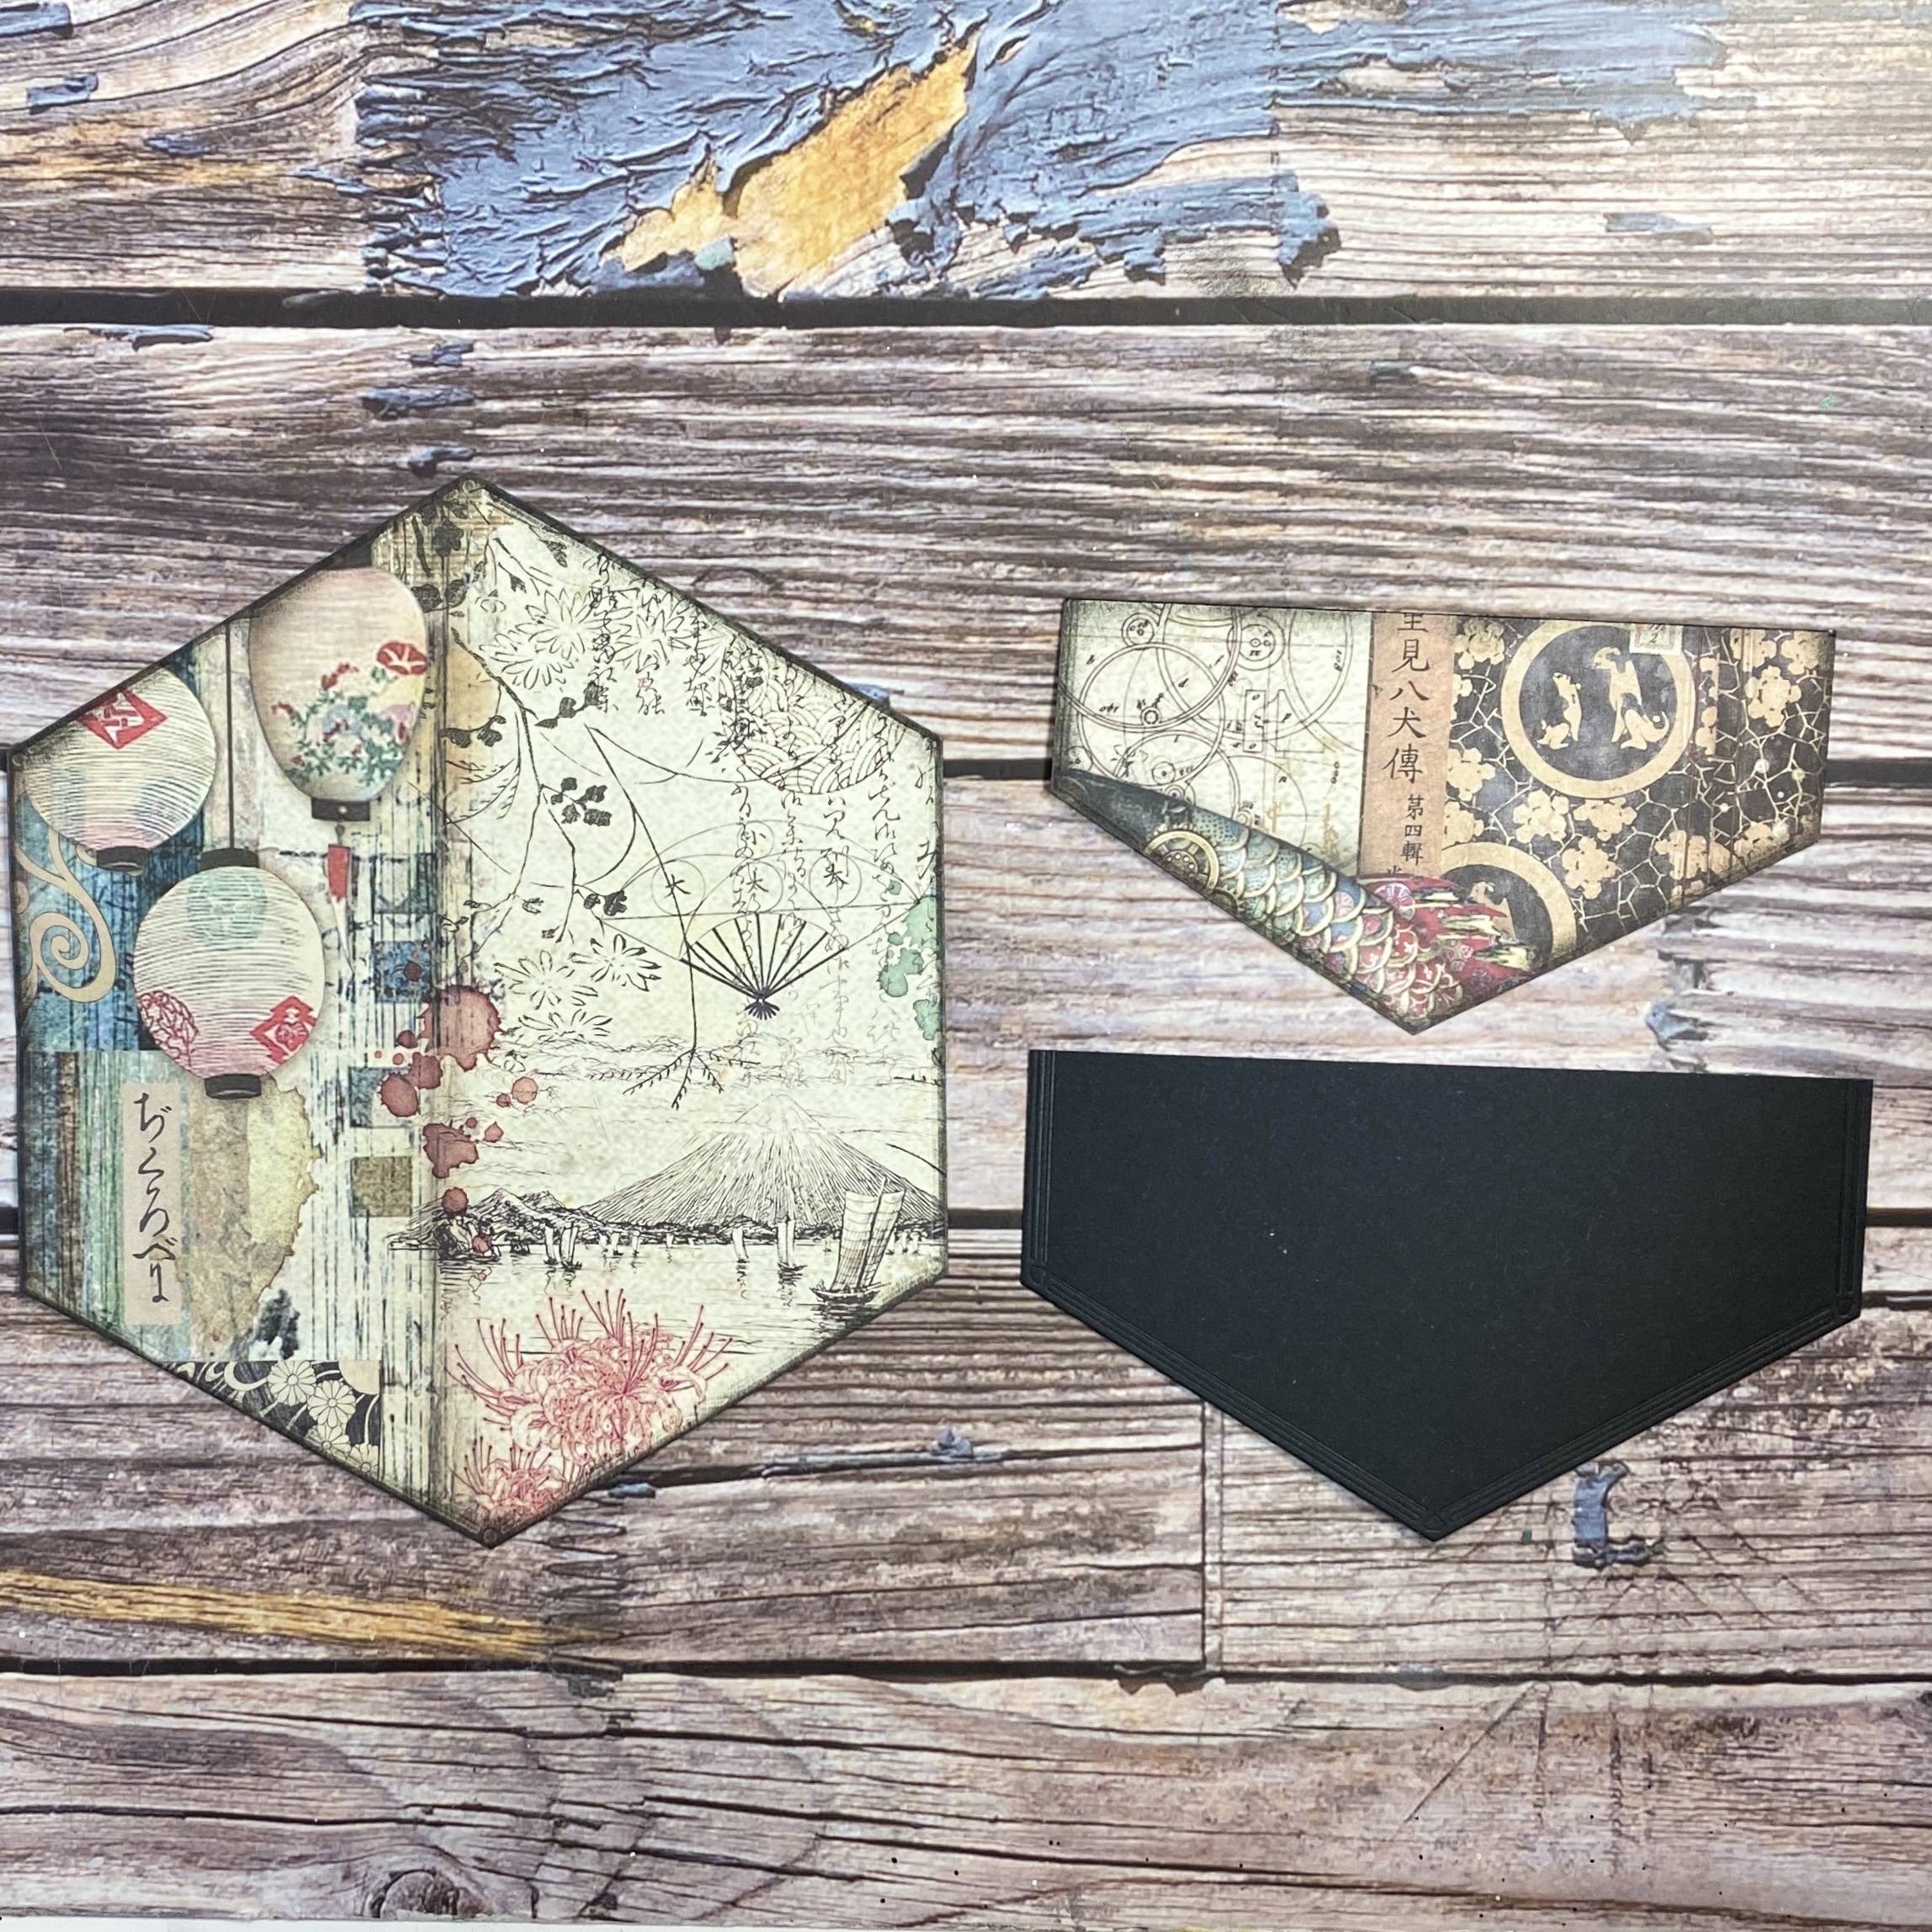
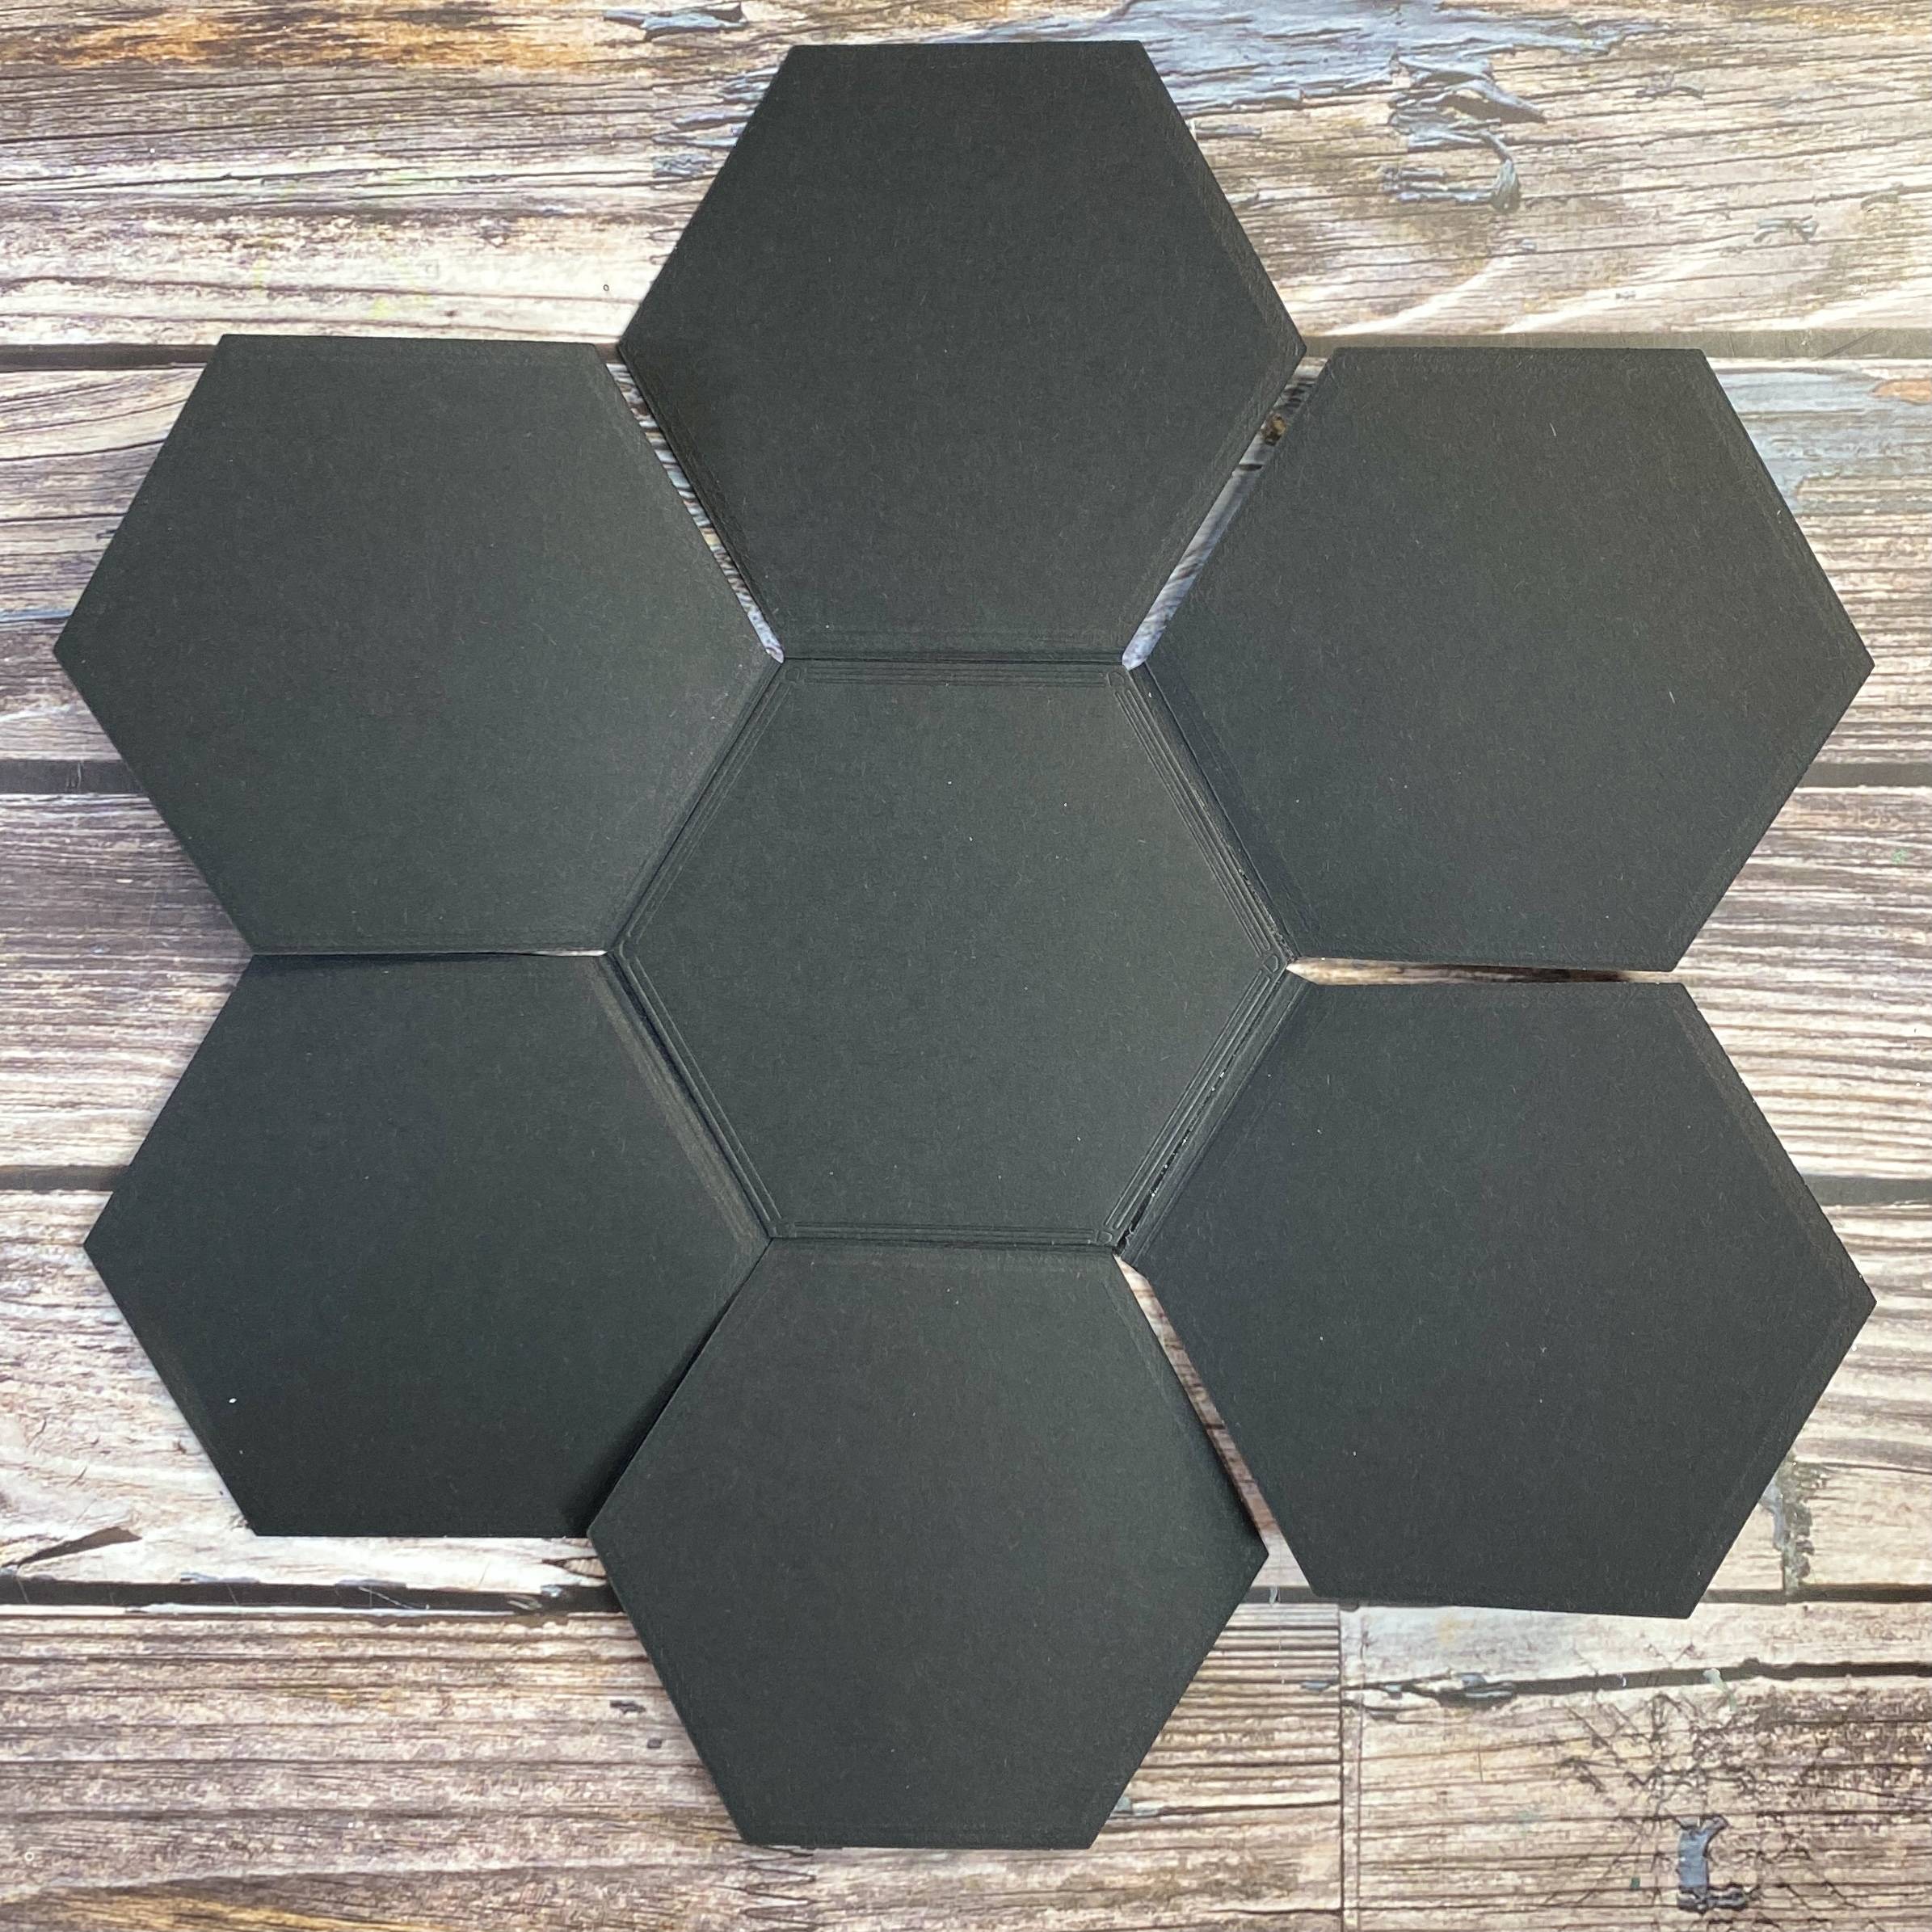
Step 1
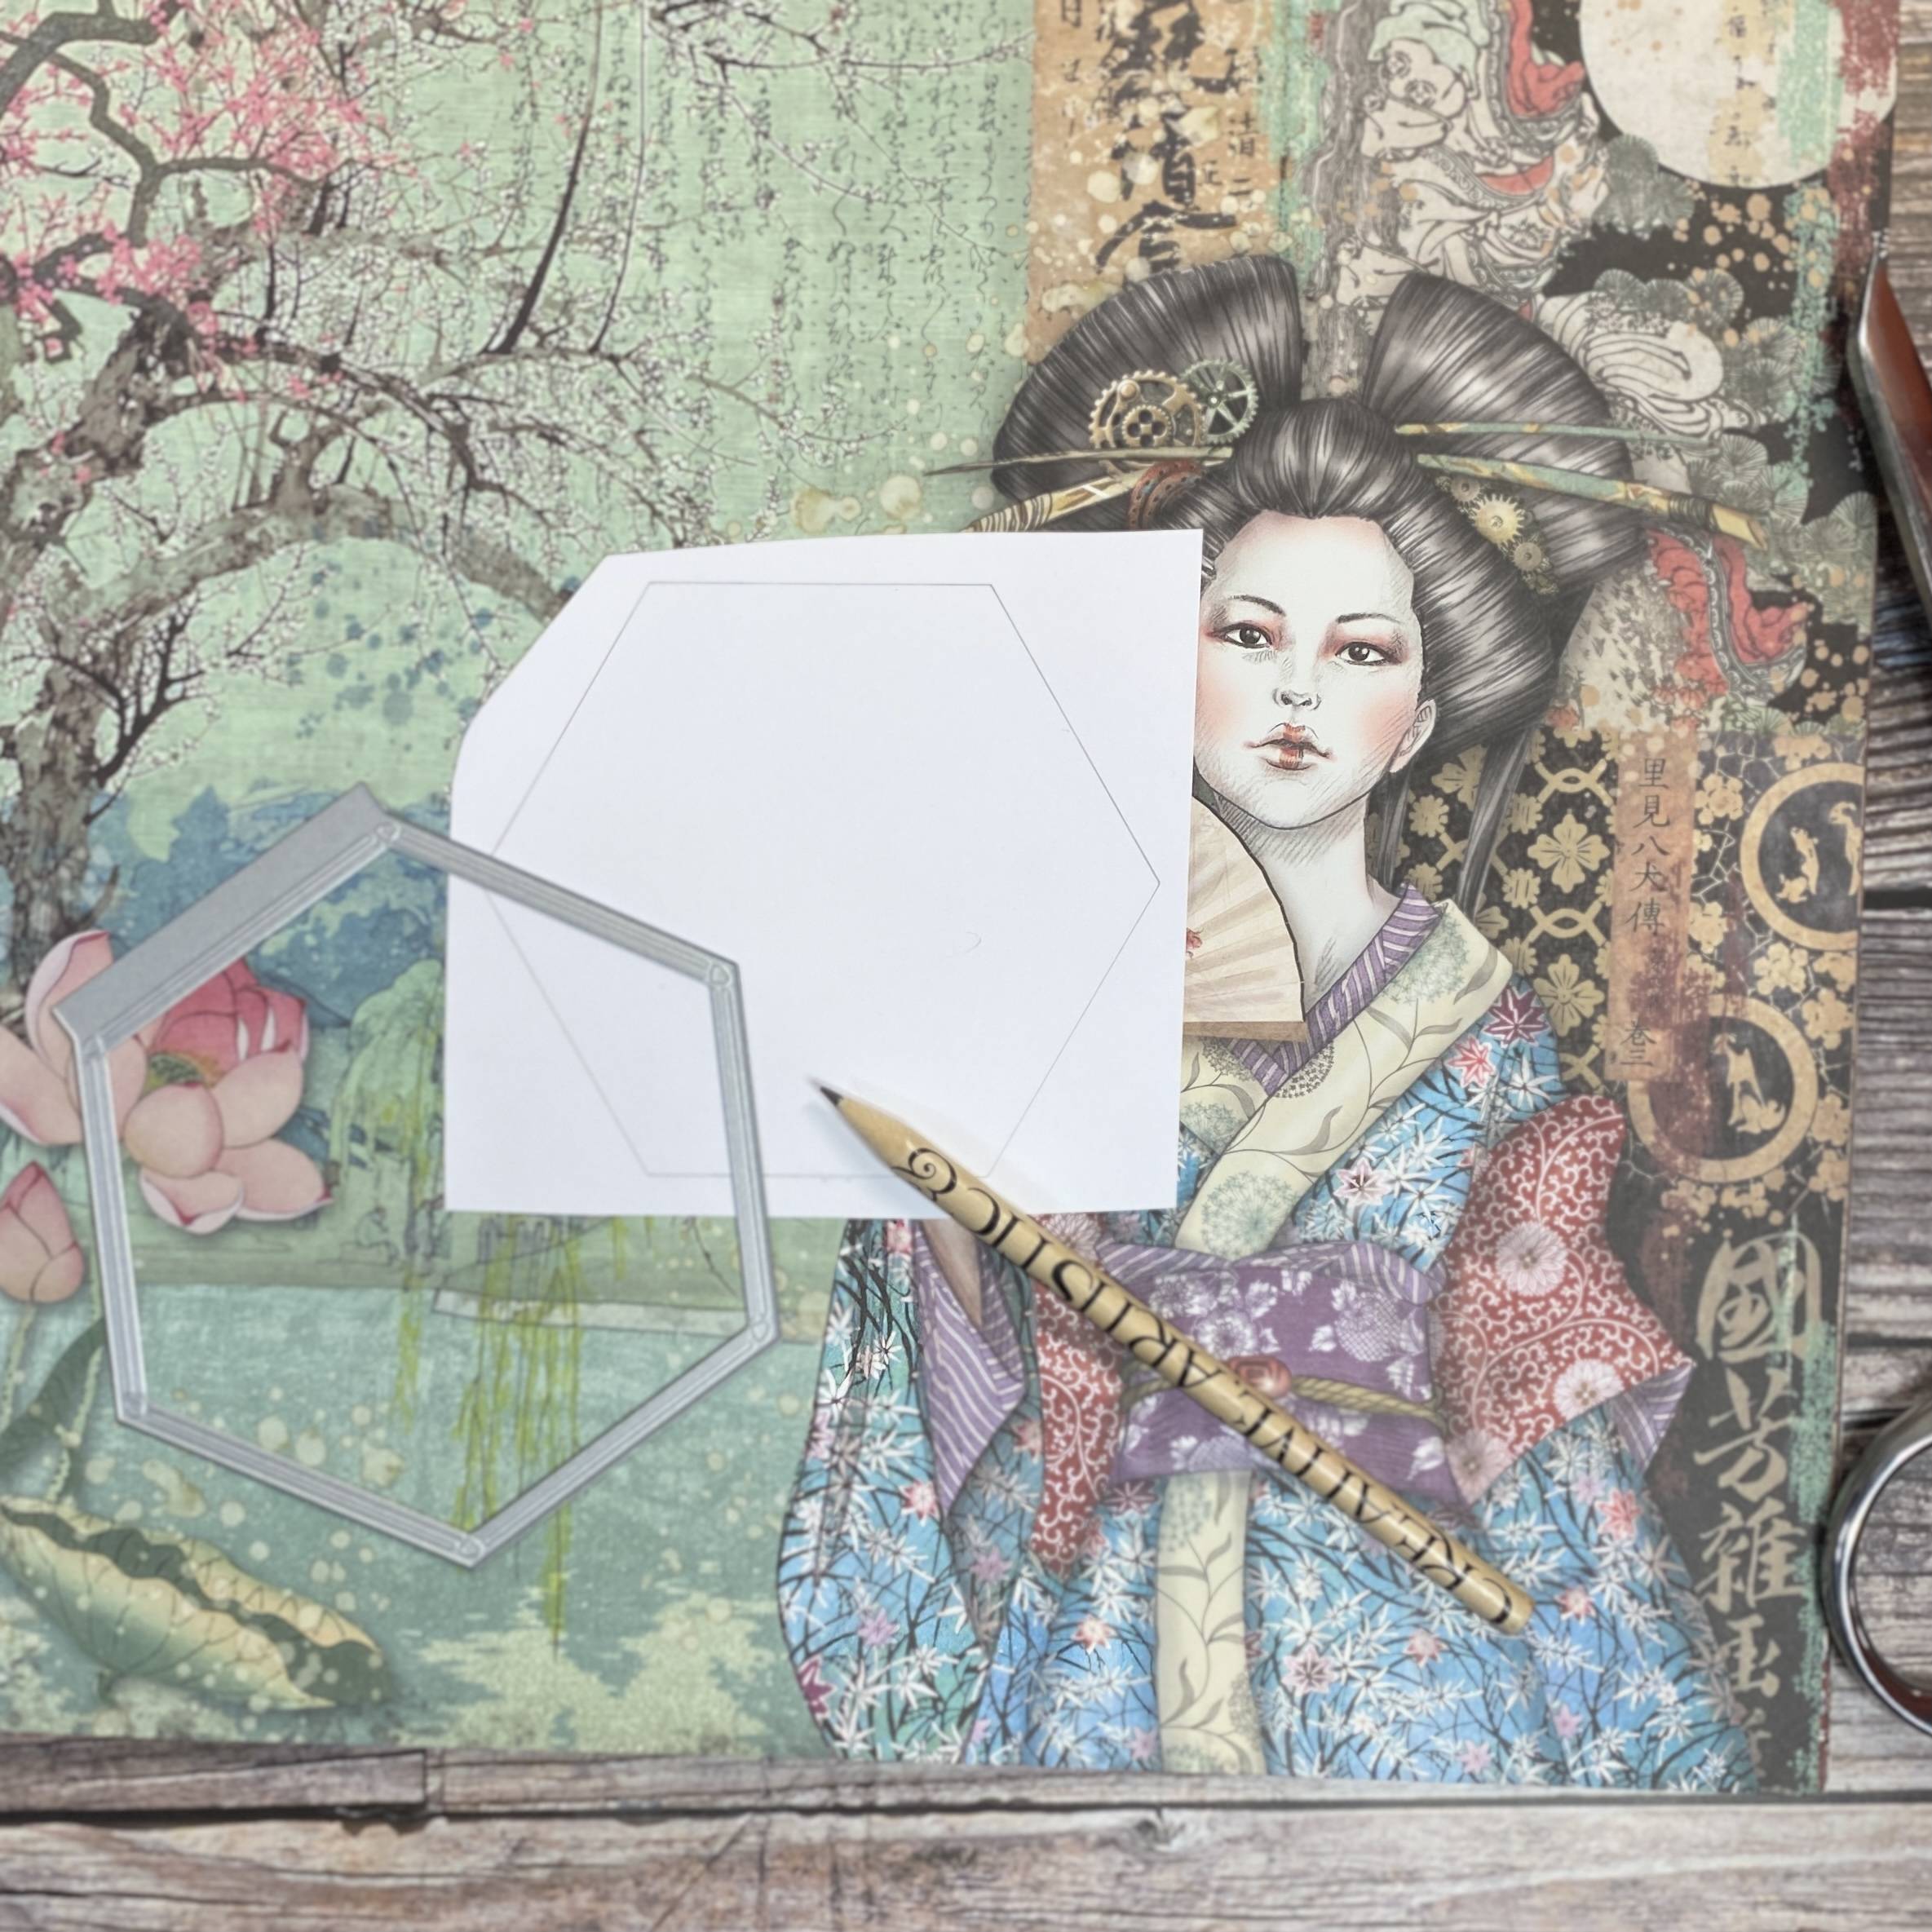
Select a beautiful piece of 12x12 paper. Trace on the inside of the hexagonal die and cut out. You must do this as the Tangerine is A4 in size and the 12x12 paper will not go through whole.
Step 2

Using your template and a ruler, work out your pattern before your cut into your paper.
Step 3
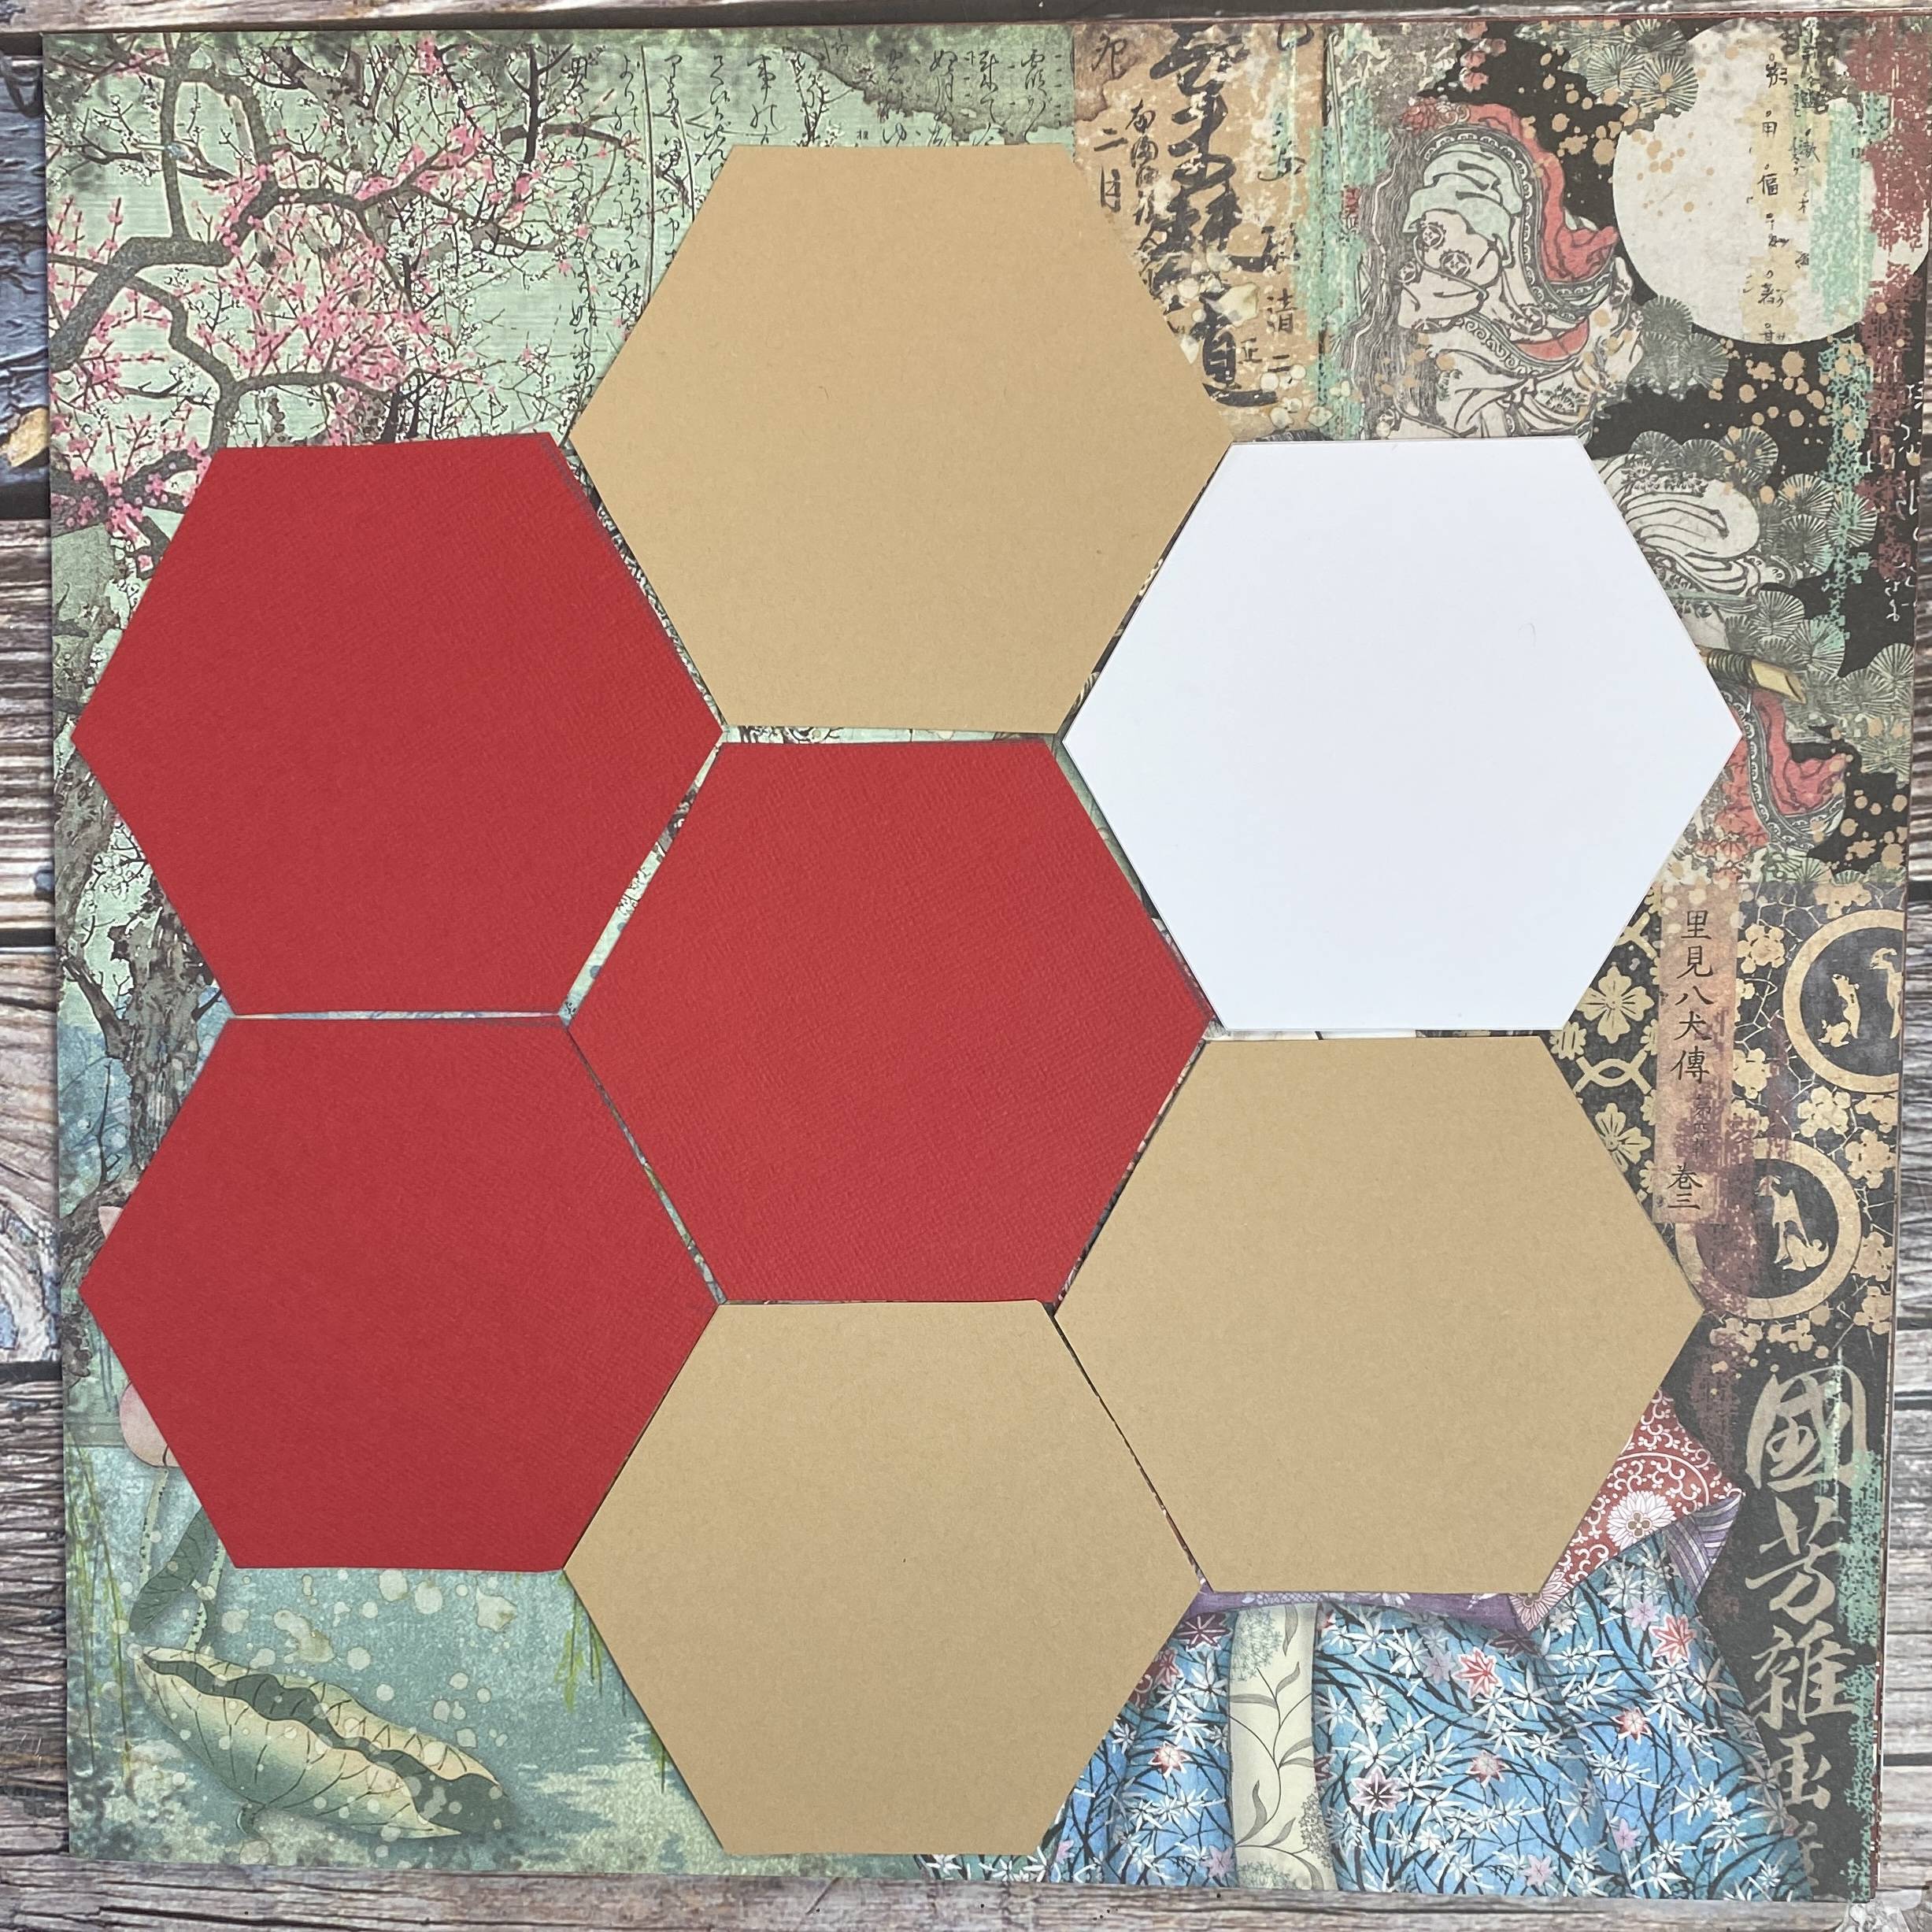
Repeat your template to create the pattern you will be cutting out.
Step 4

Use a pencil to trace around each template, very carefully.
Step 5
Use scissors to cut all your pieces out.
Step 6
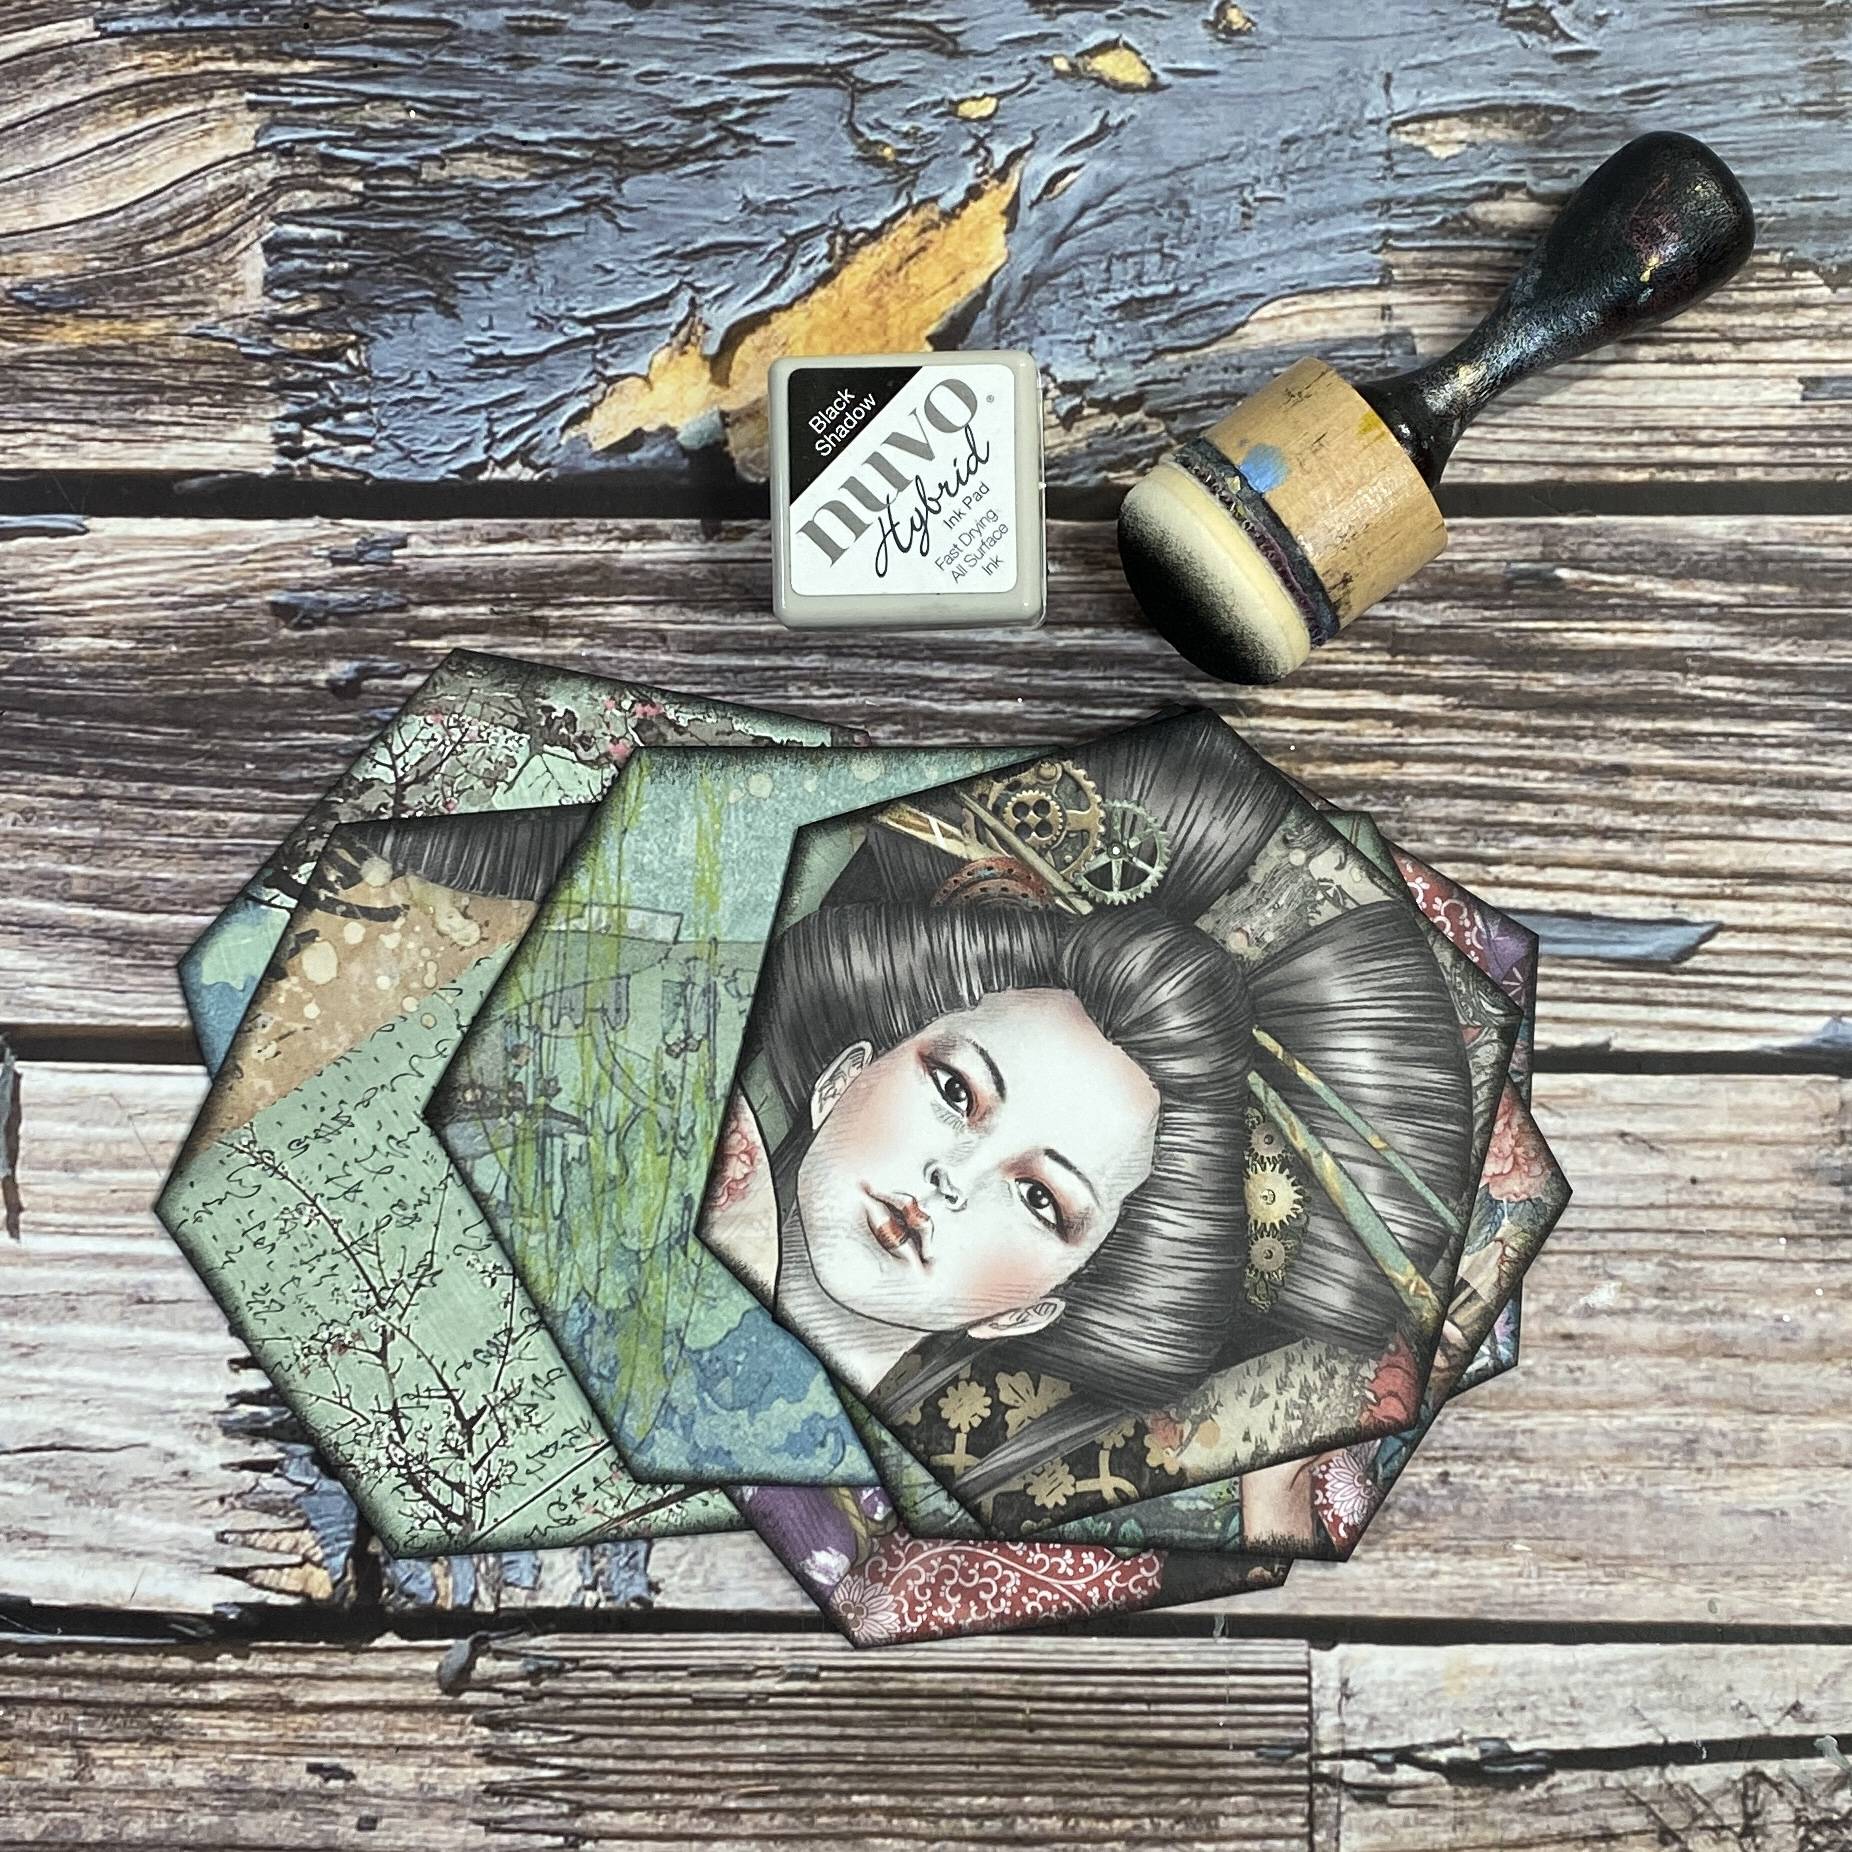
Add some Nuvo Black Shadow ink to all edges and set aside.
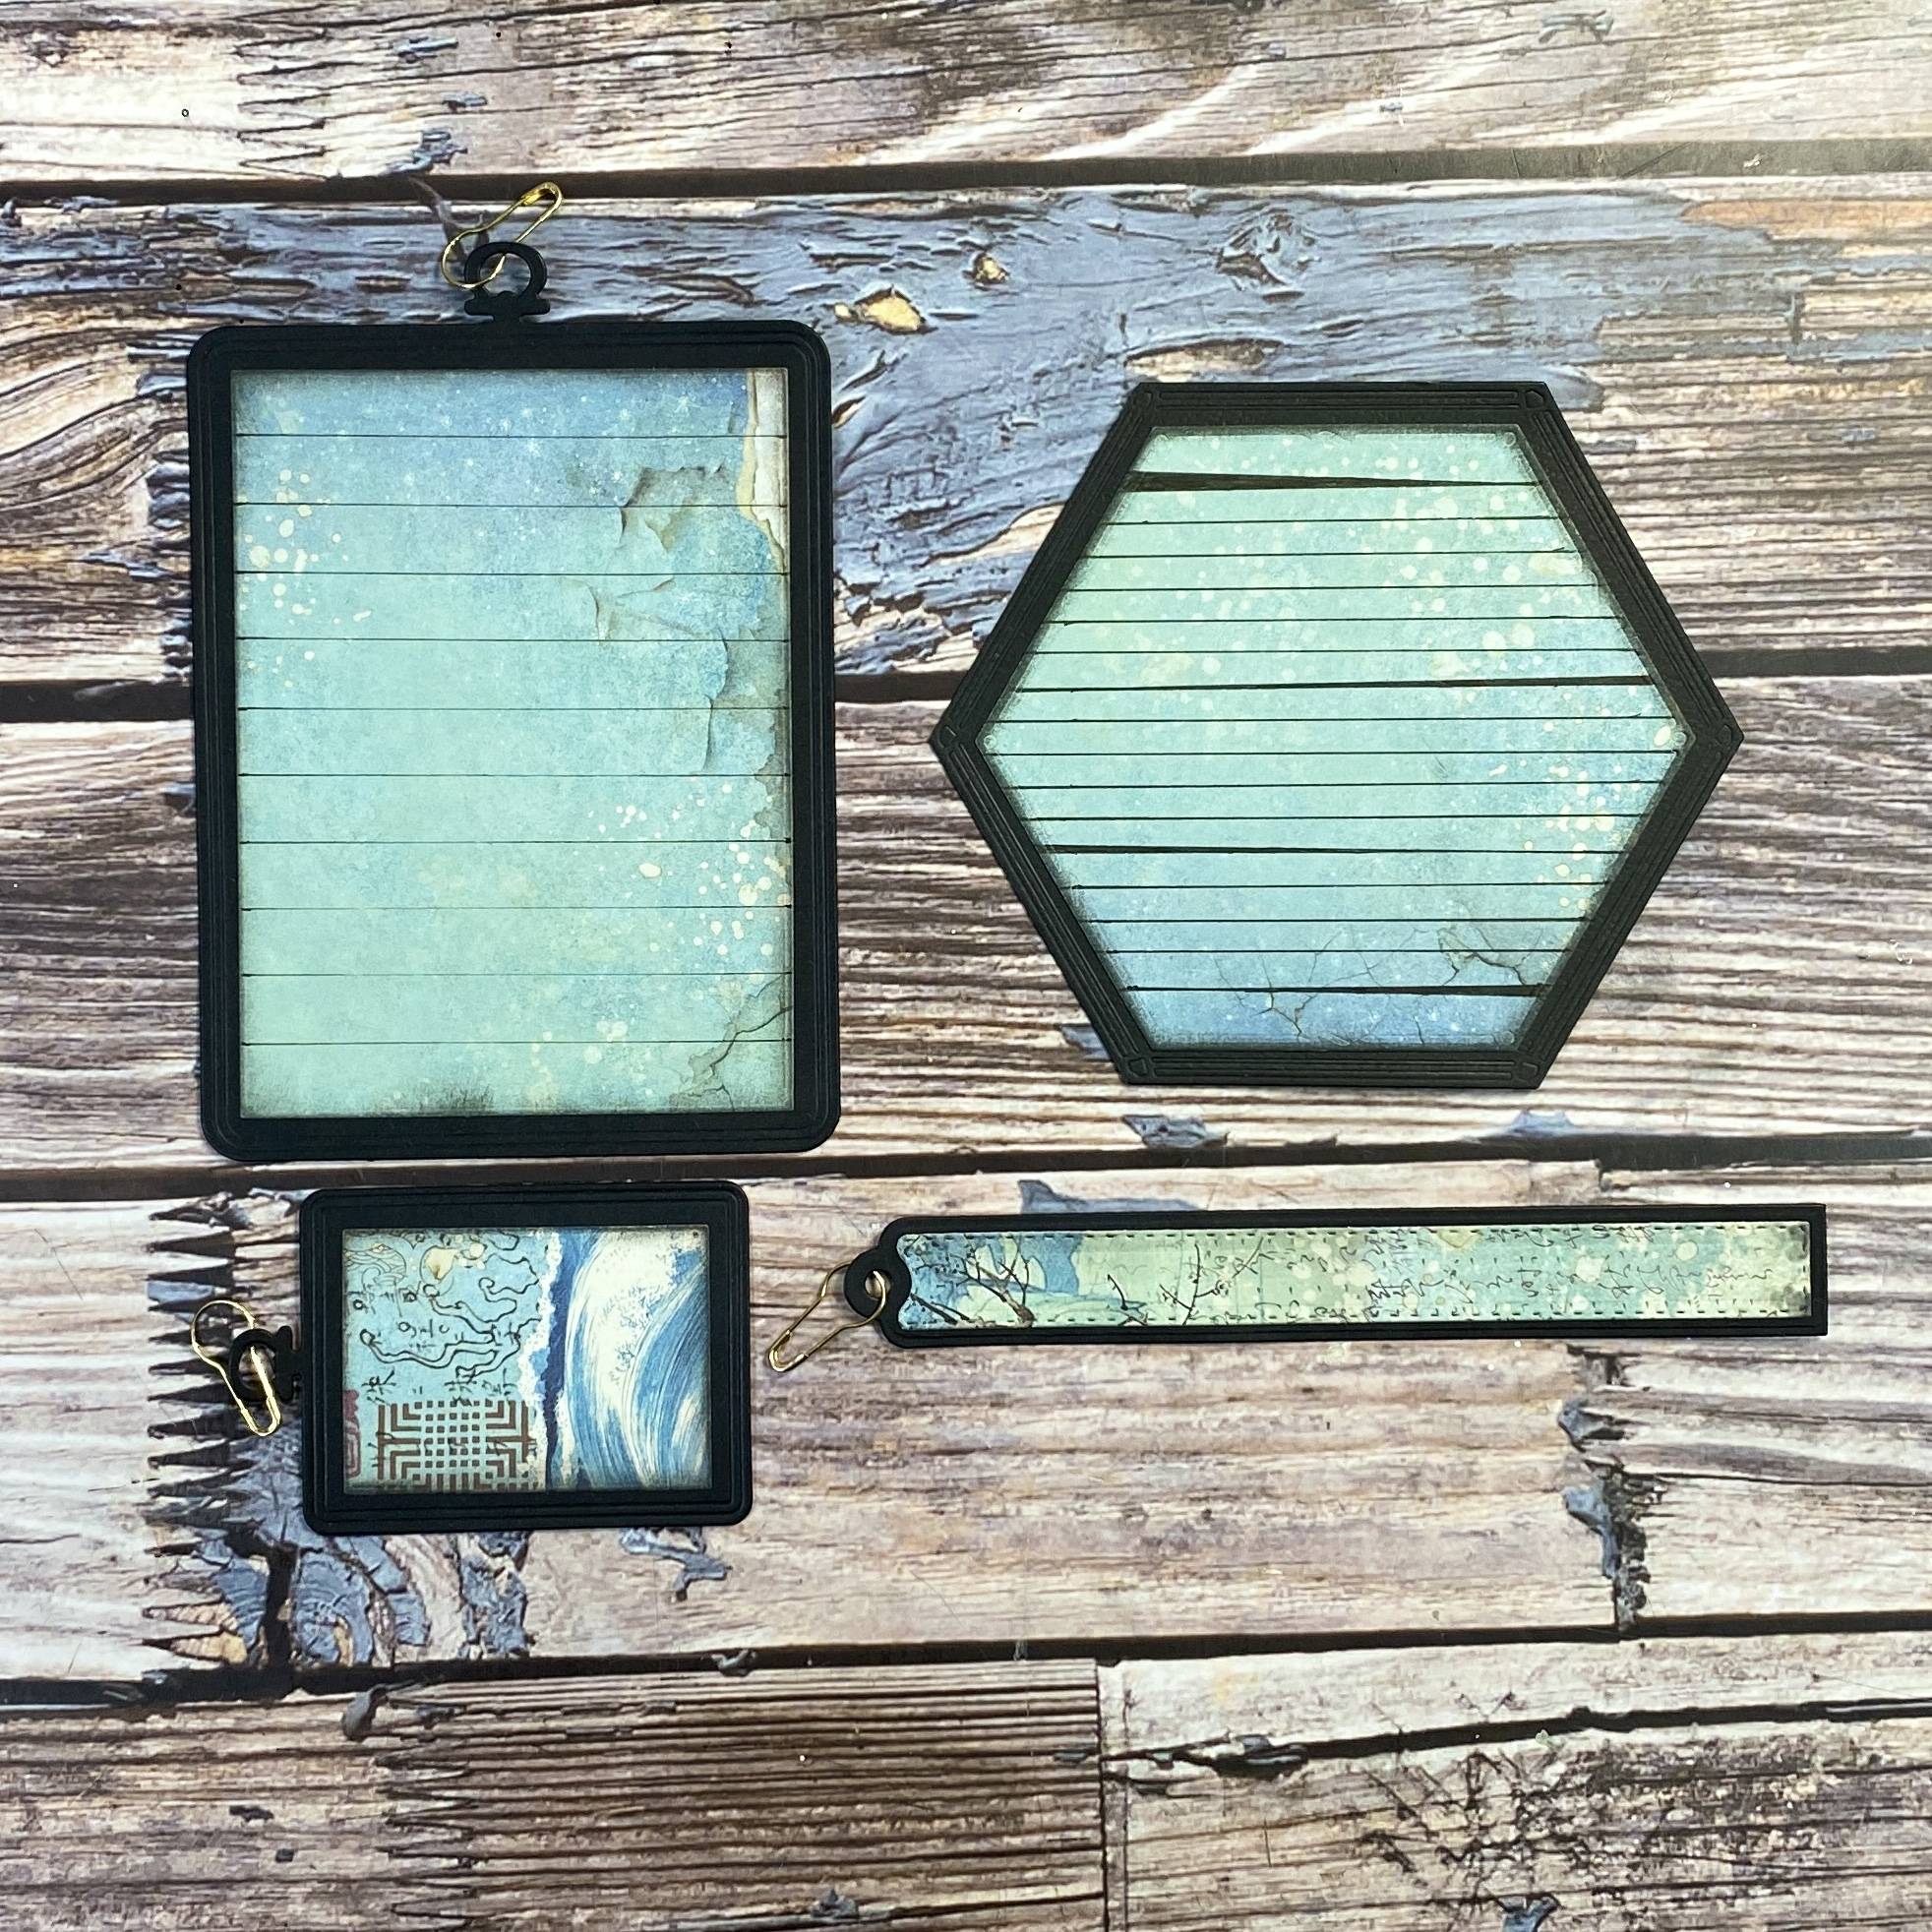
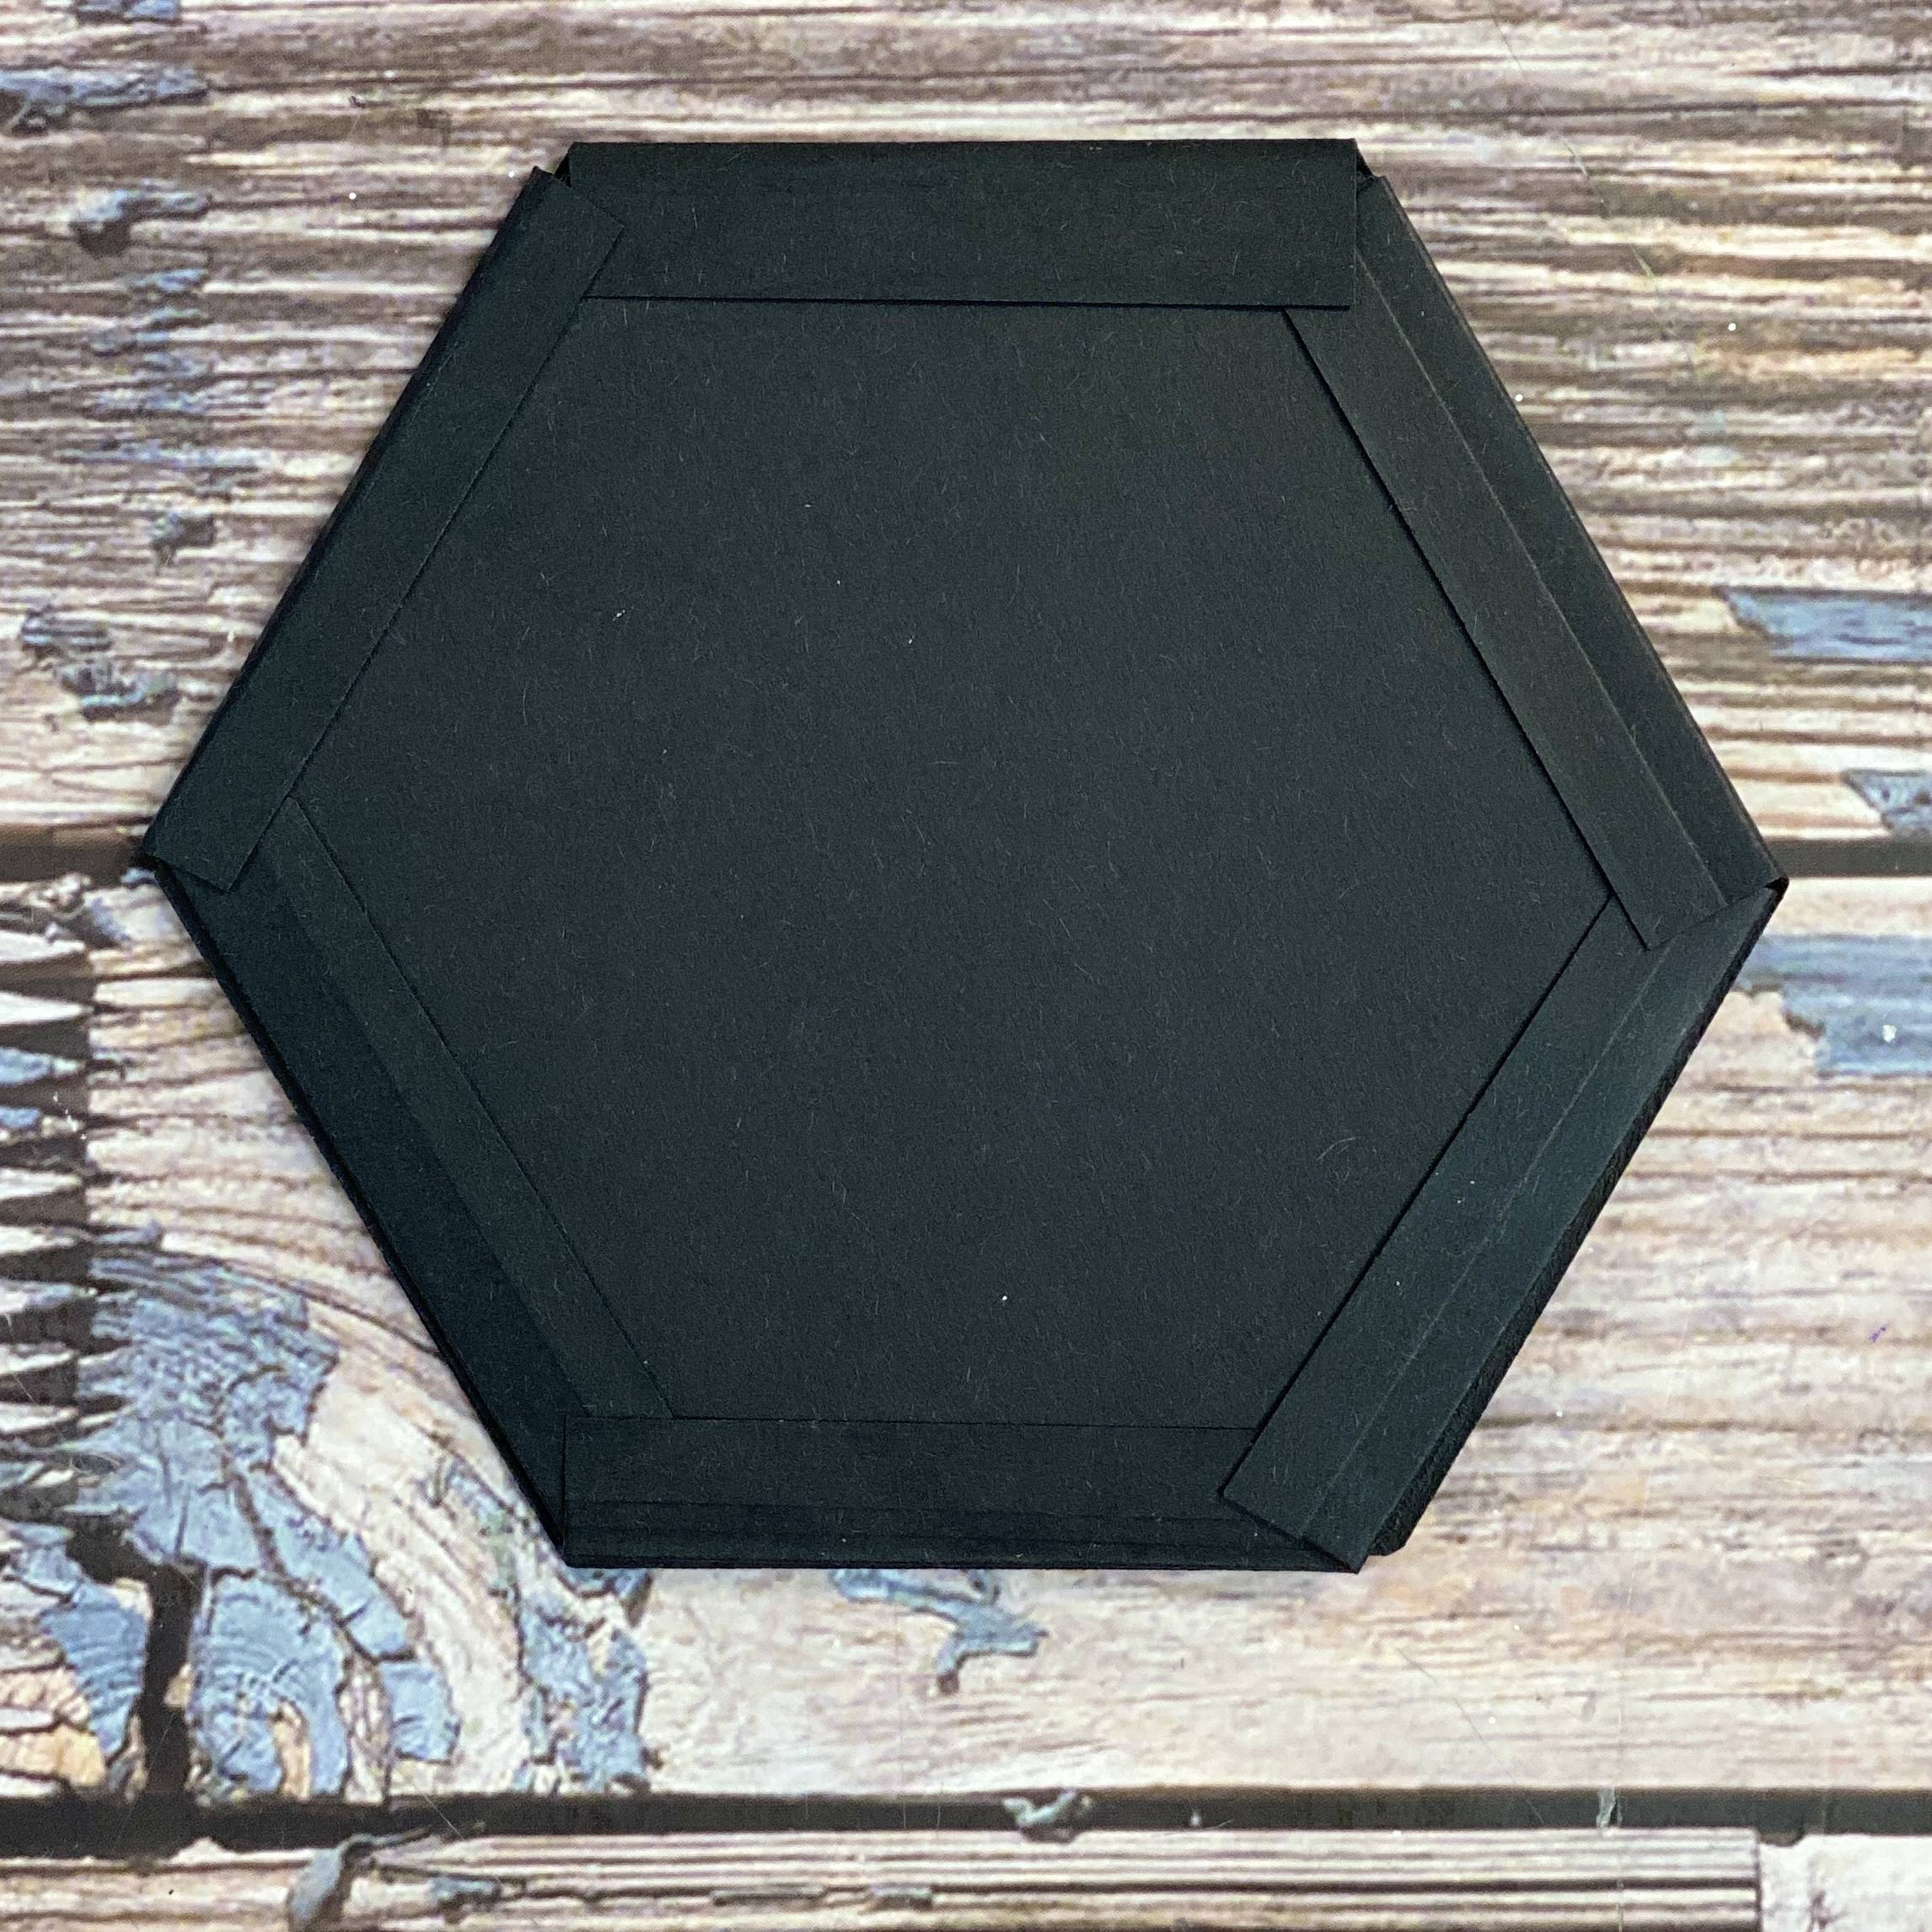
Step 7
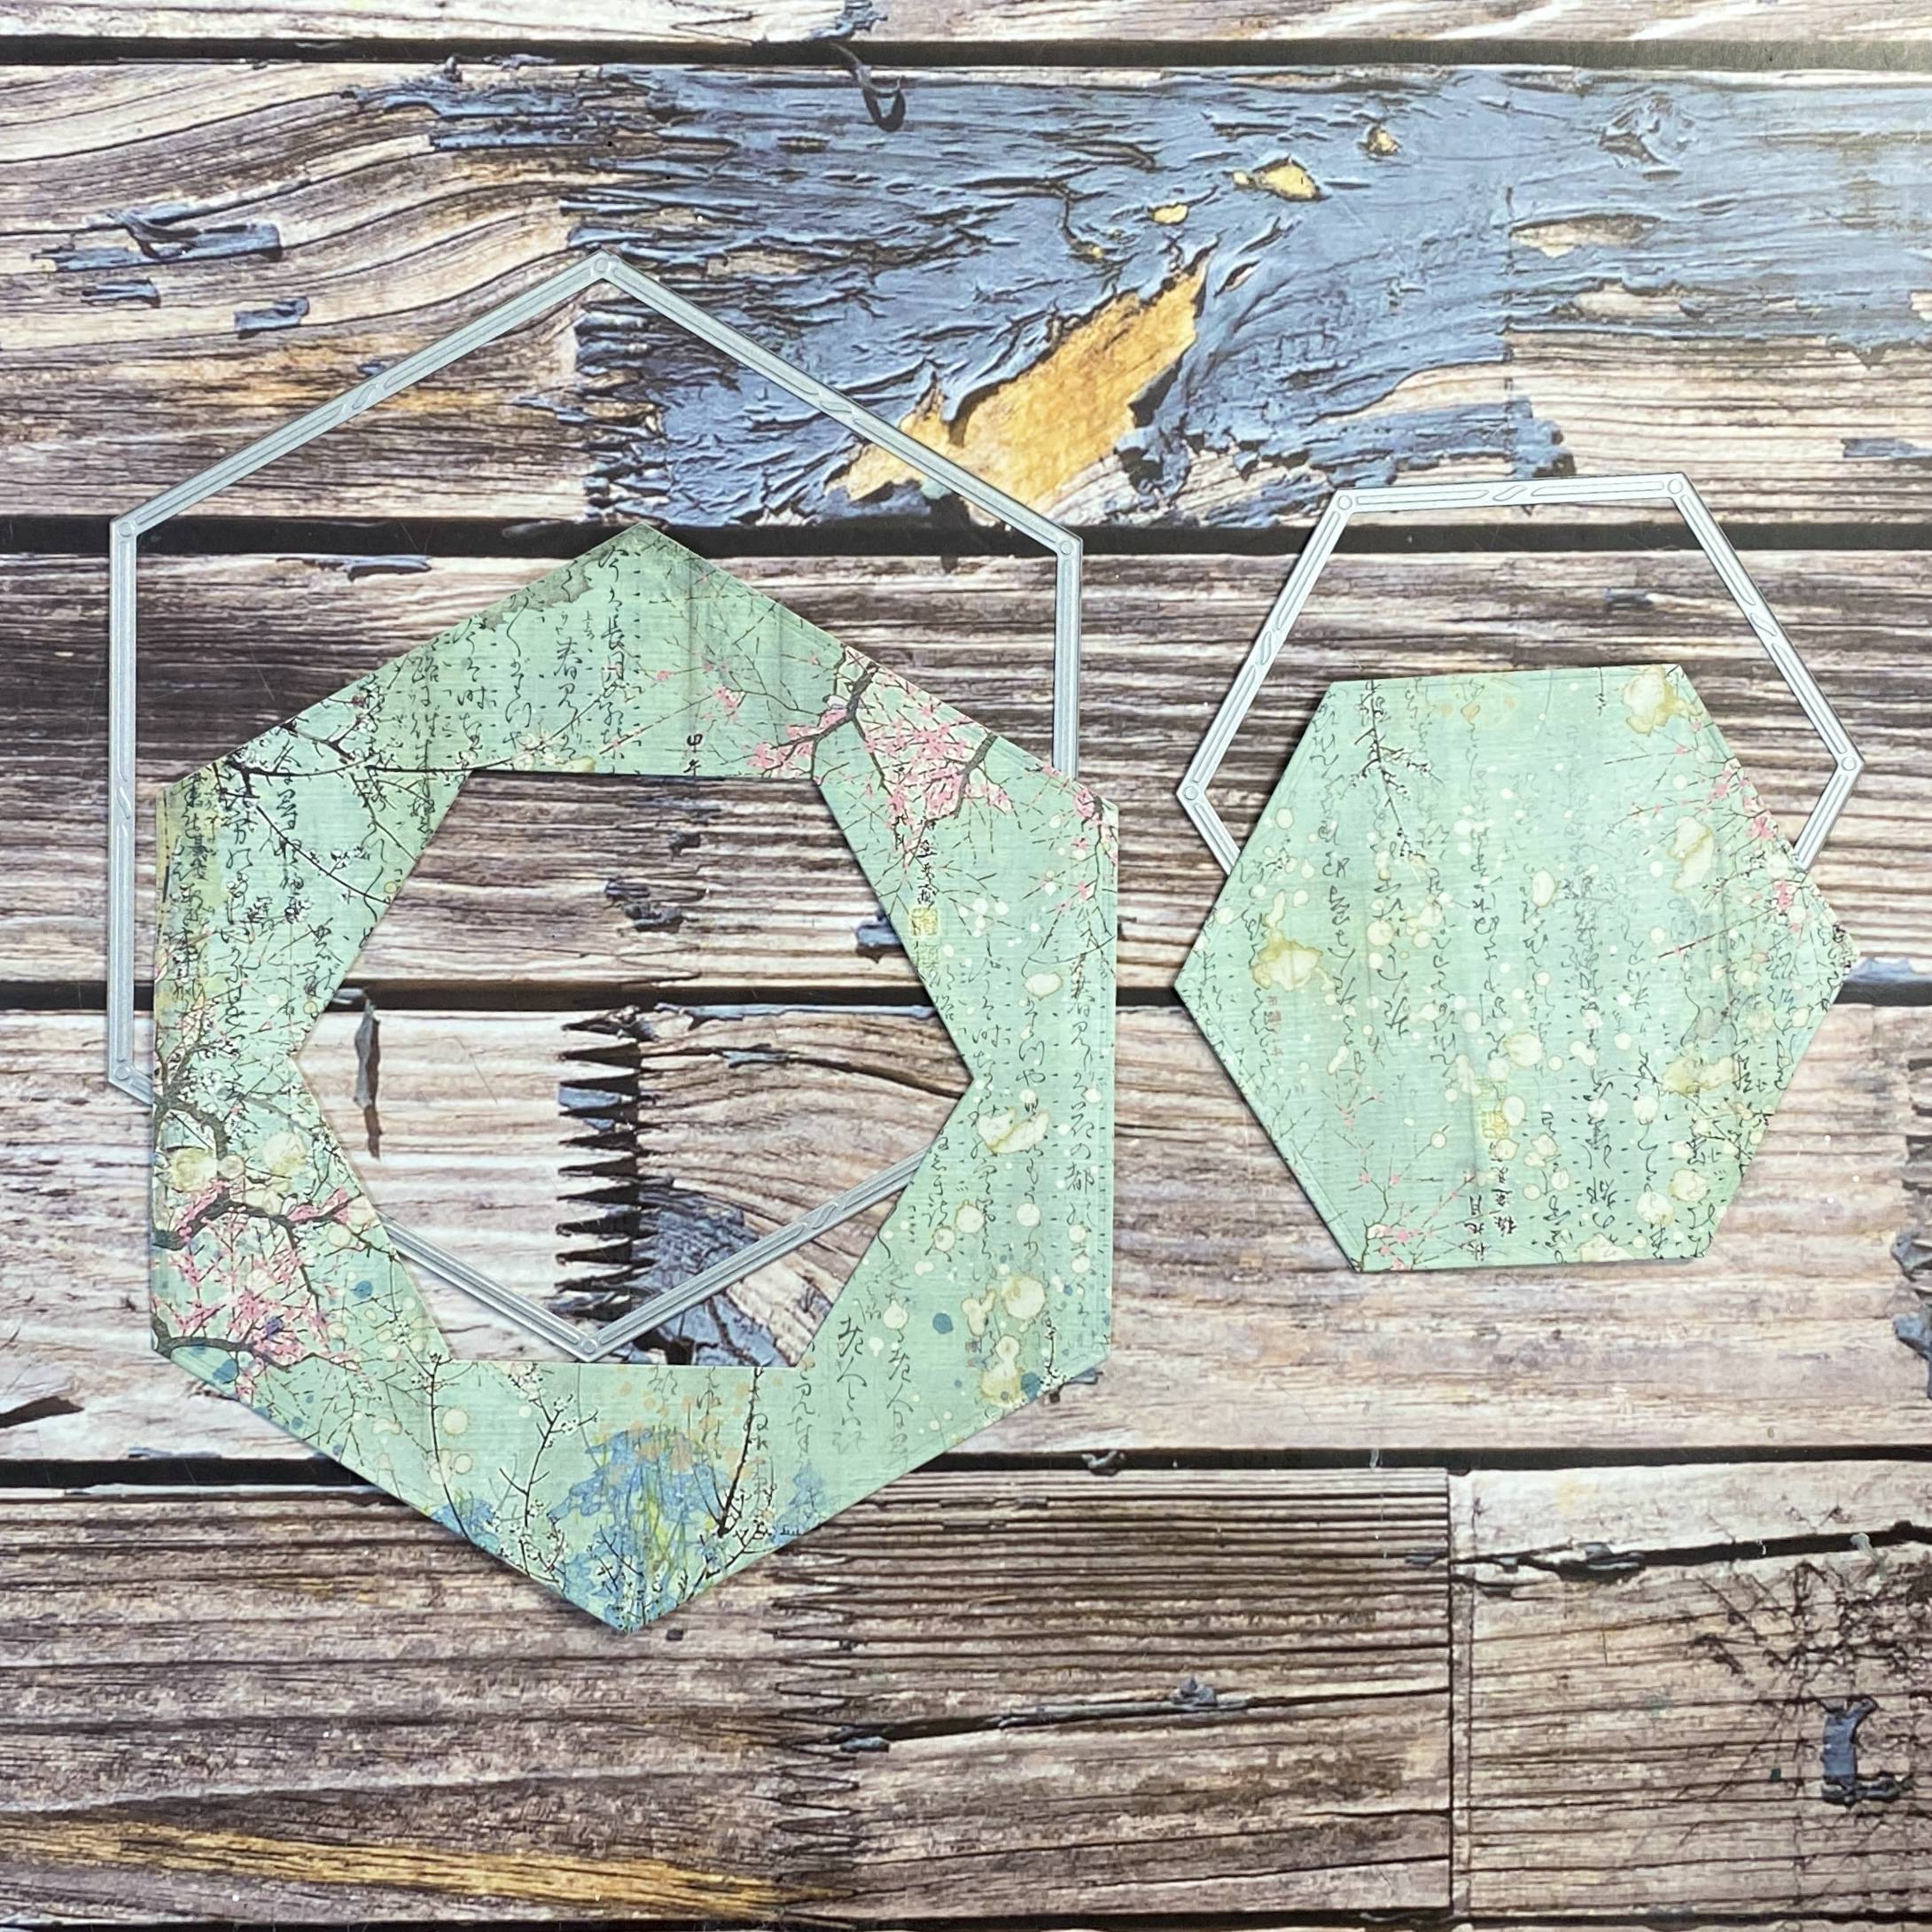
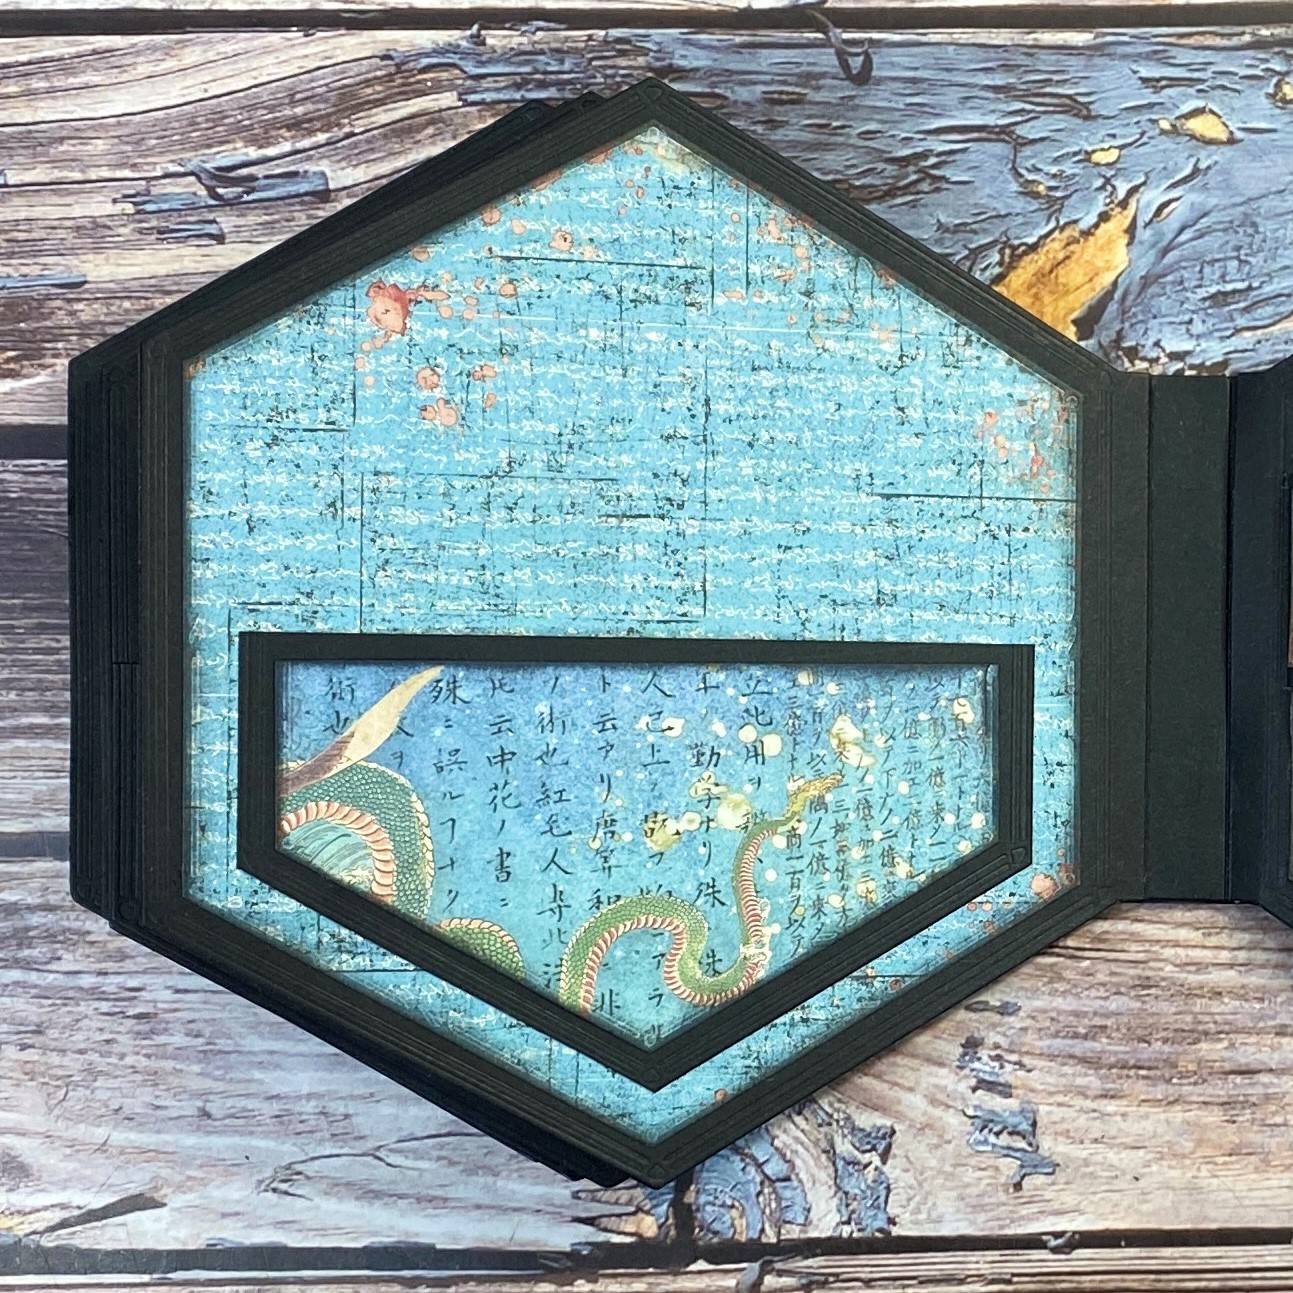
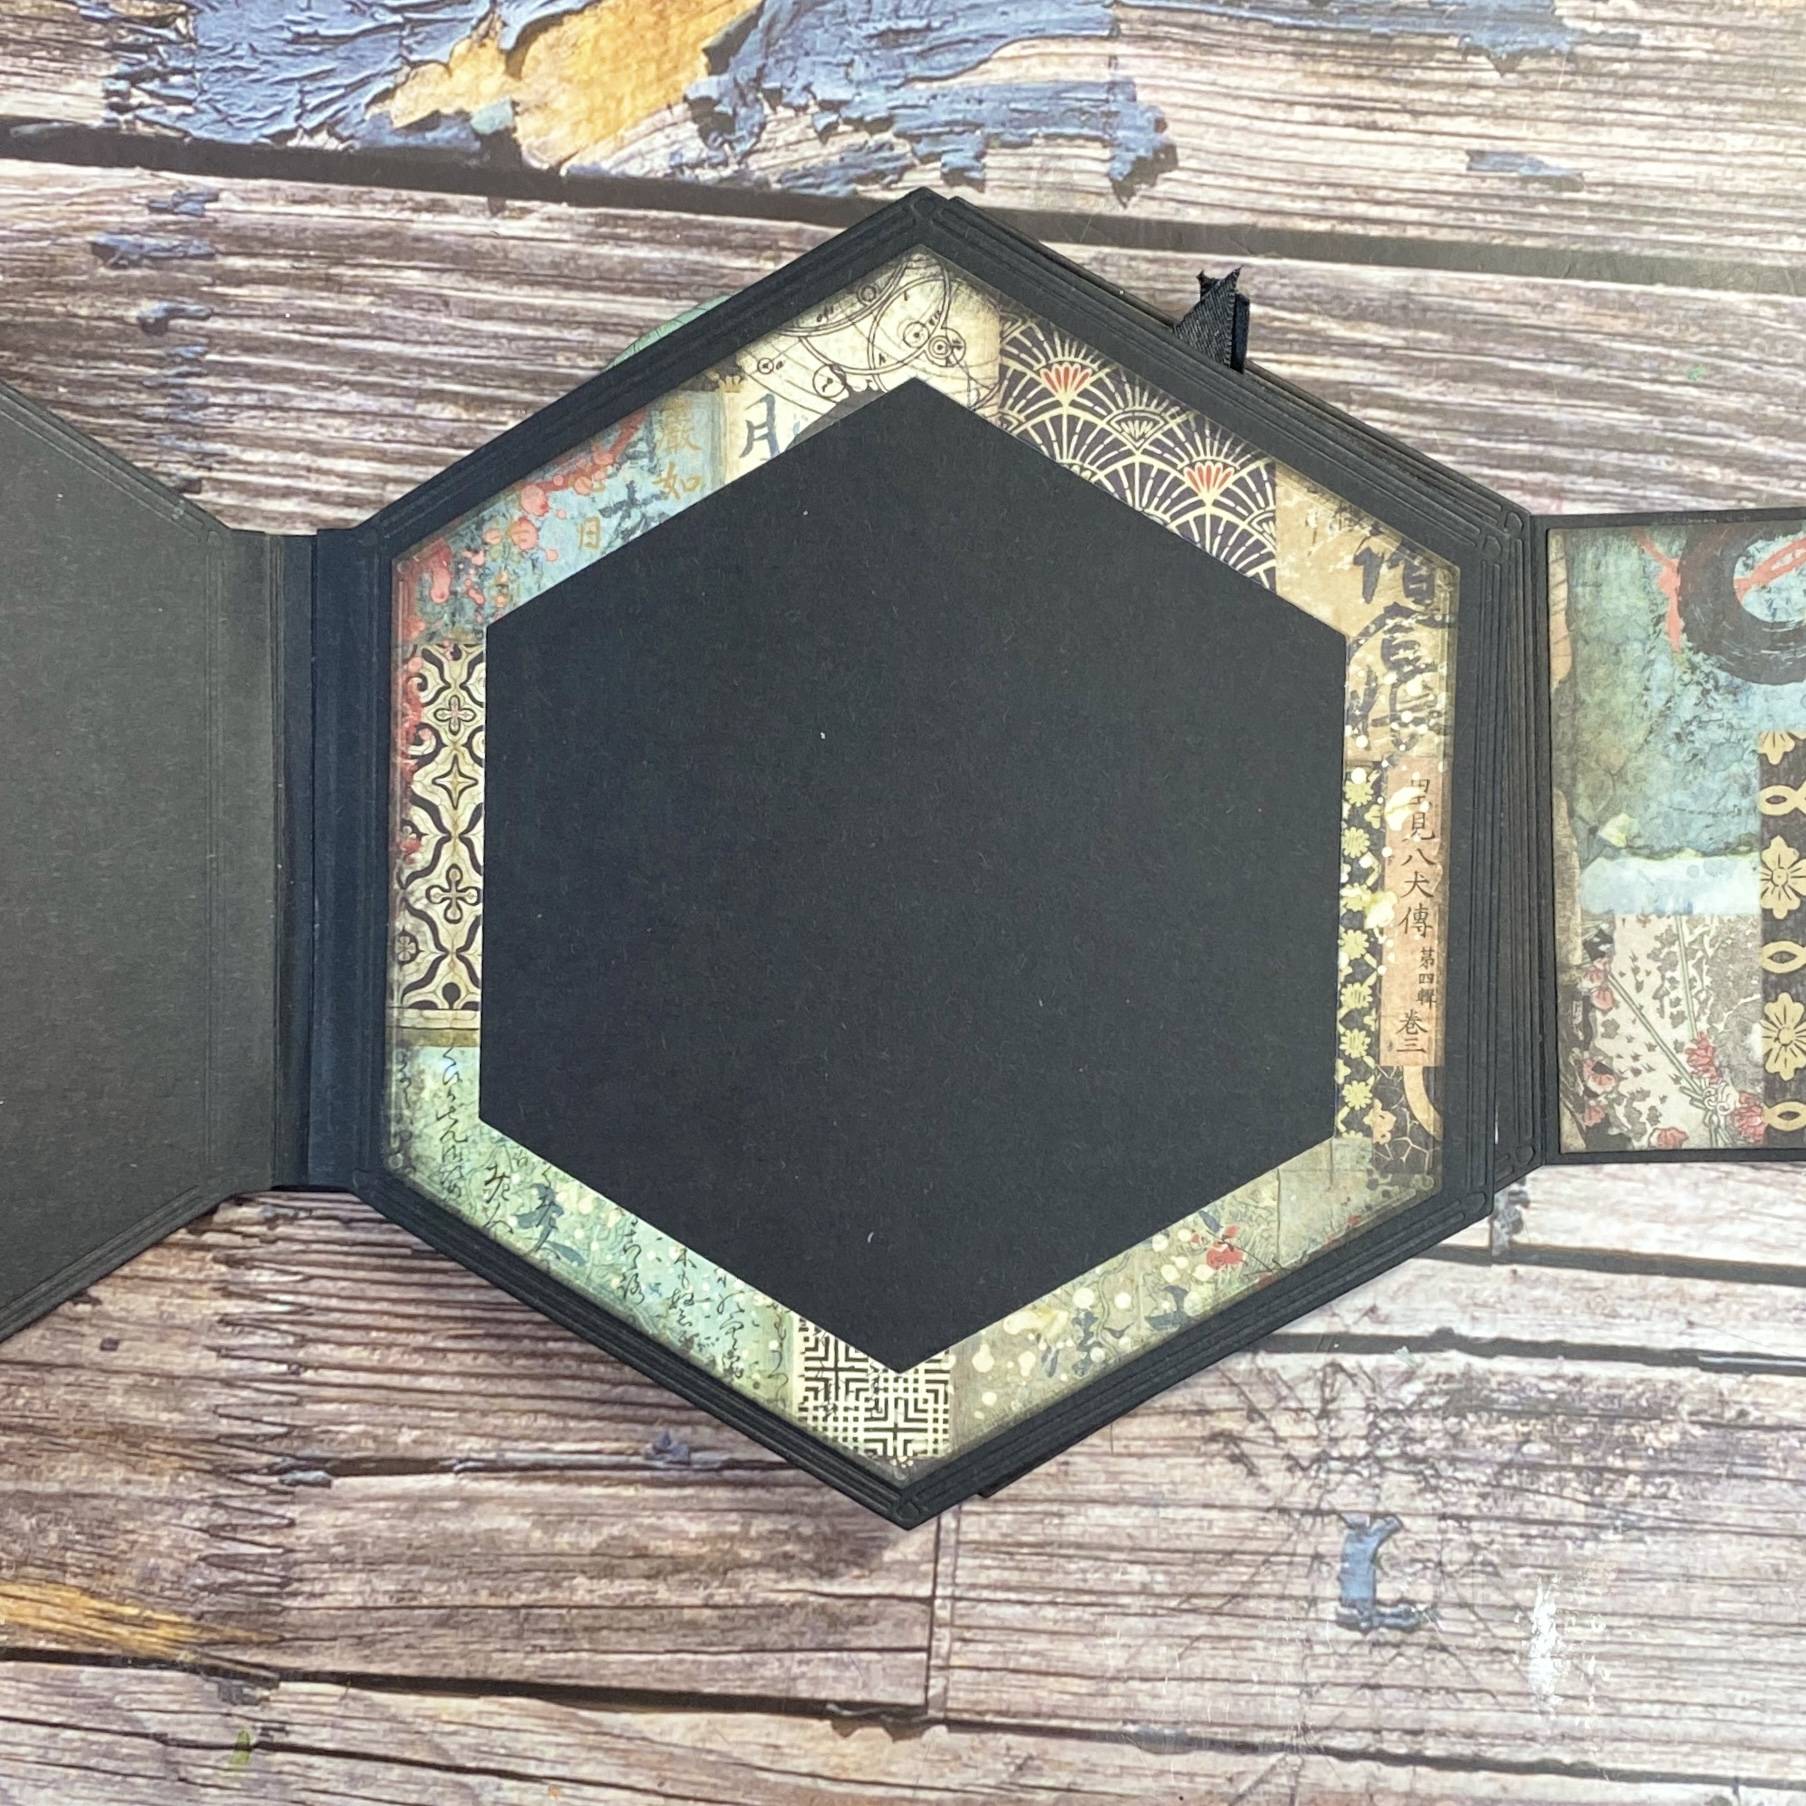
Create a frame for your page, paying attention to the orientation of the smaller die cut.
Step 8
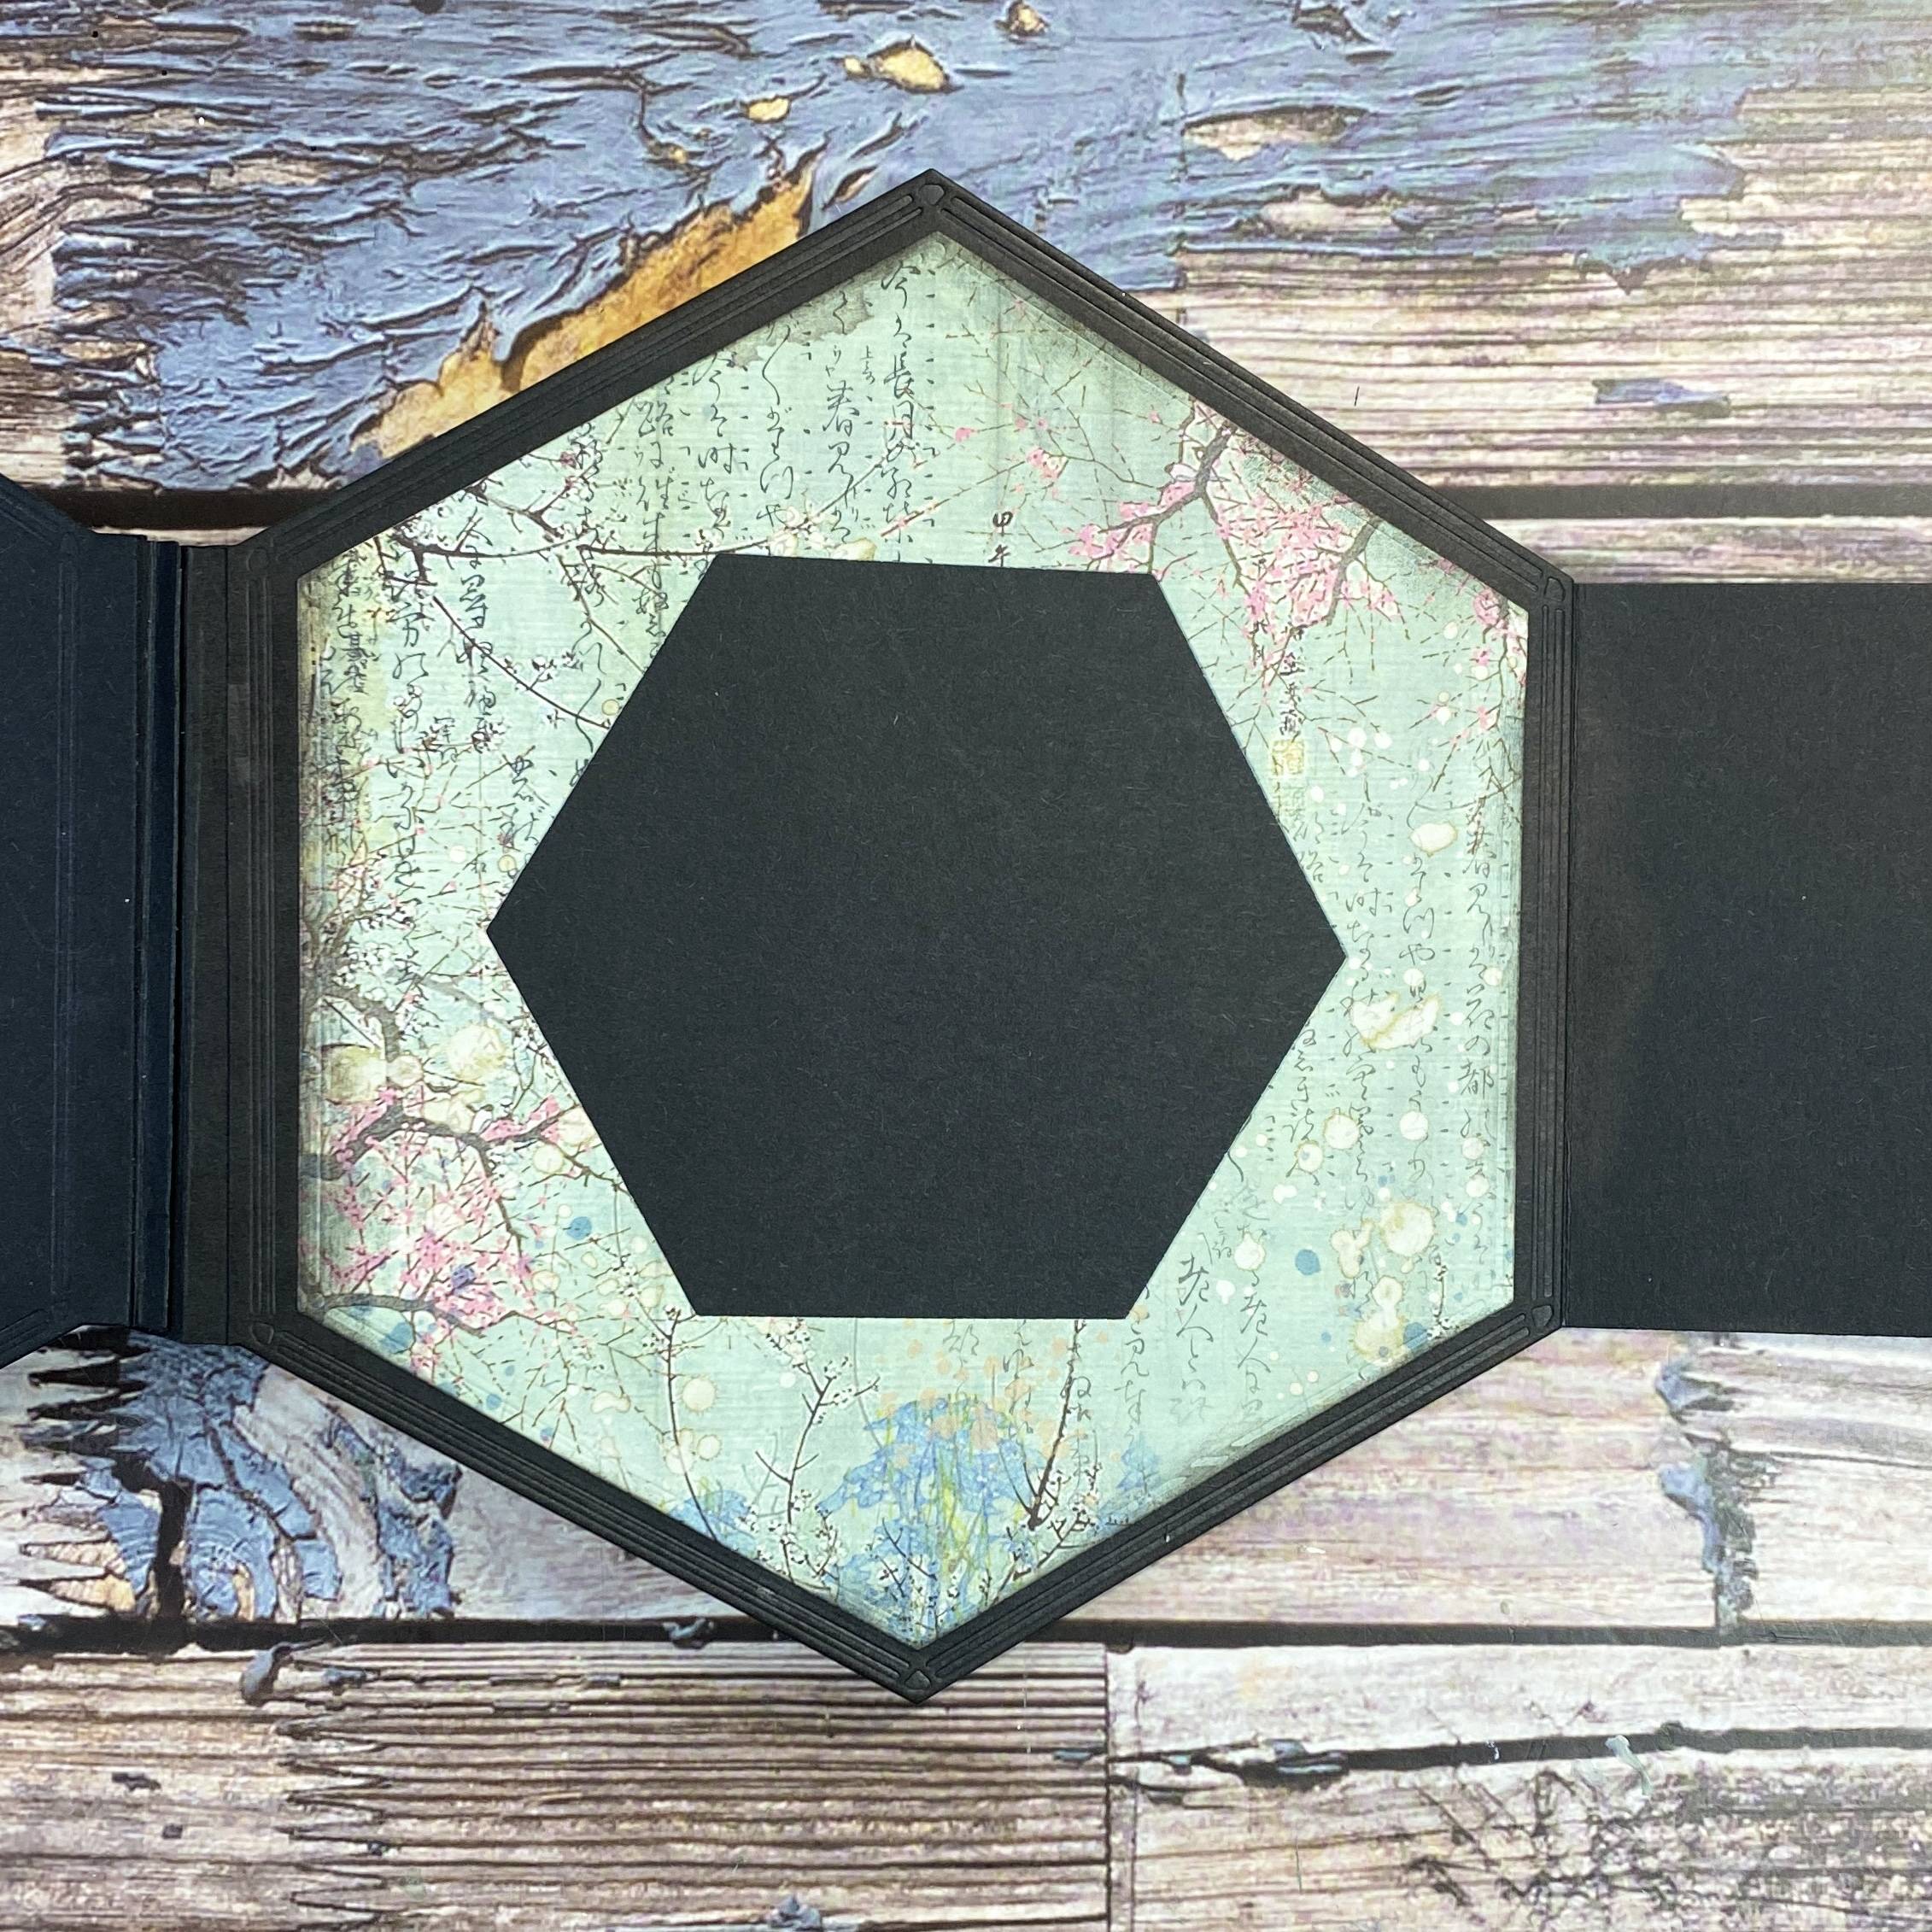
Adhere the largest panel to the page.
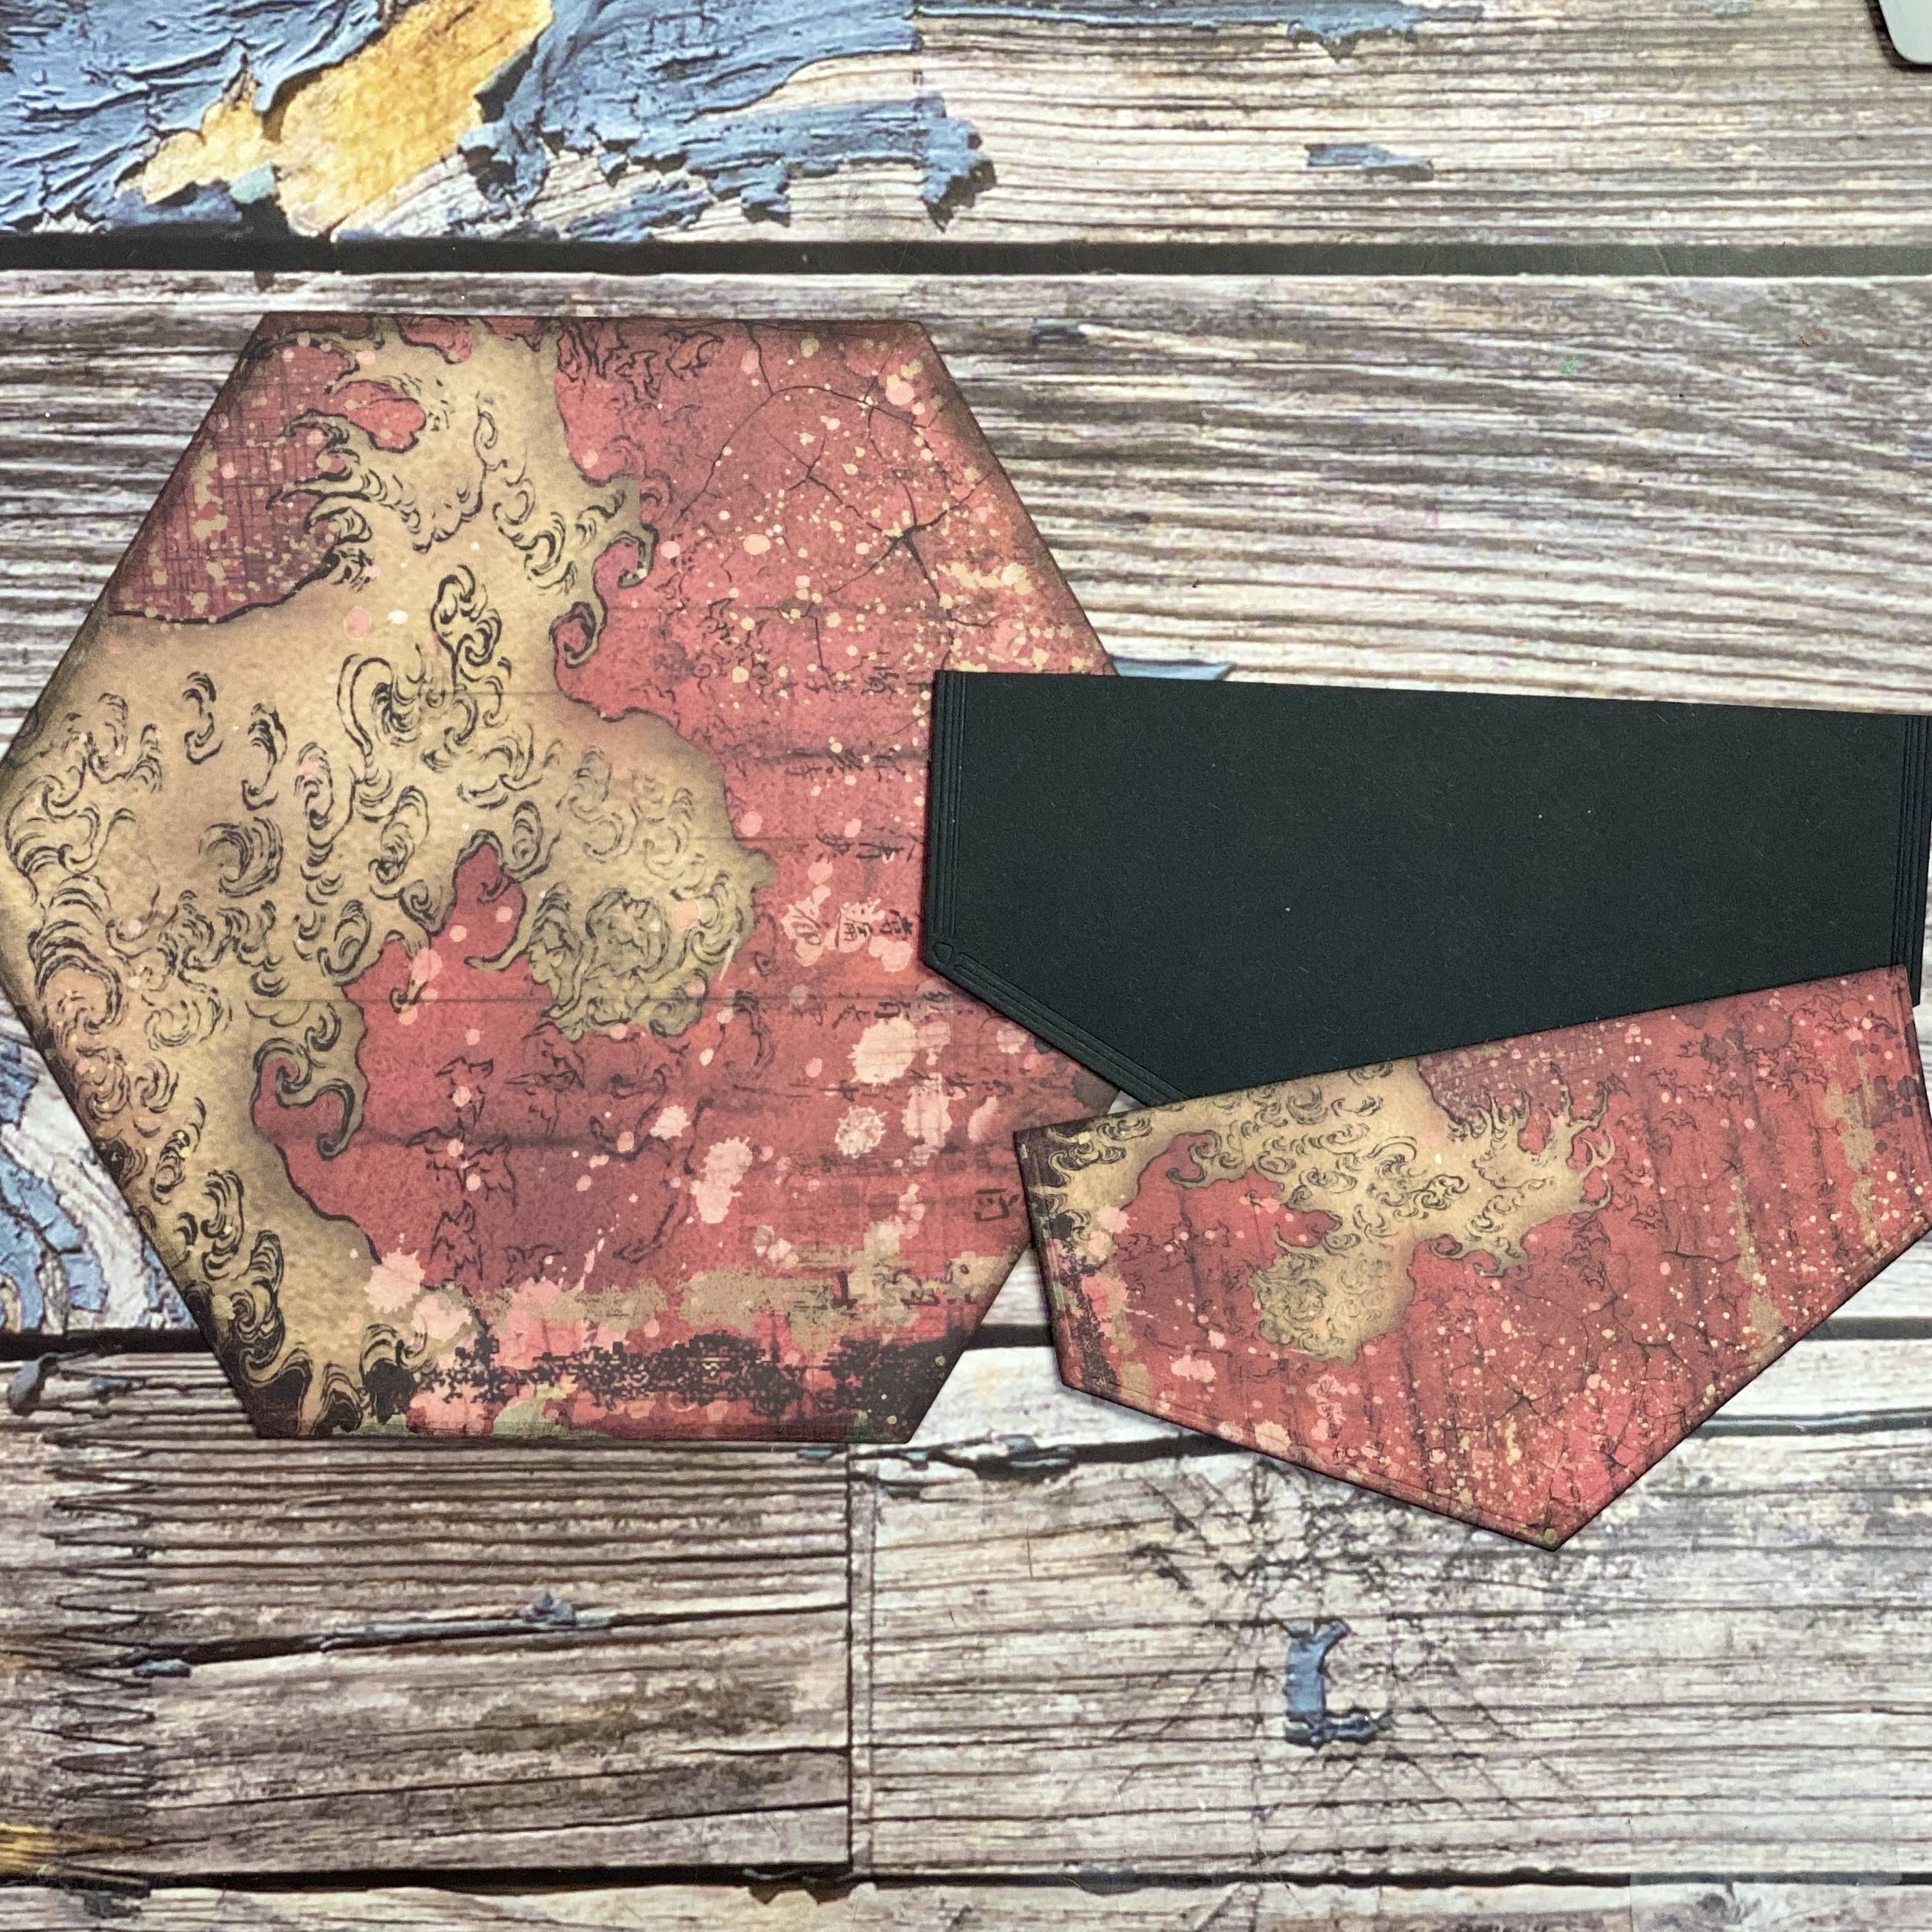
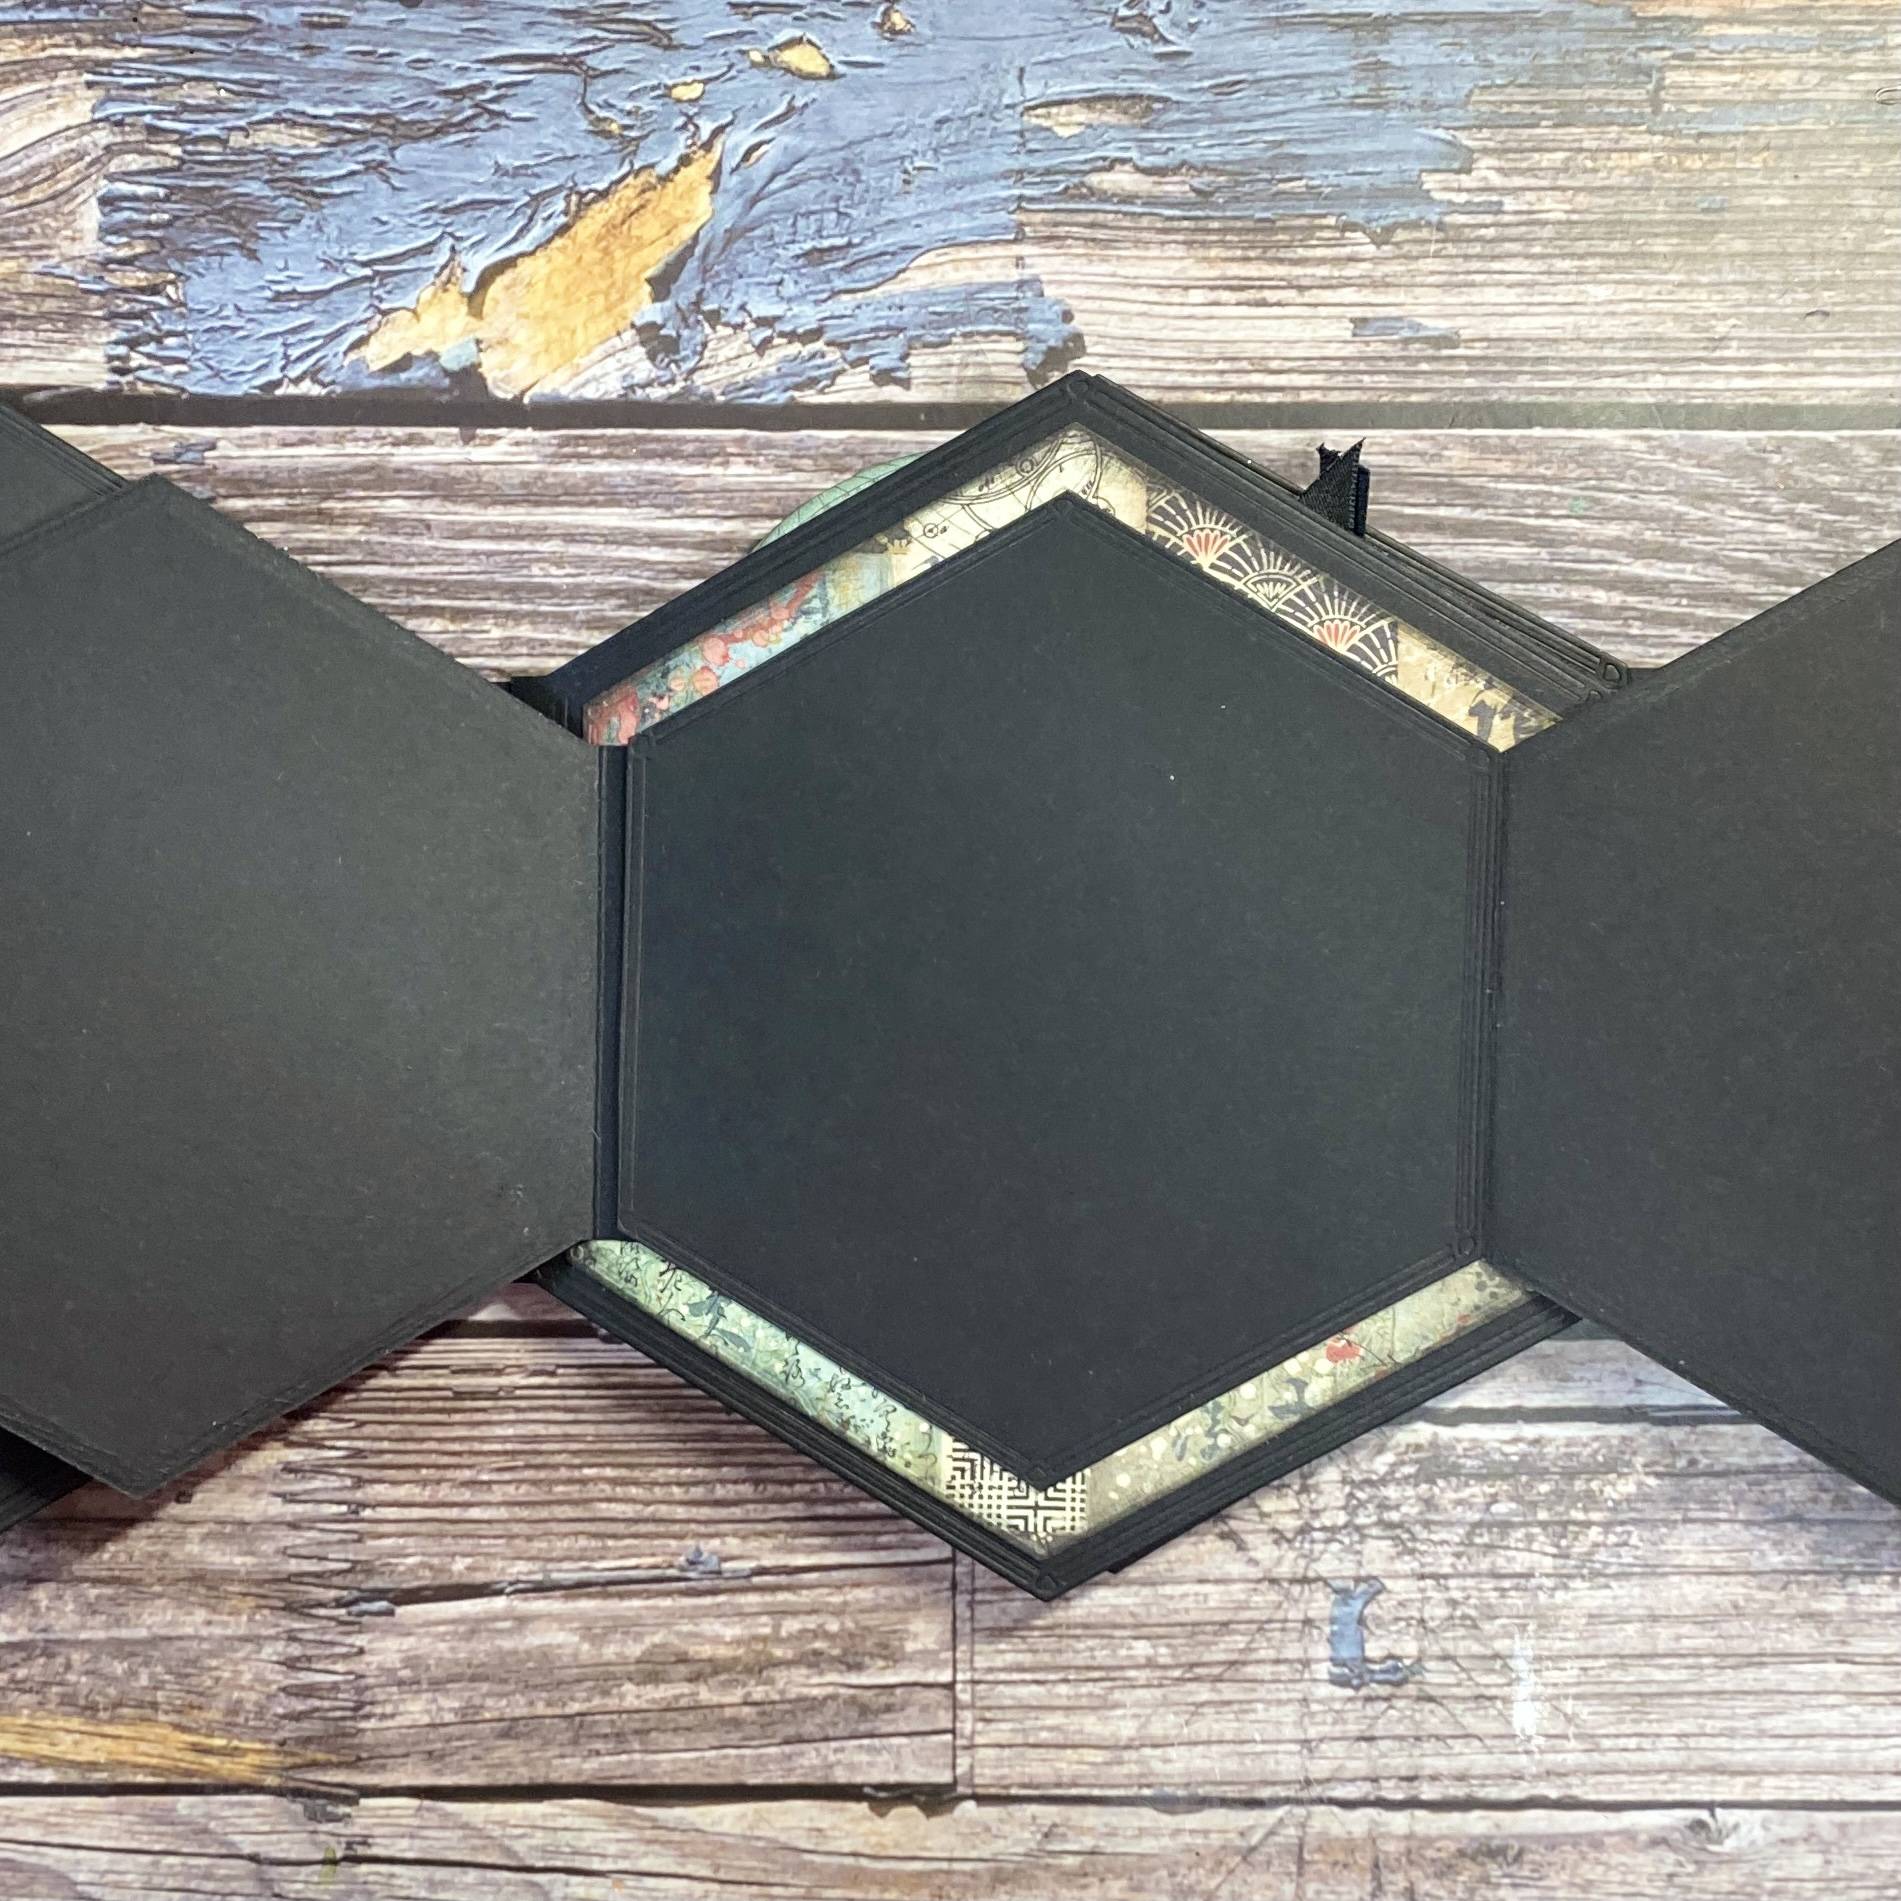
Step 9
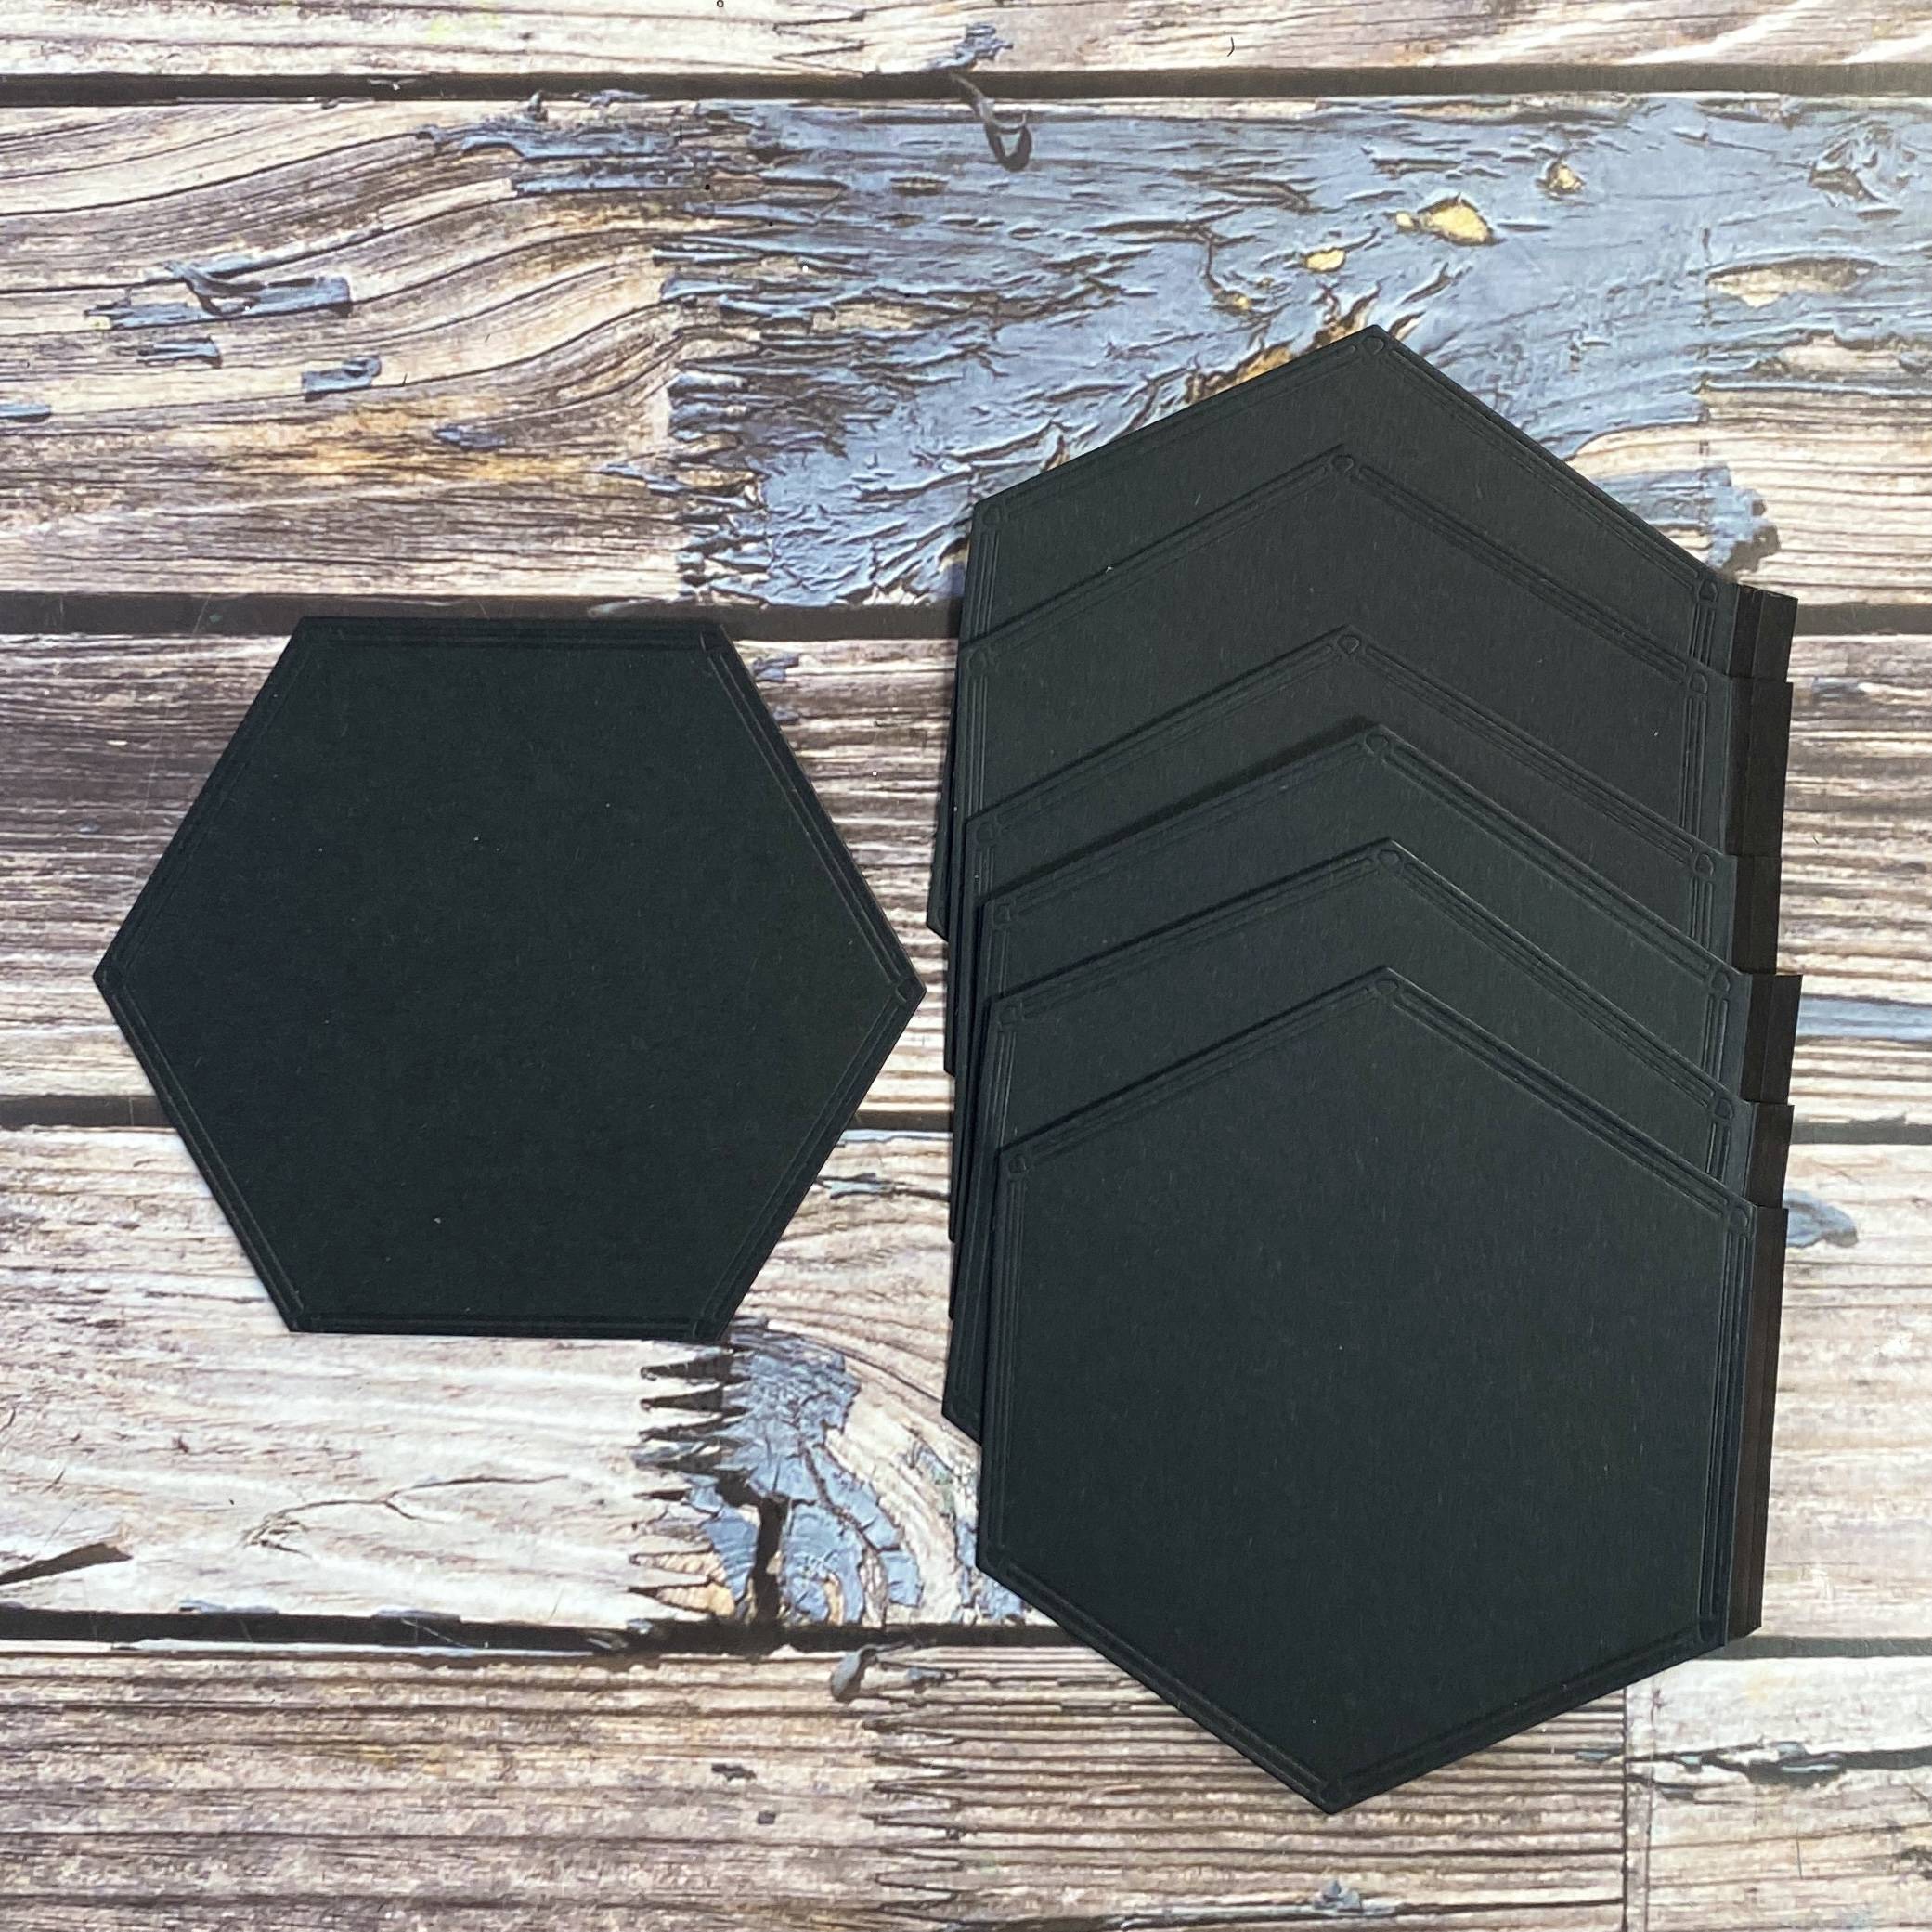
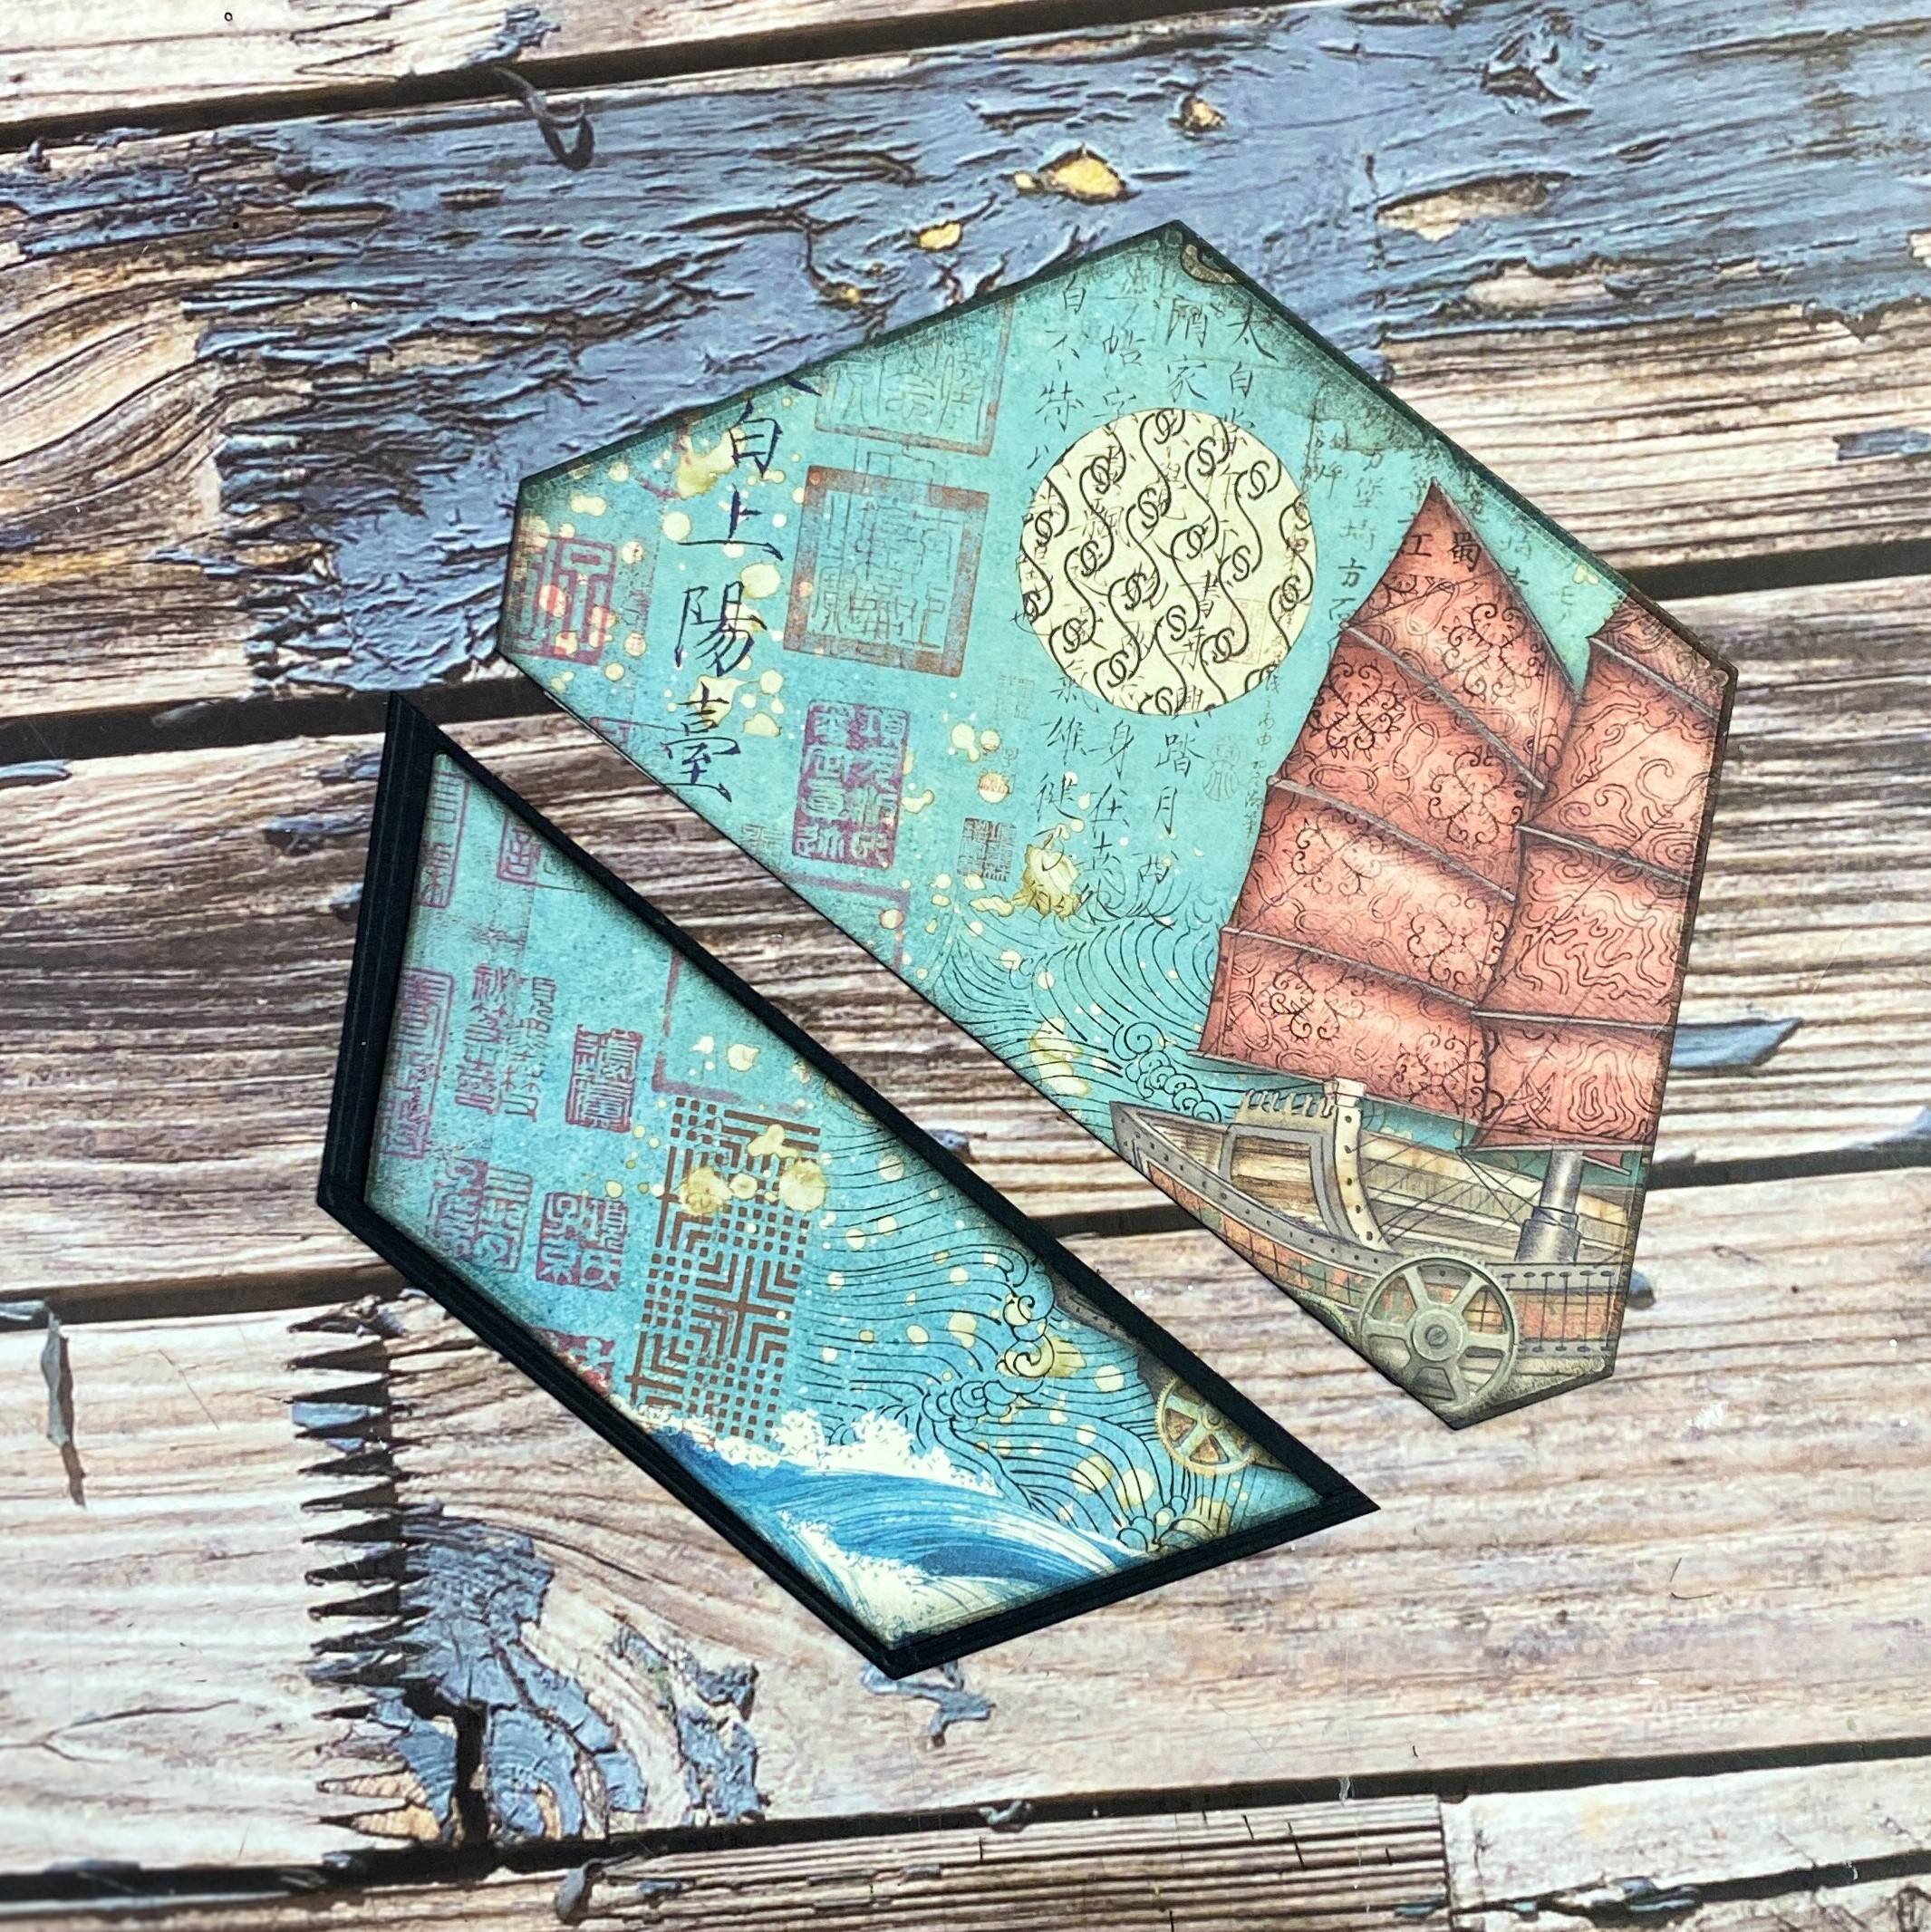
Cut out 7 medium page die cuts, trimming one to make up the base.
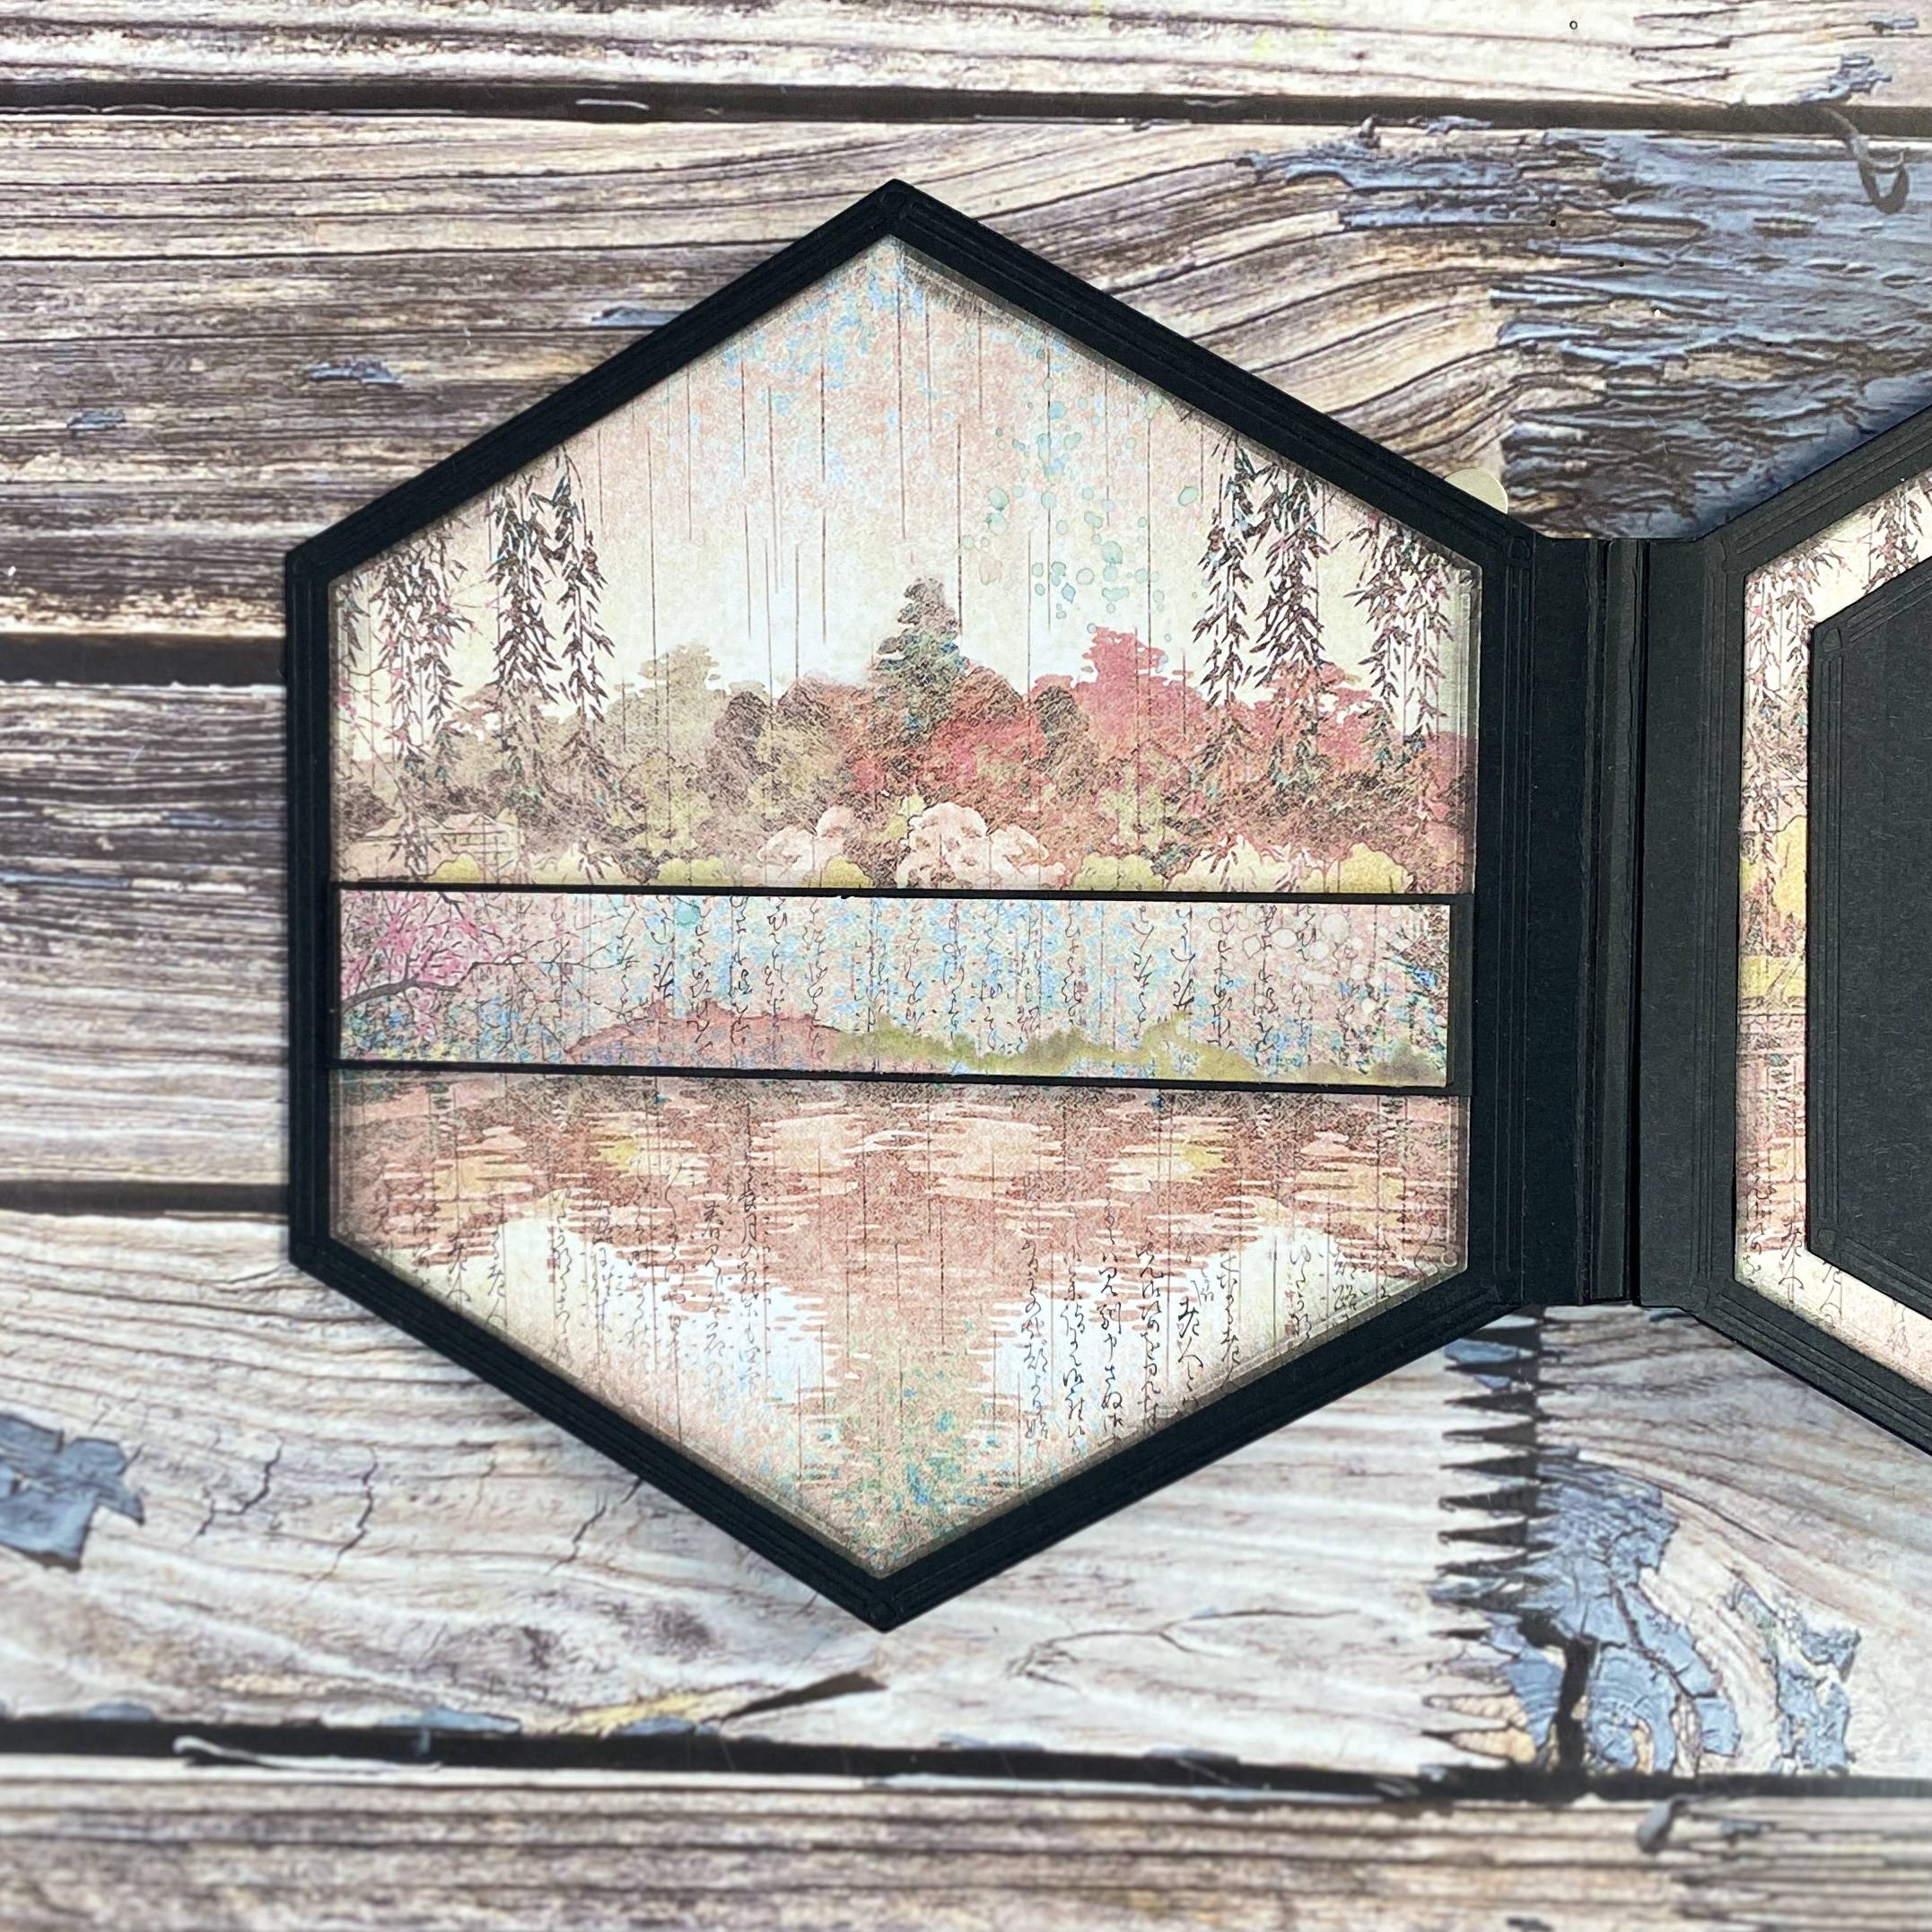
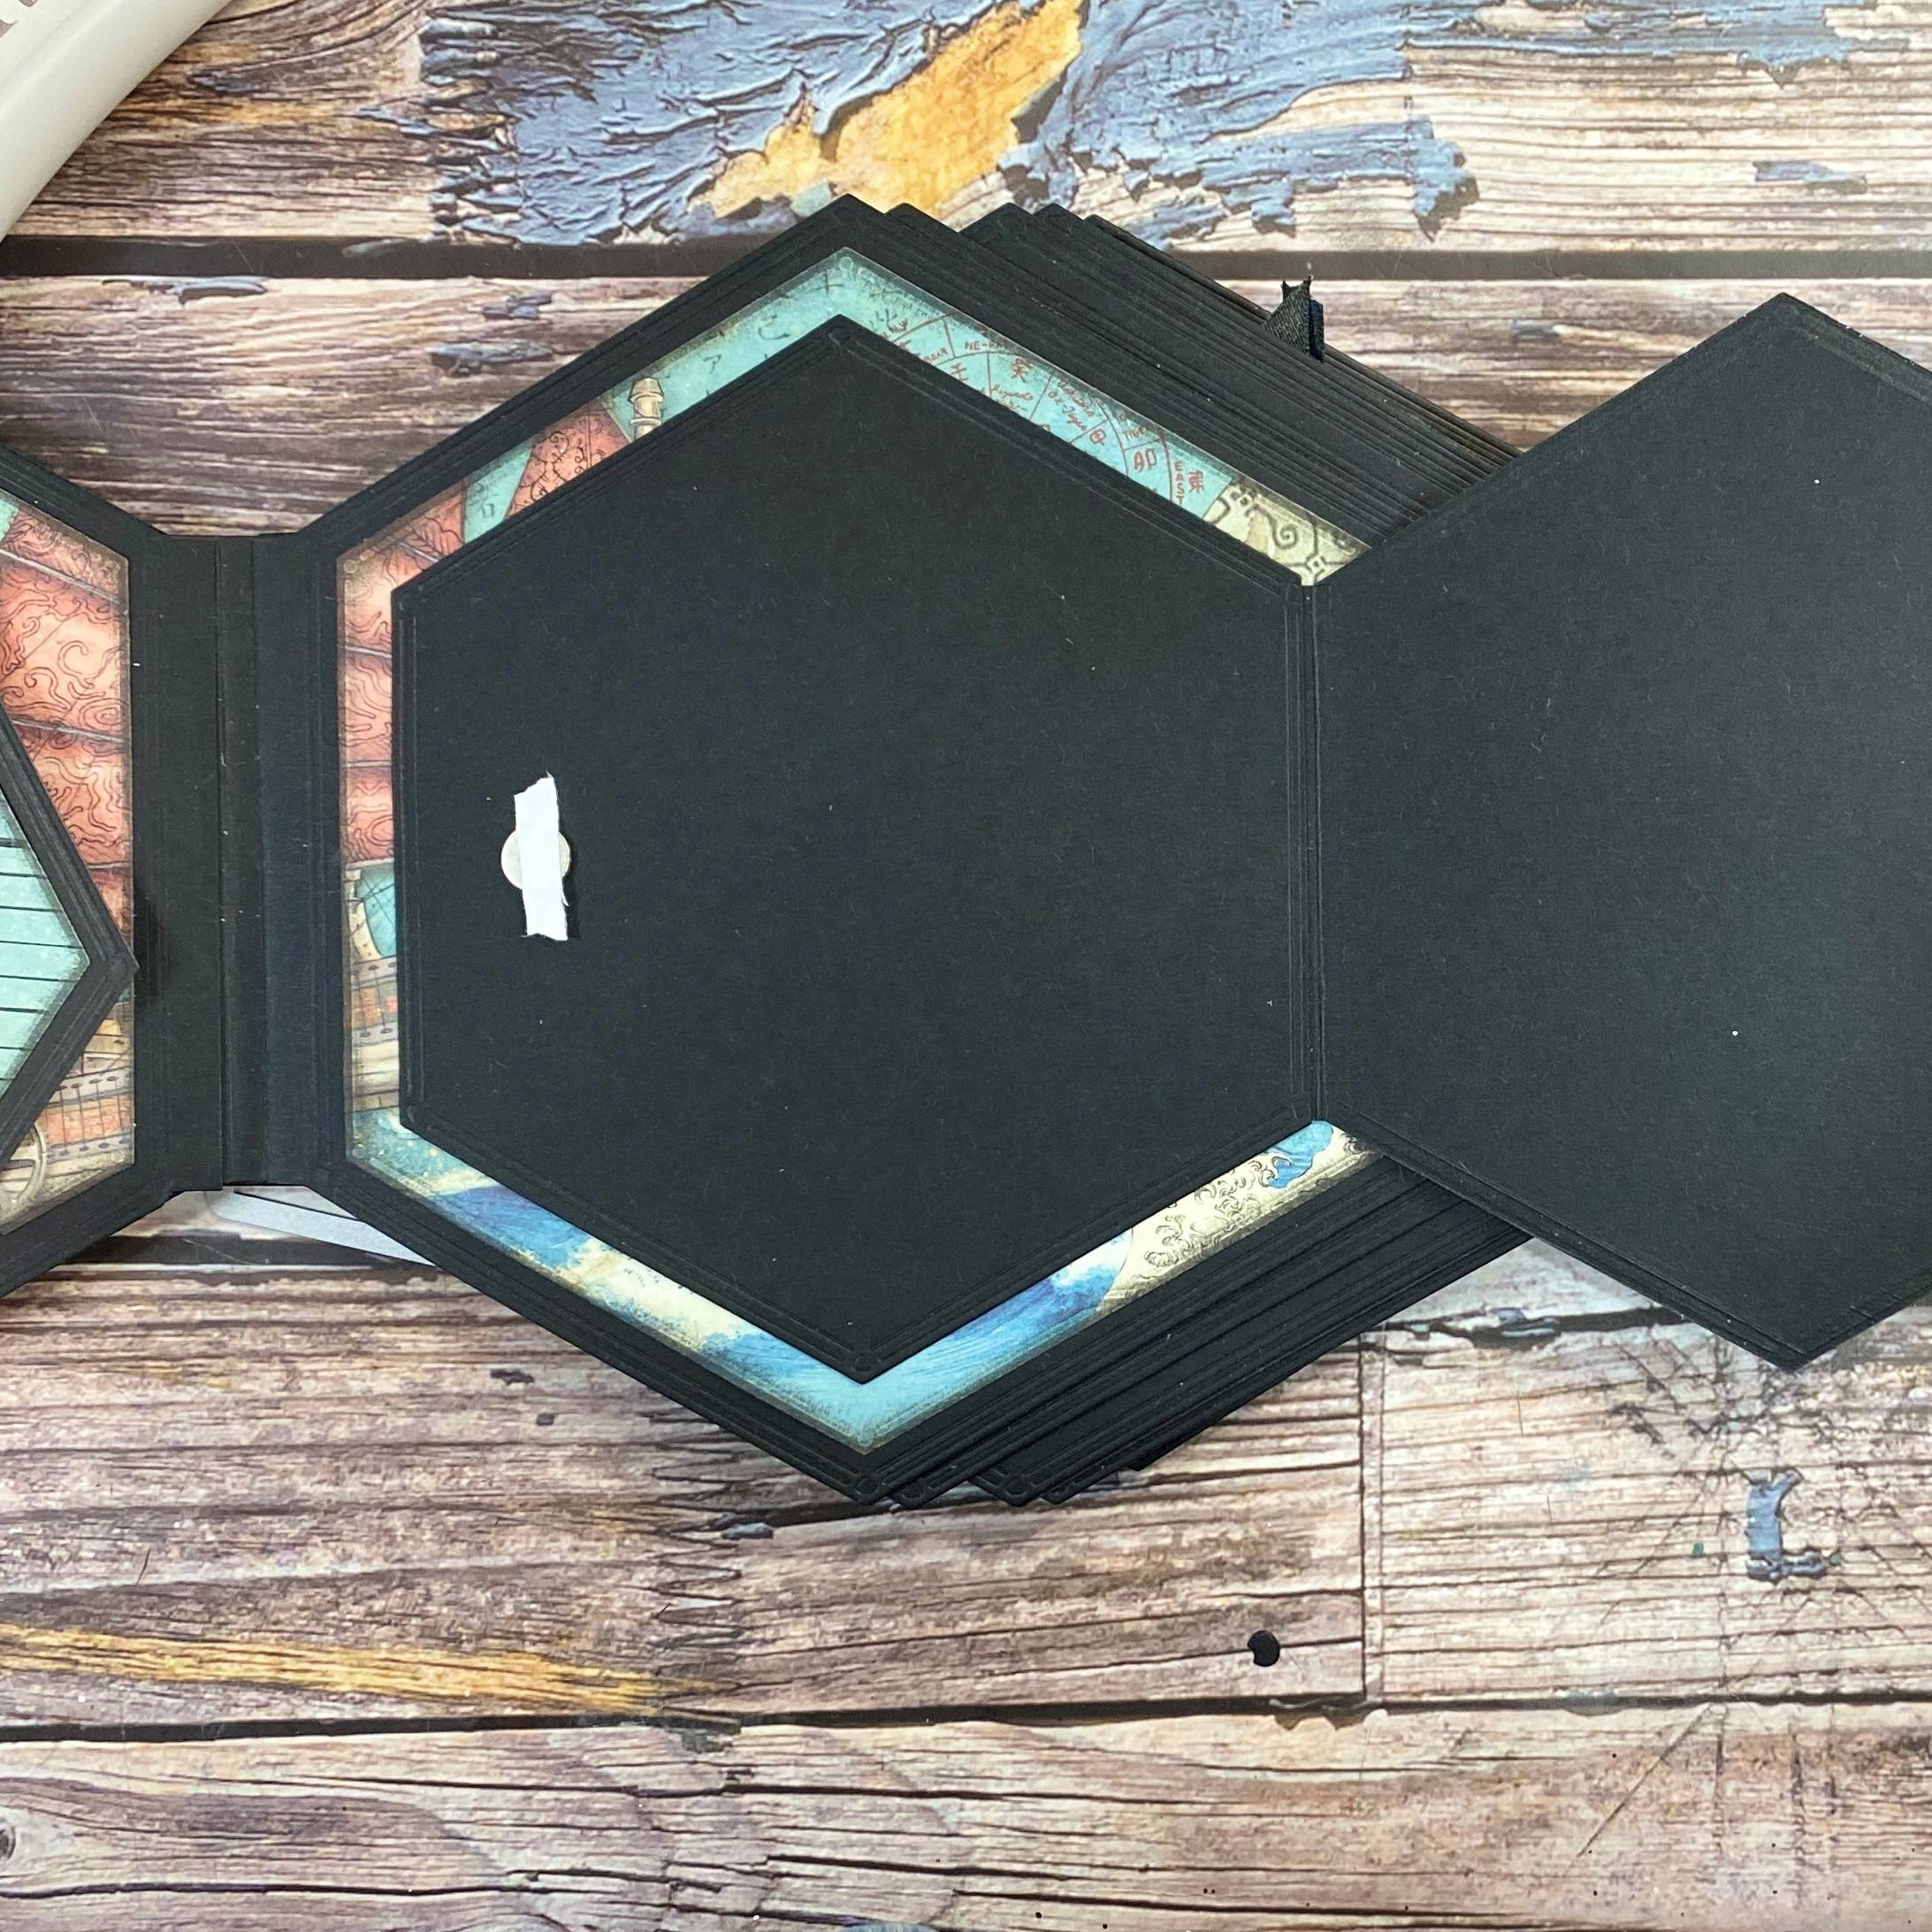
Step 10
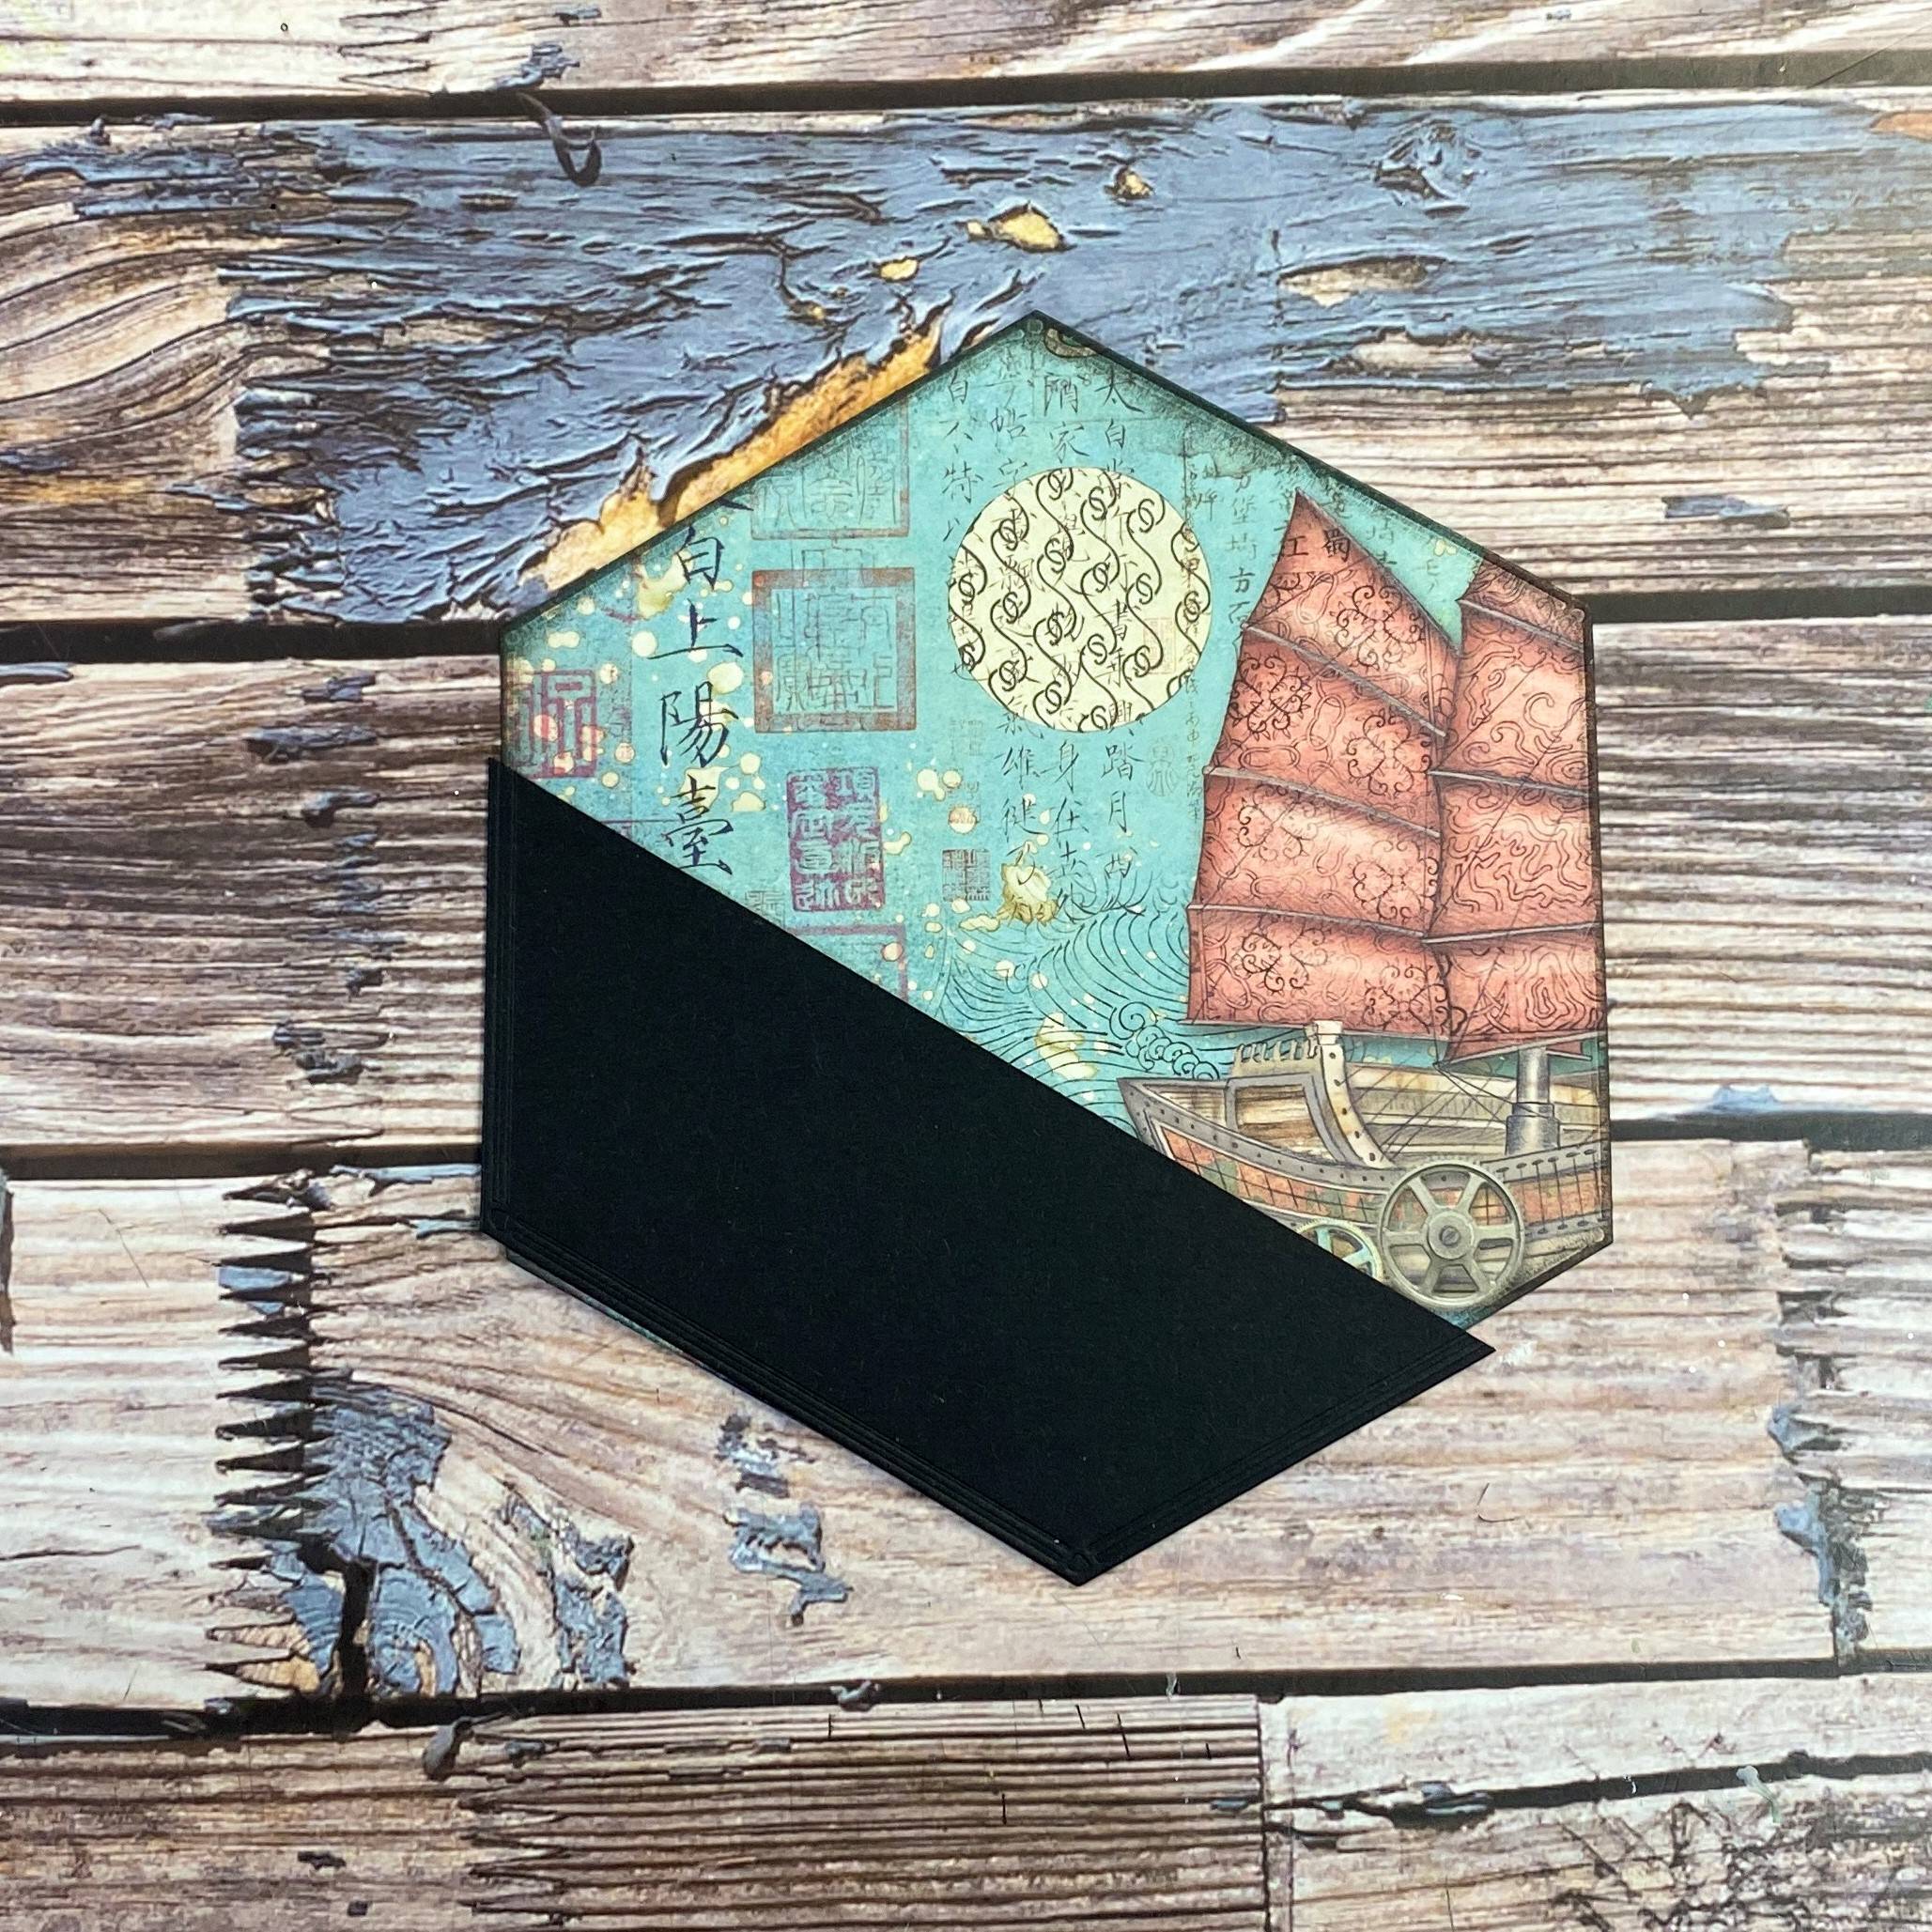
Score the other 6 just above the debossed design. Use a ruler and scoring tool to increase the distance from the debossed line. The increments need only be minuscule as we do not want a bulky page.
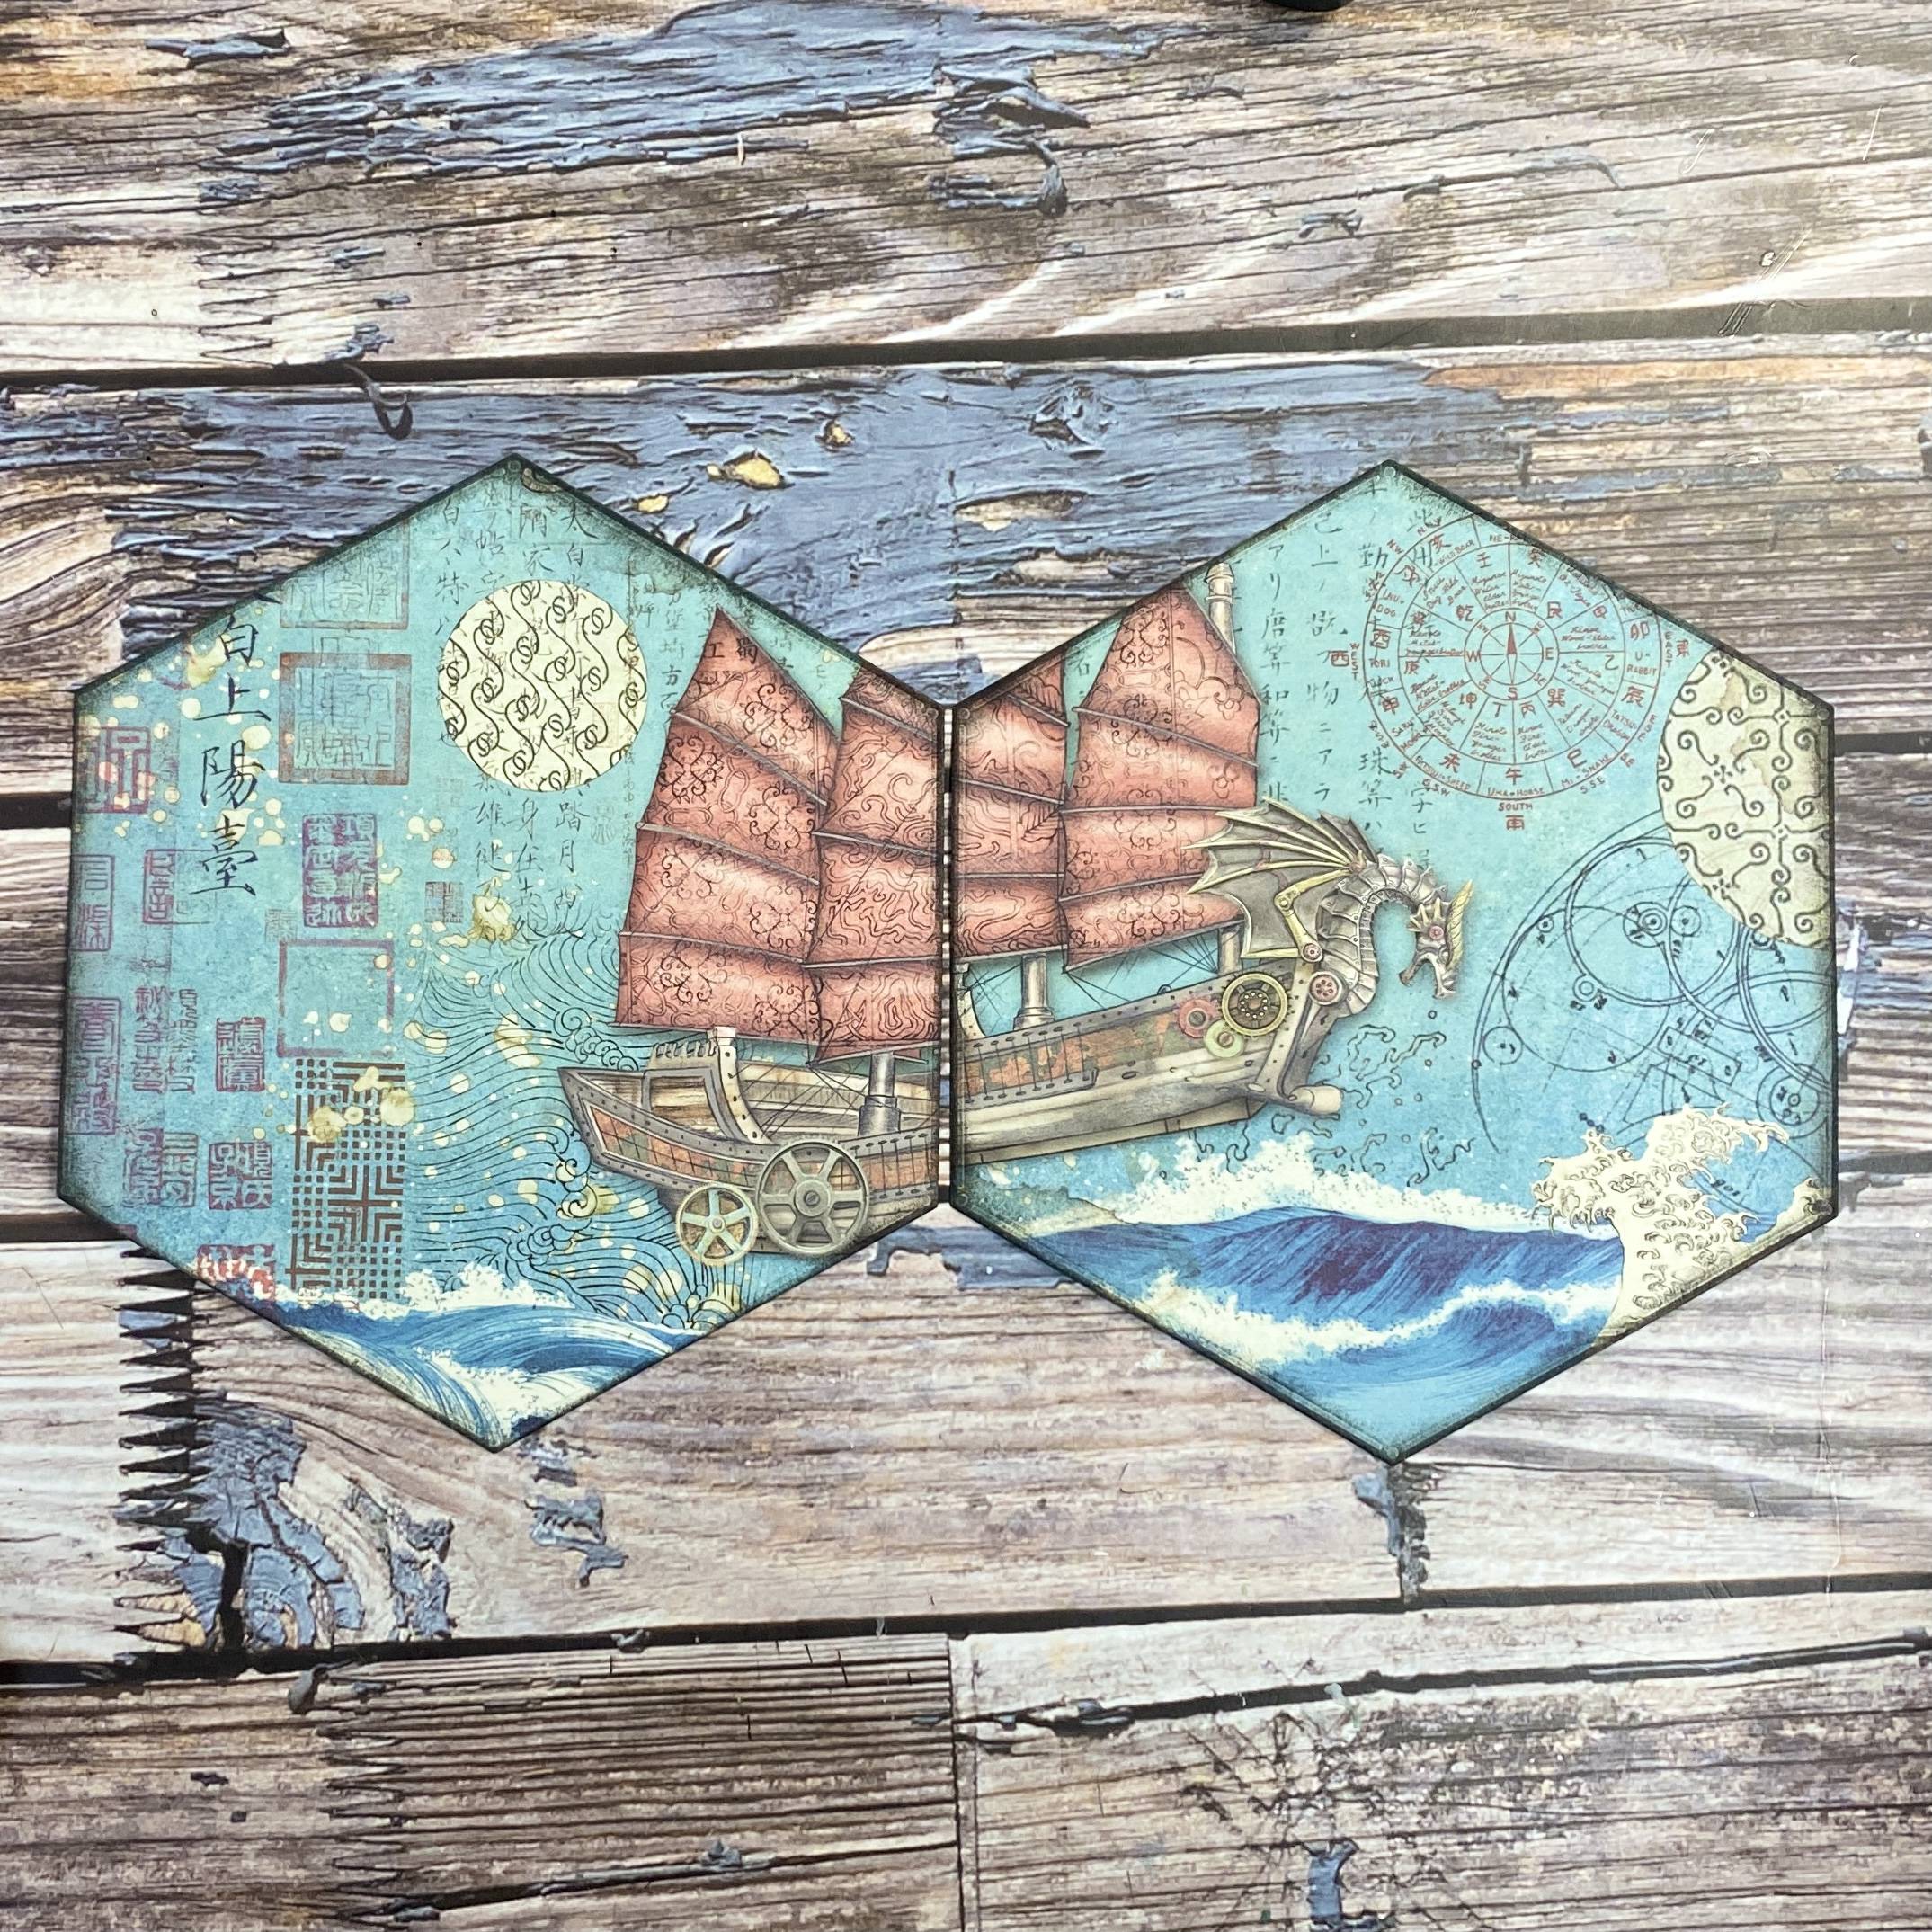
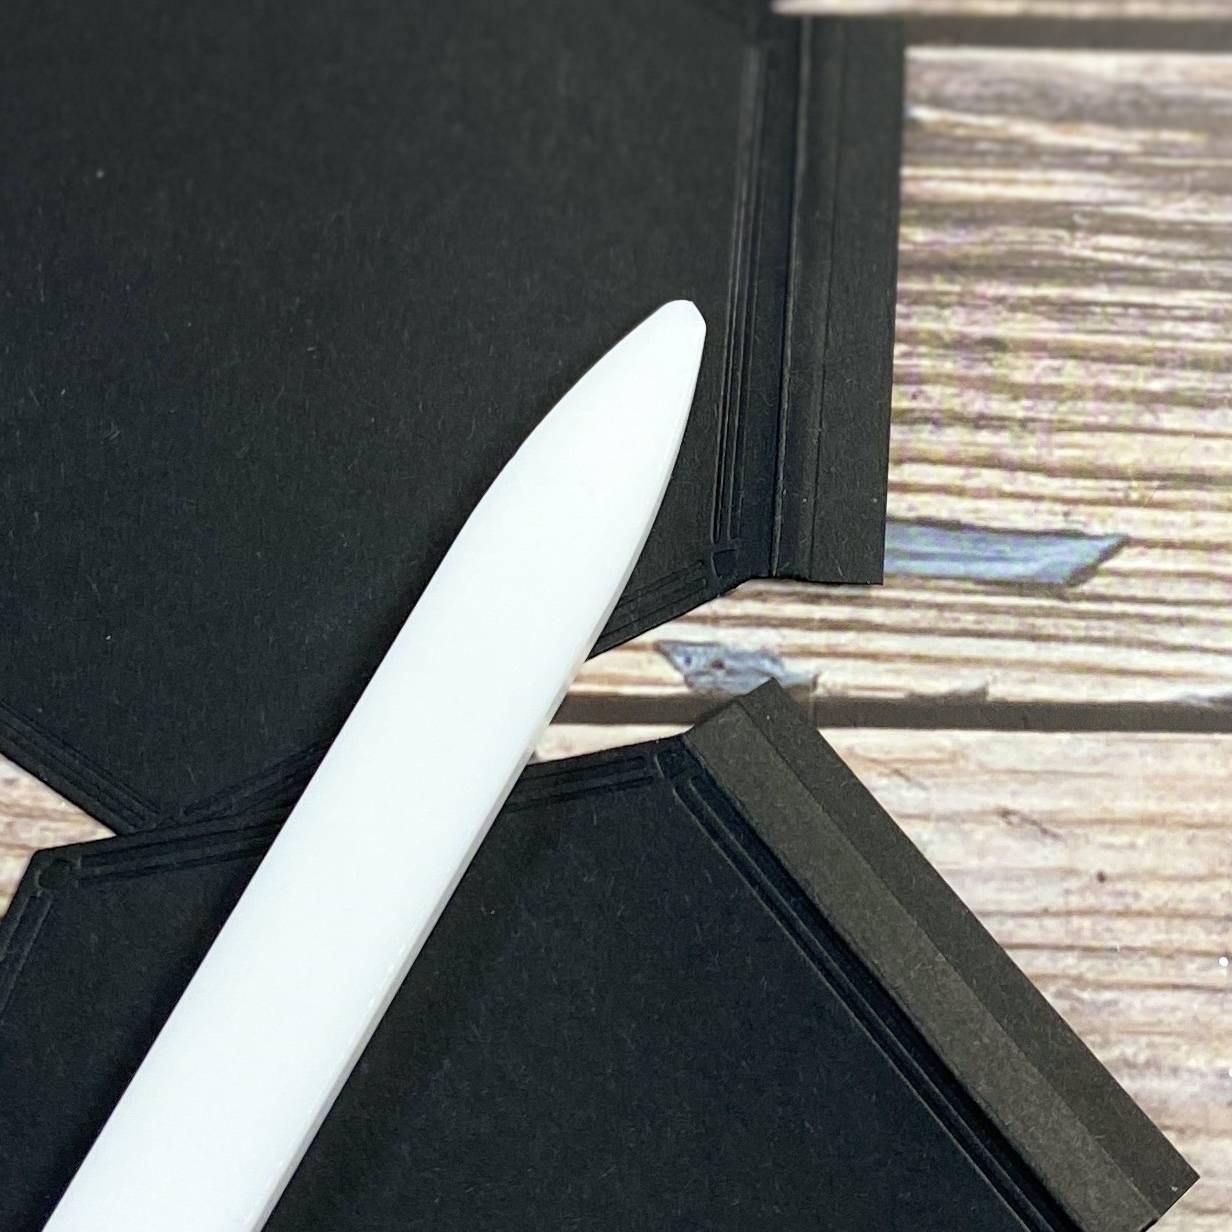
Step 11
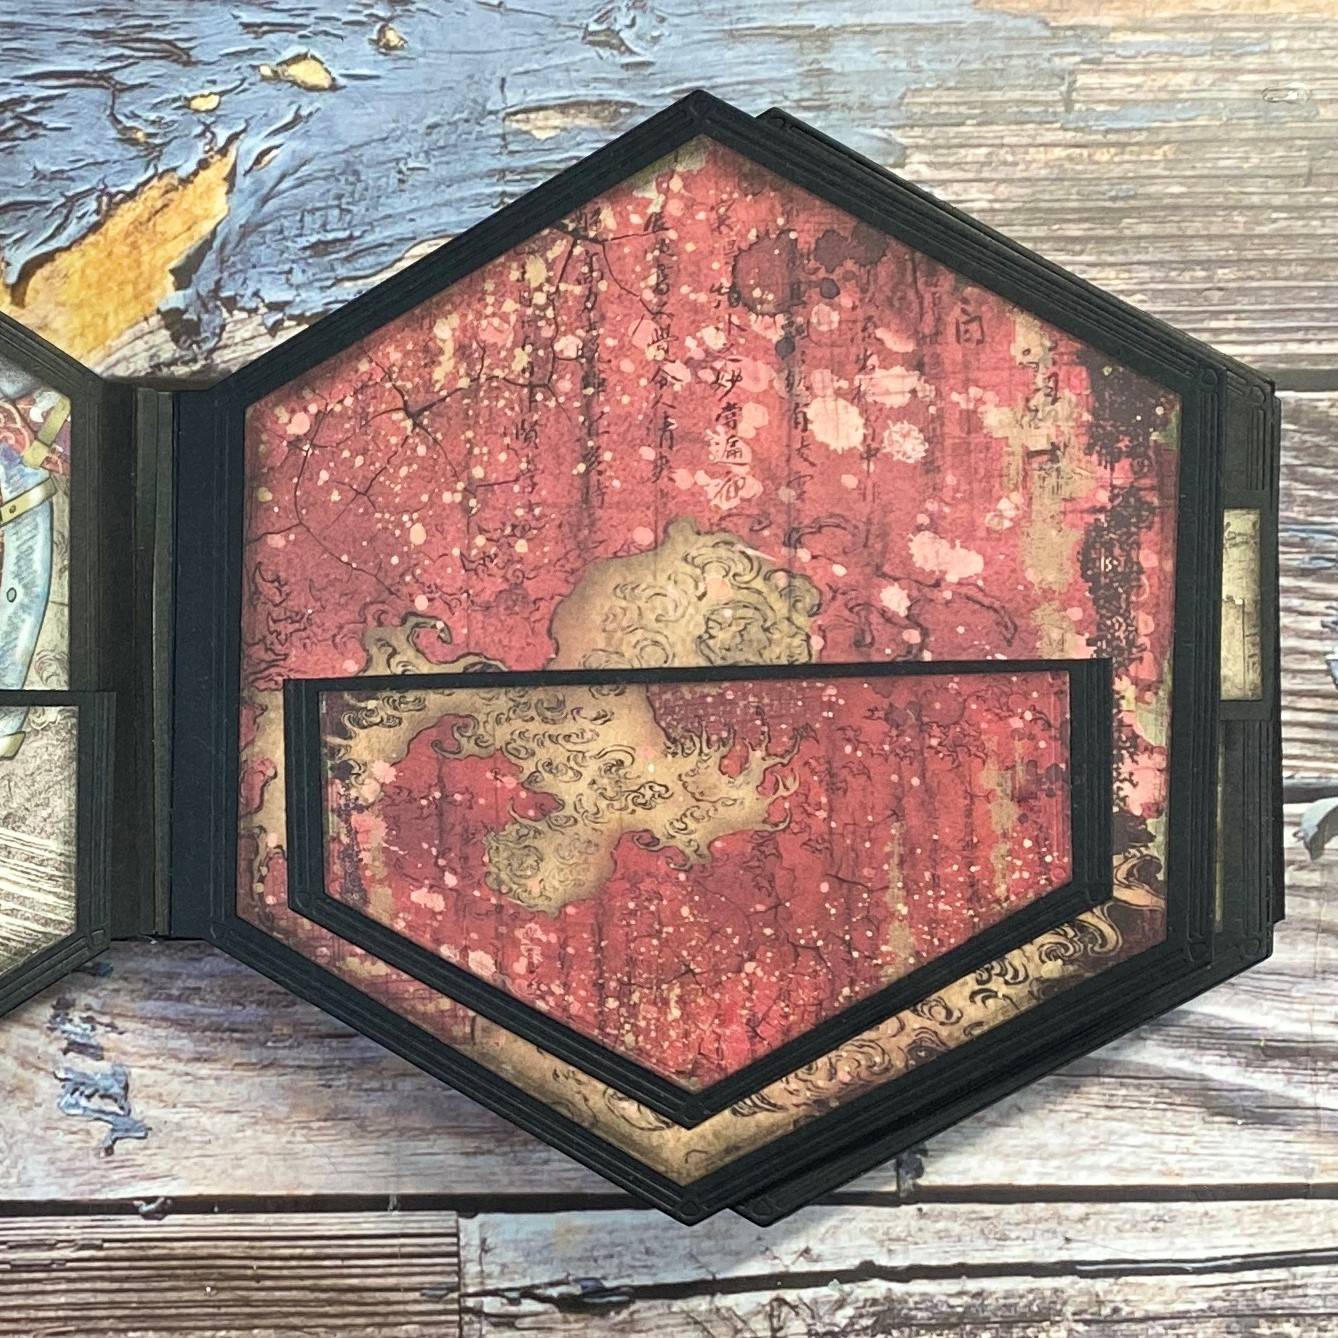
Add each side to your small hexagonal base and follow the order of increasing increments.
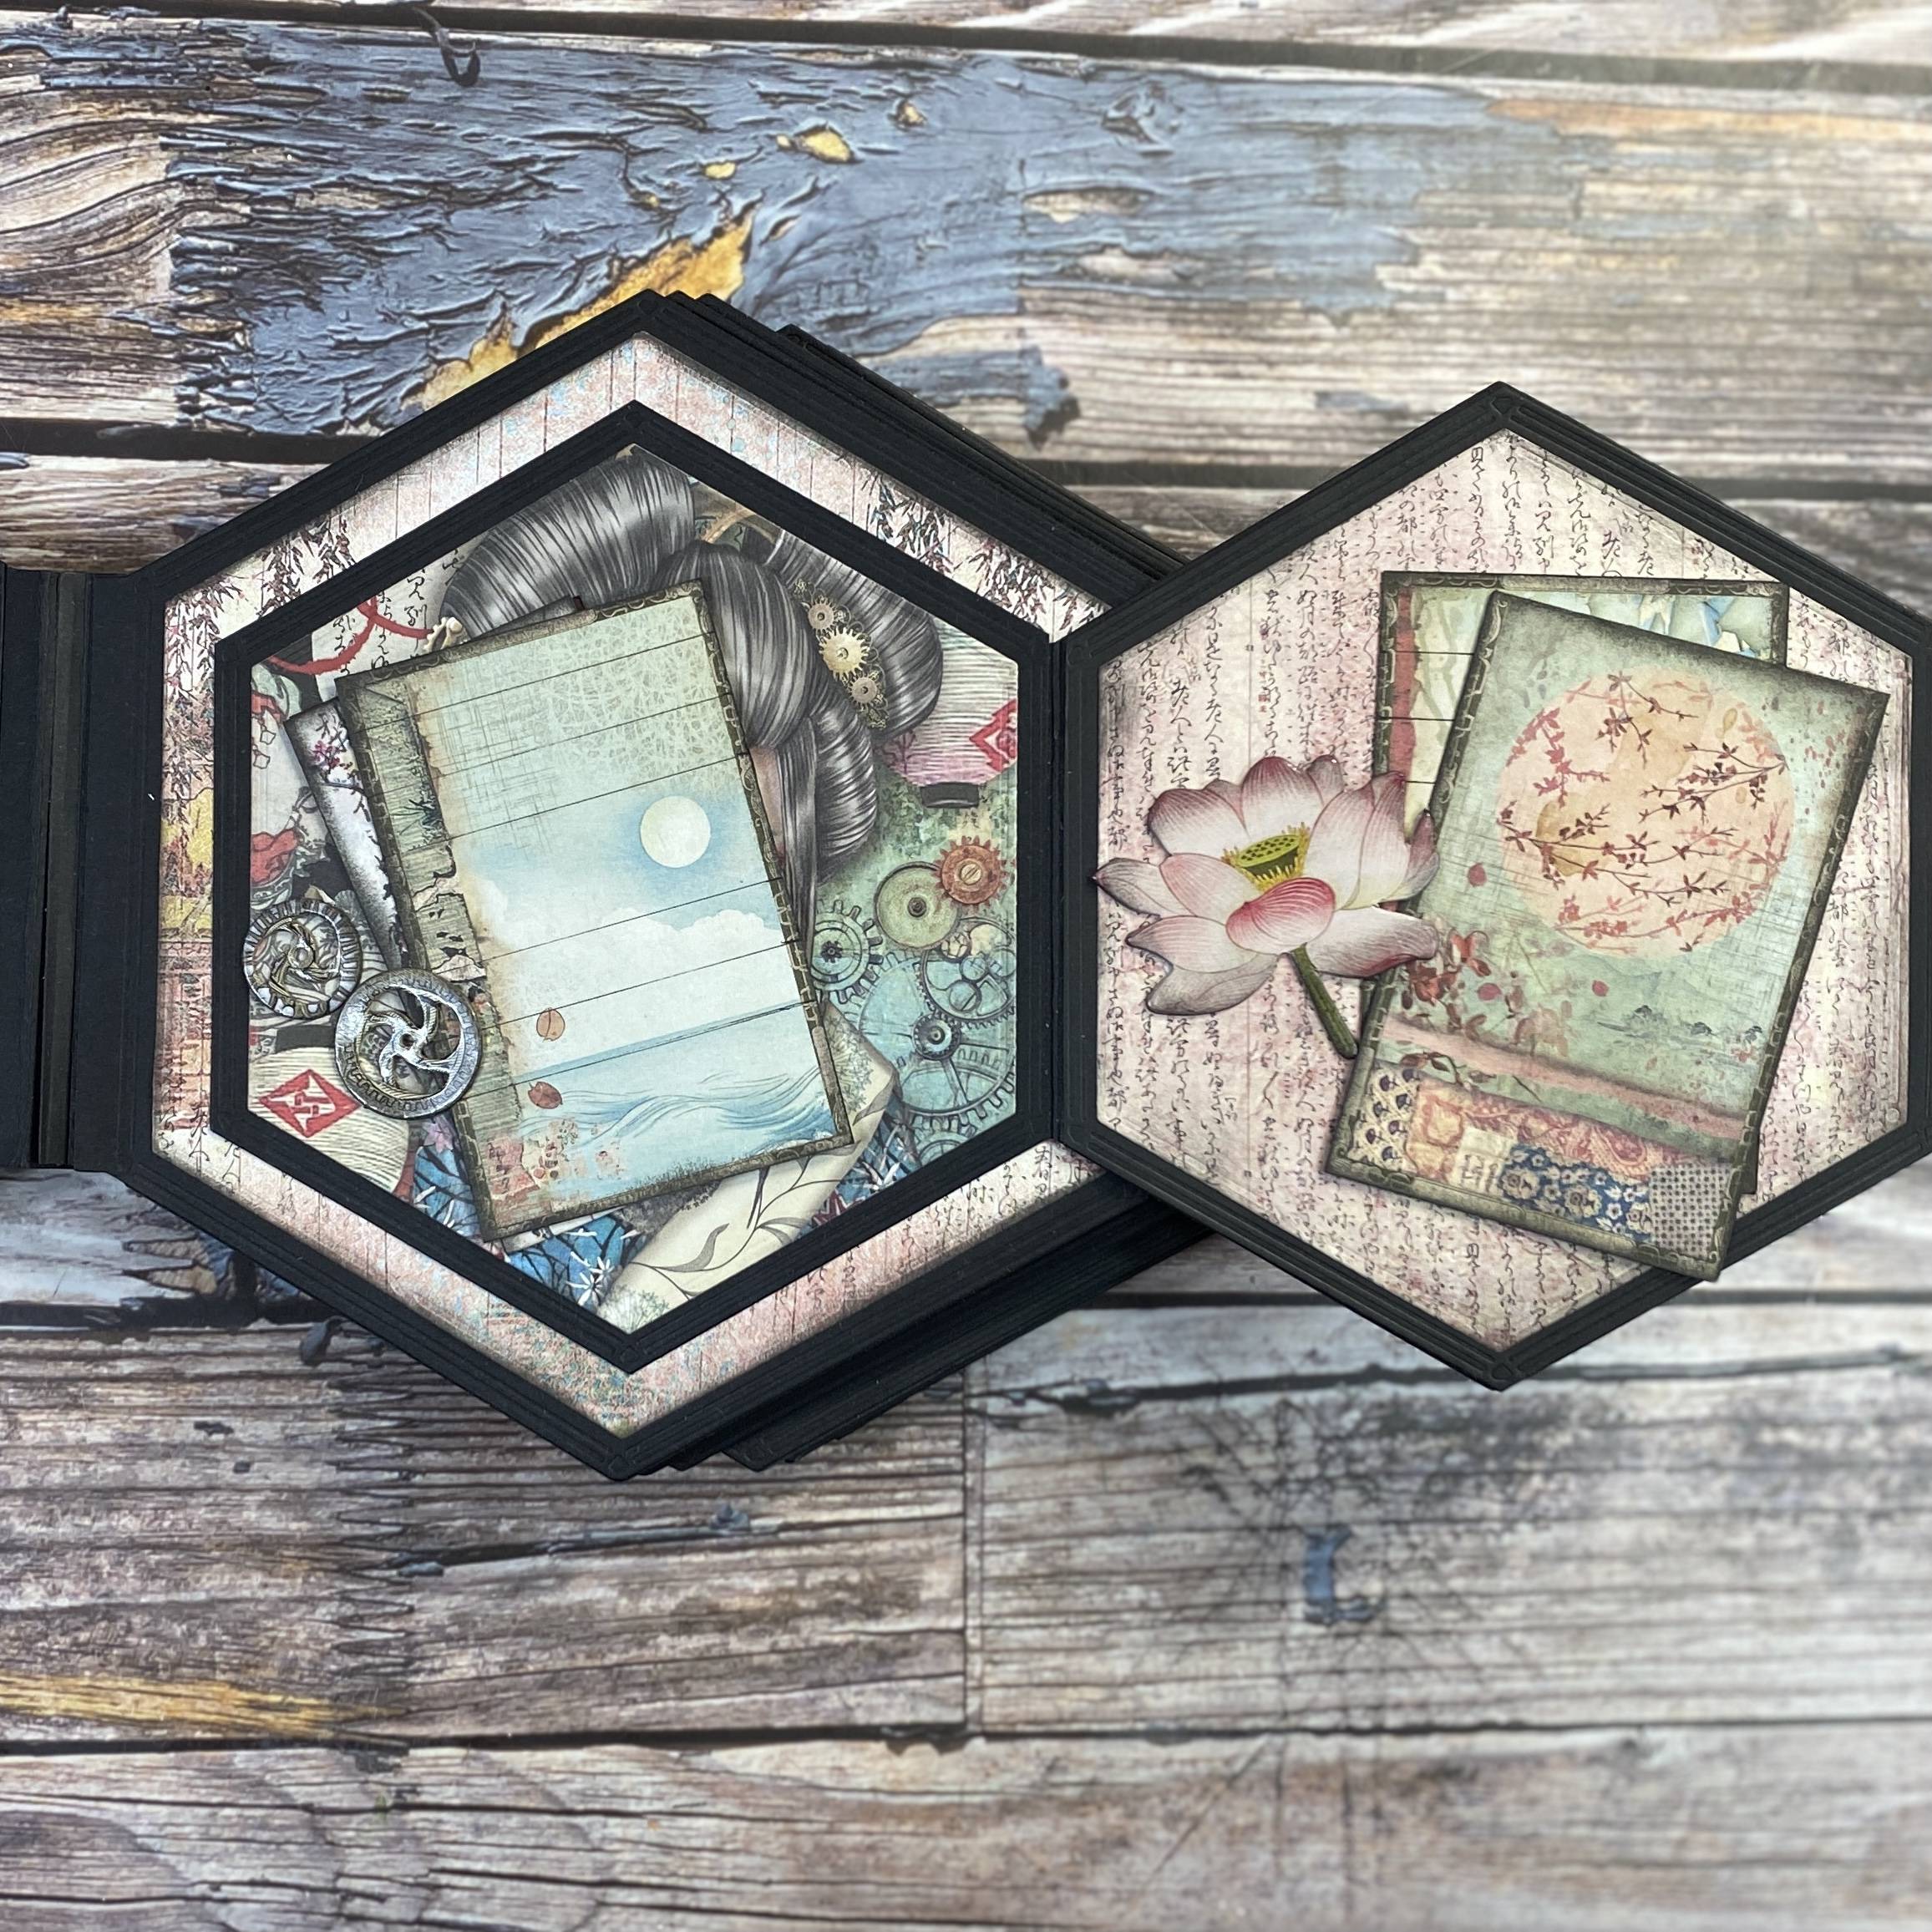
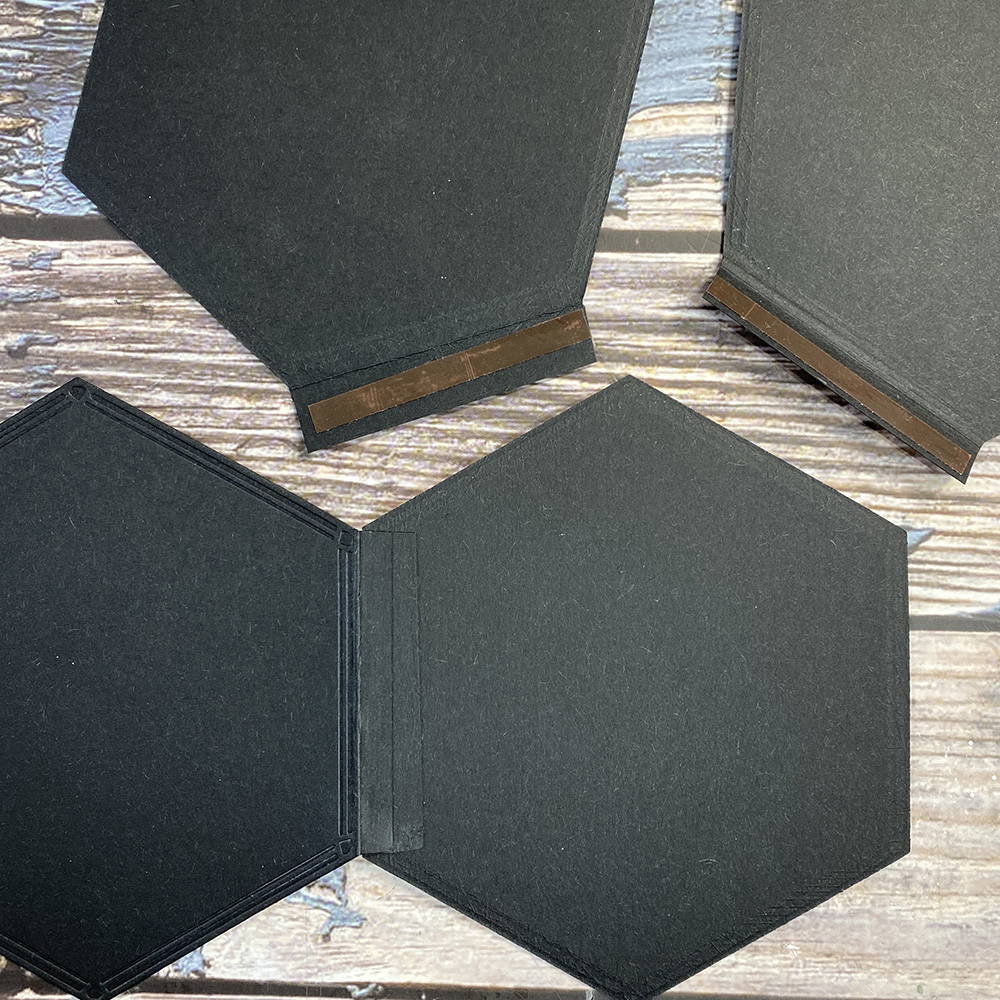
Step 12
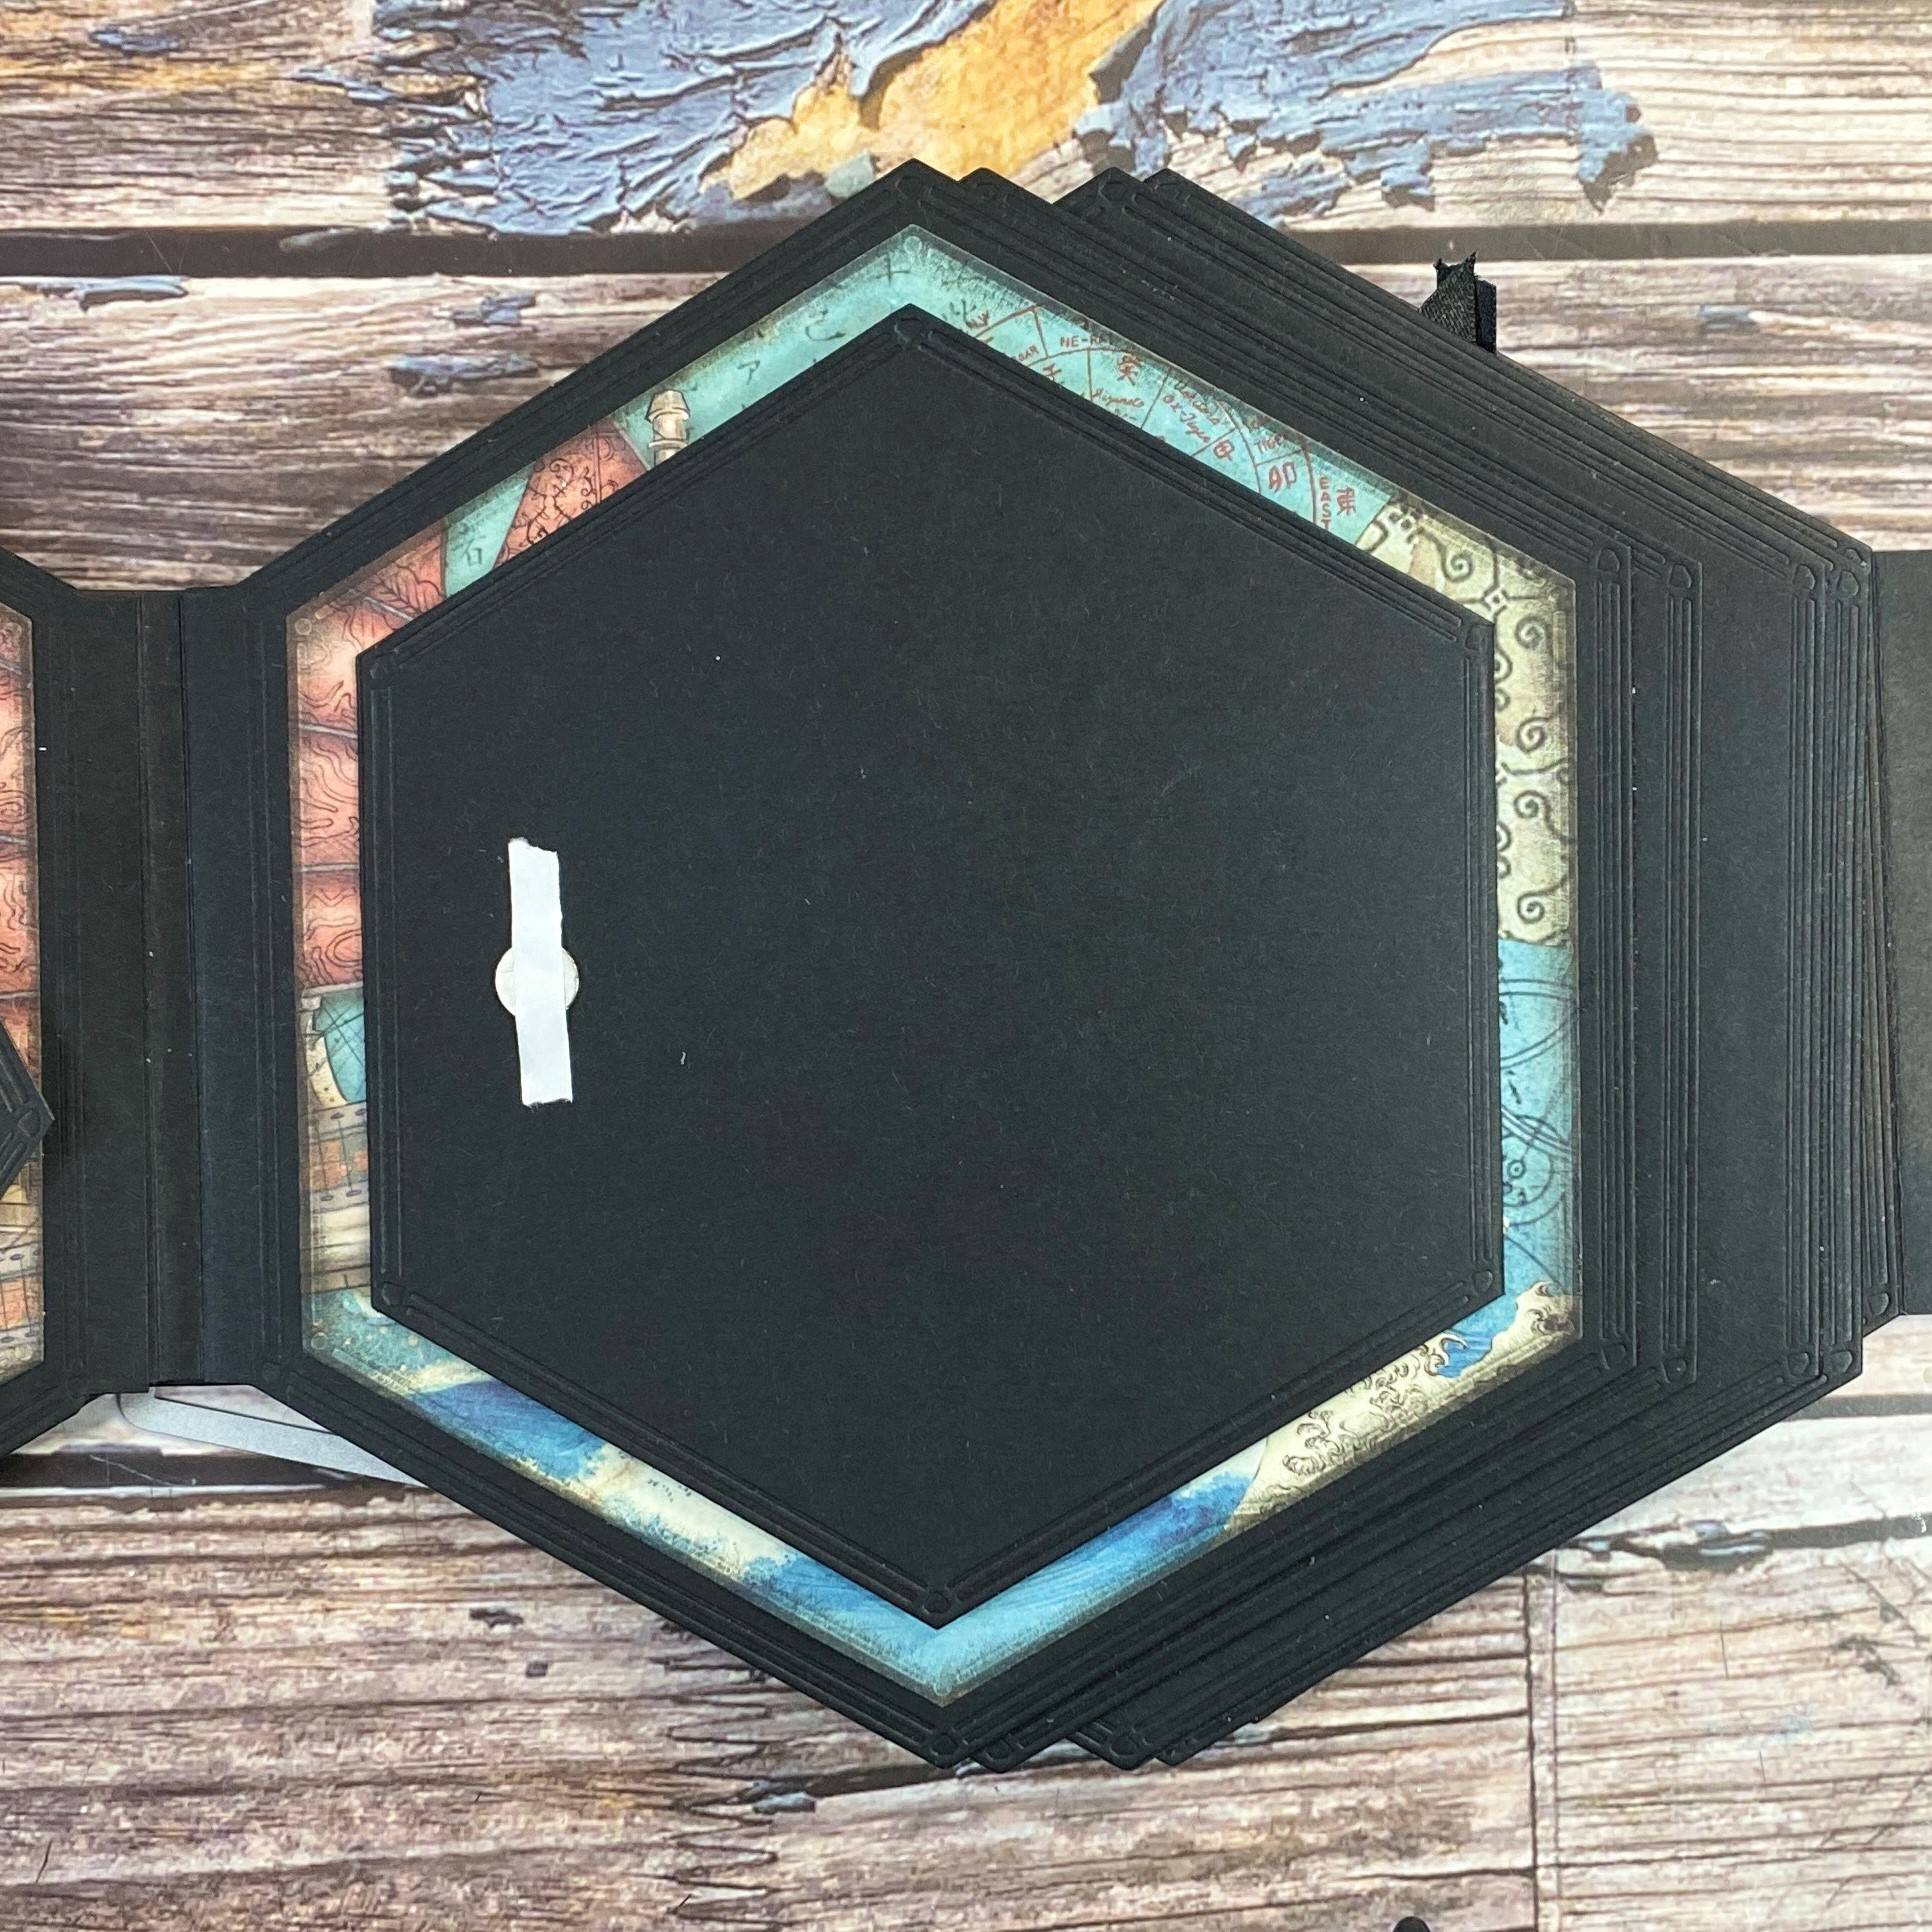
You should now have a complete fold out page.
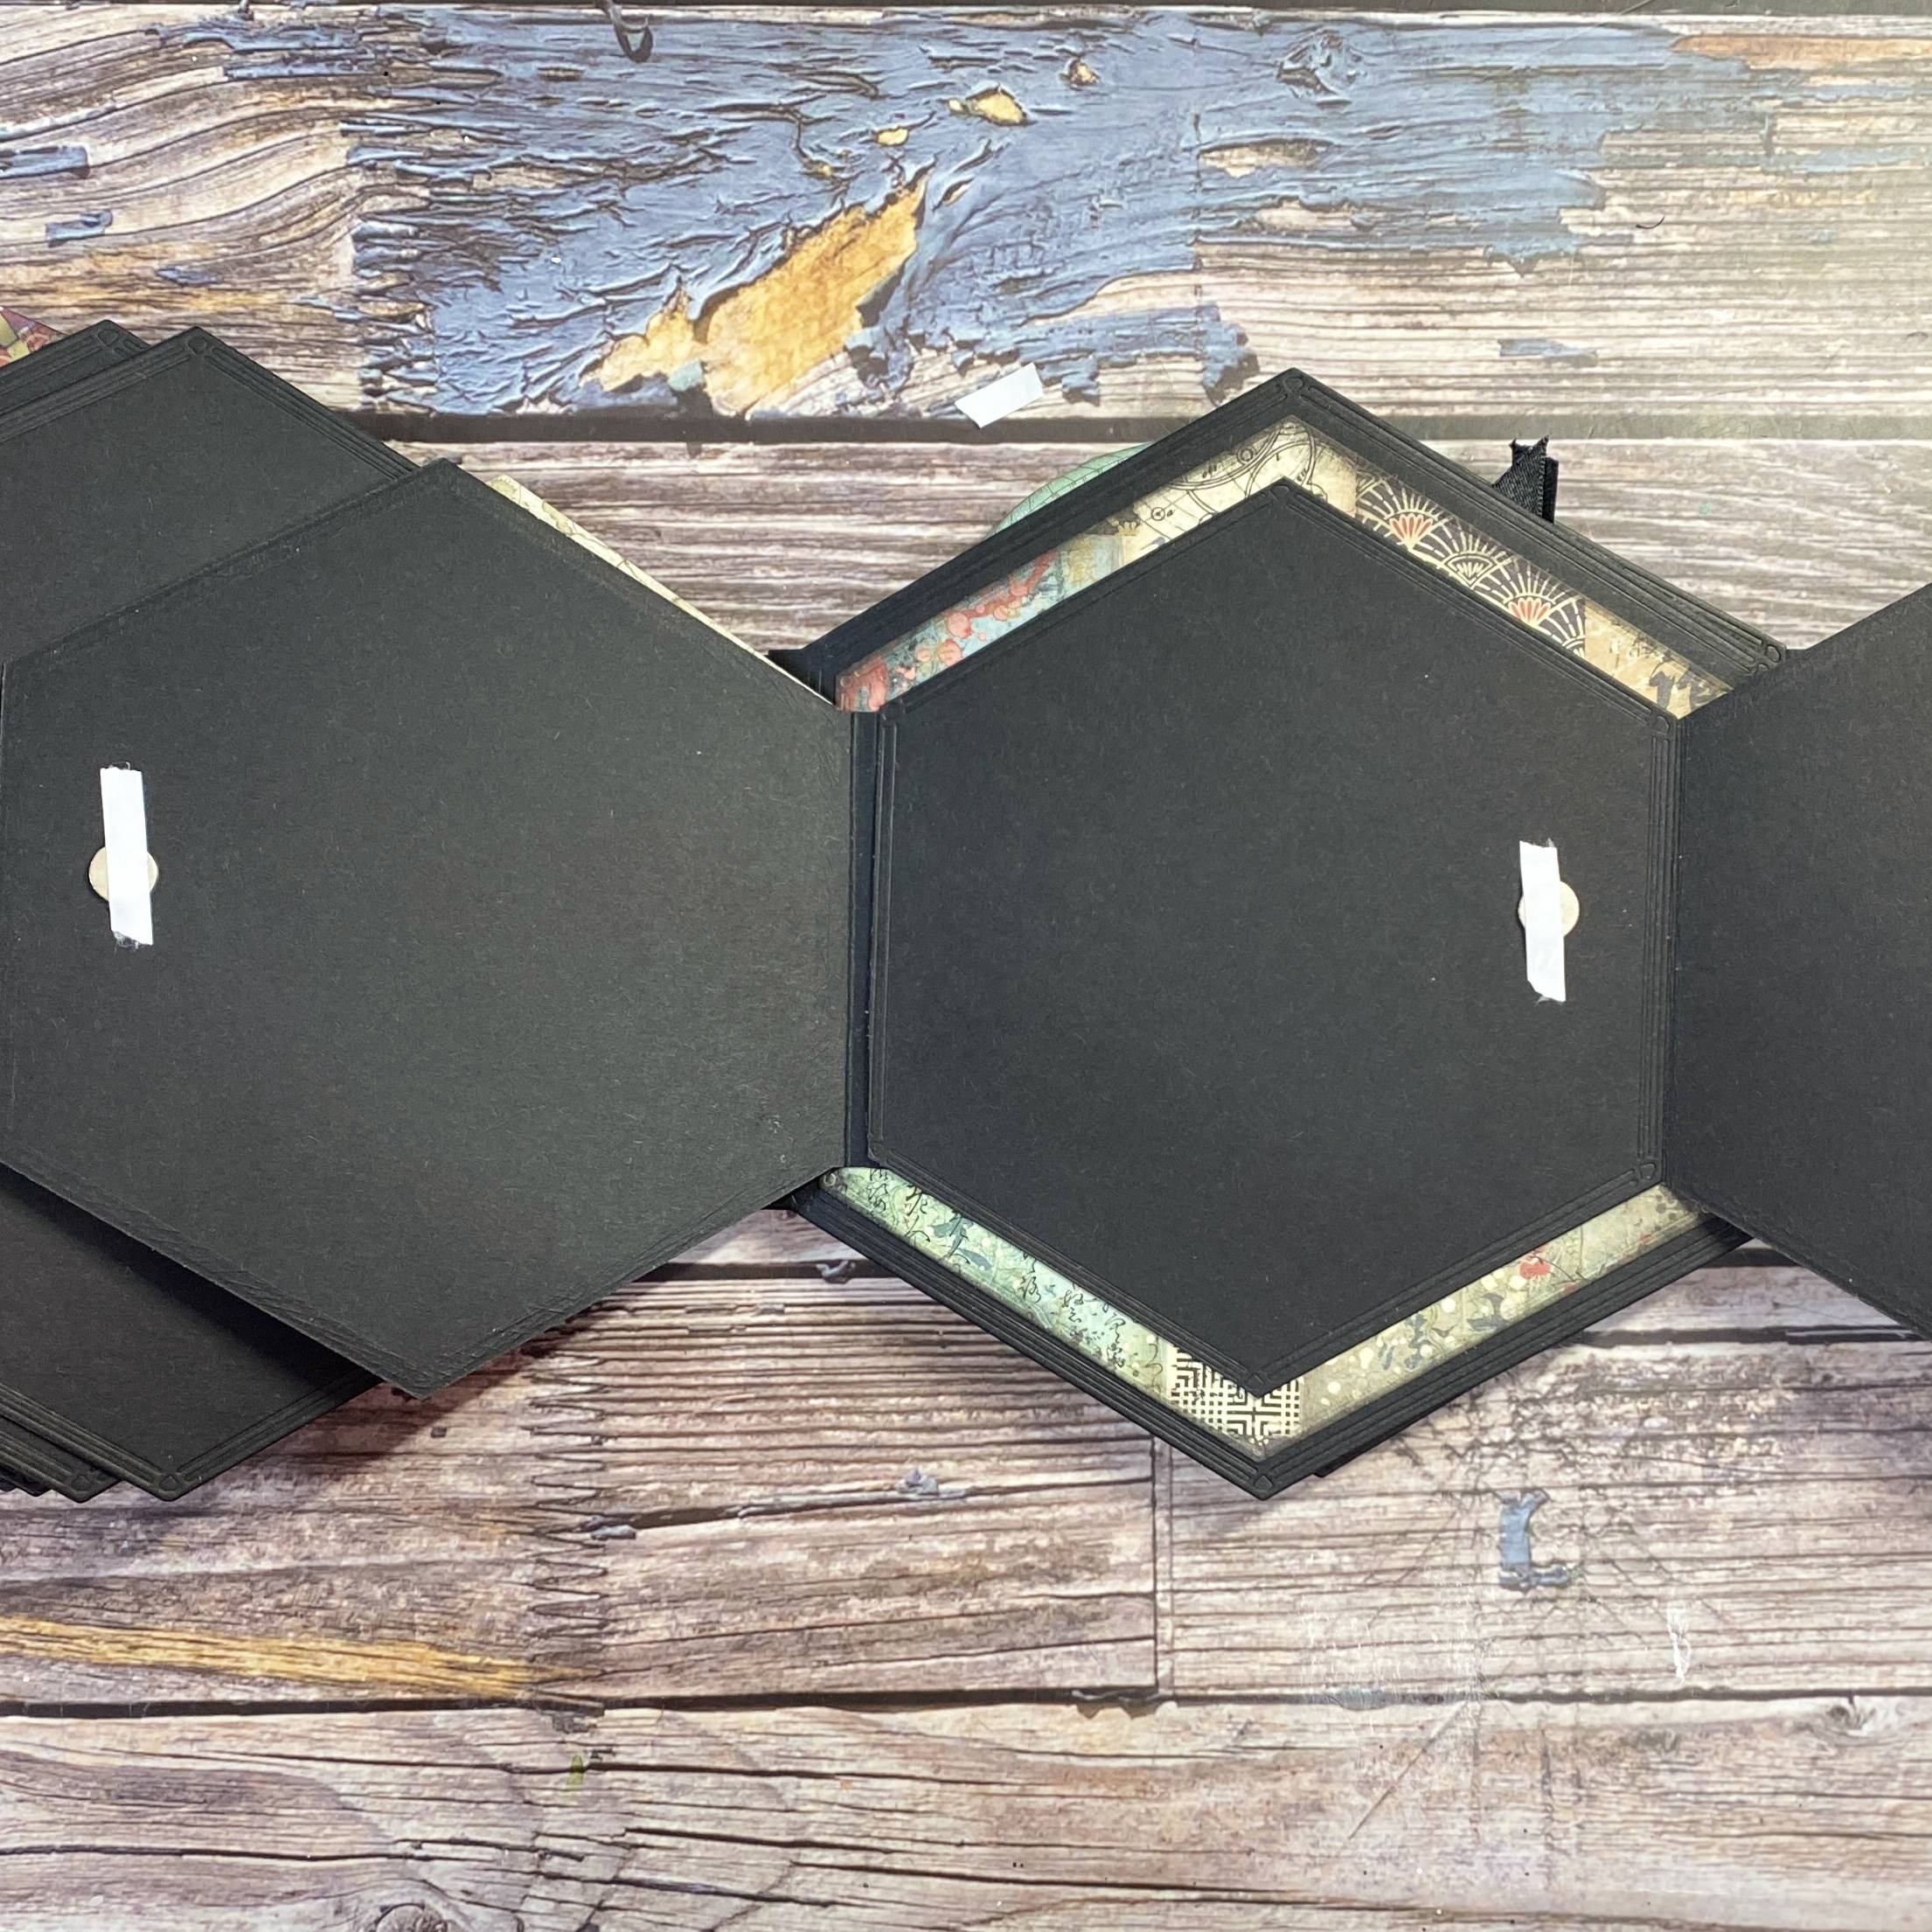
Step 13
Here you can see the bottom and how it’s been attached.
Step 14
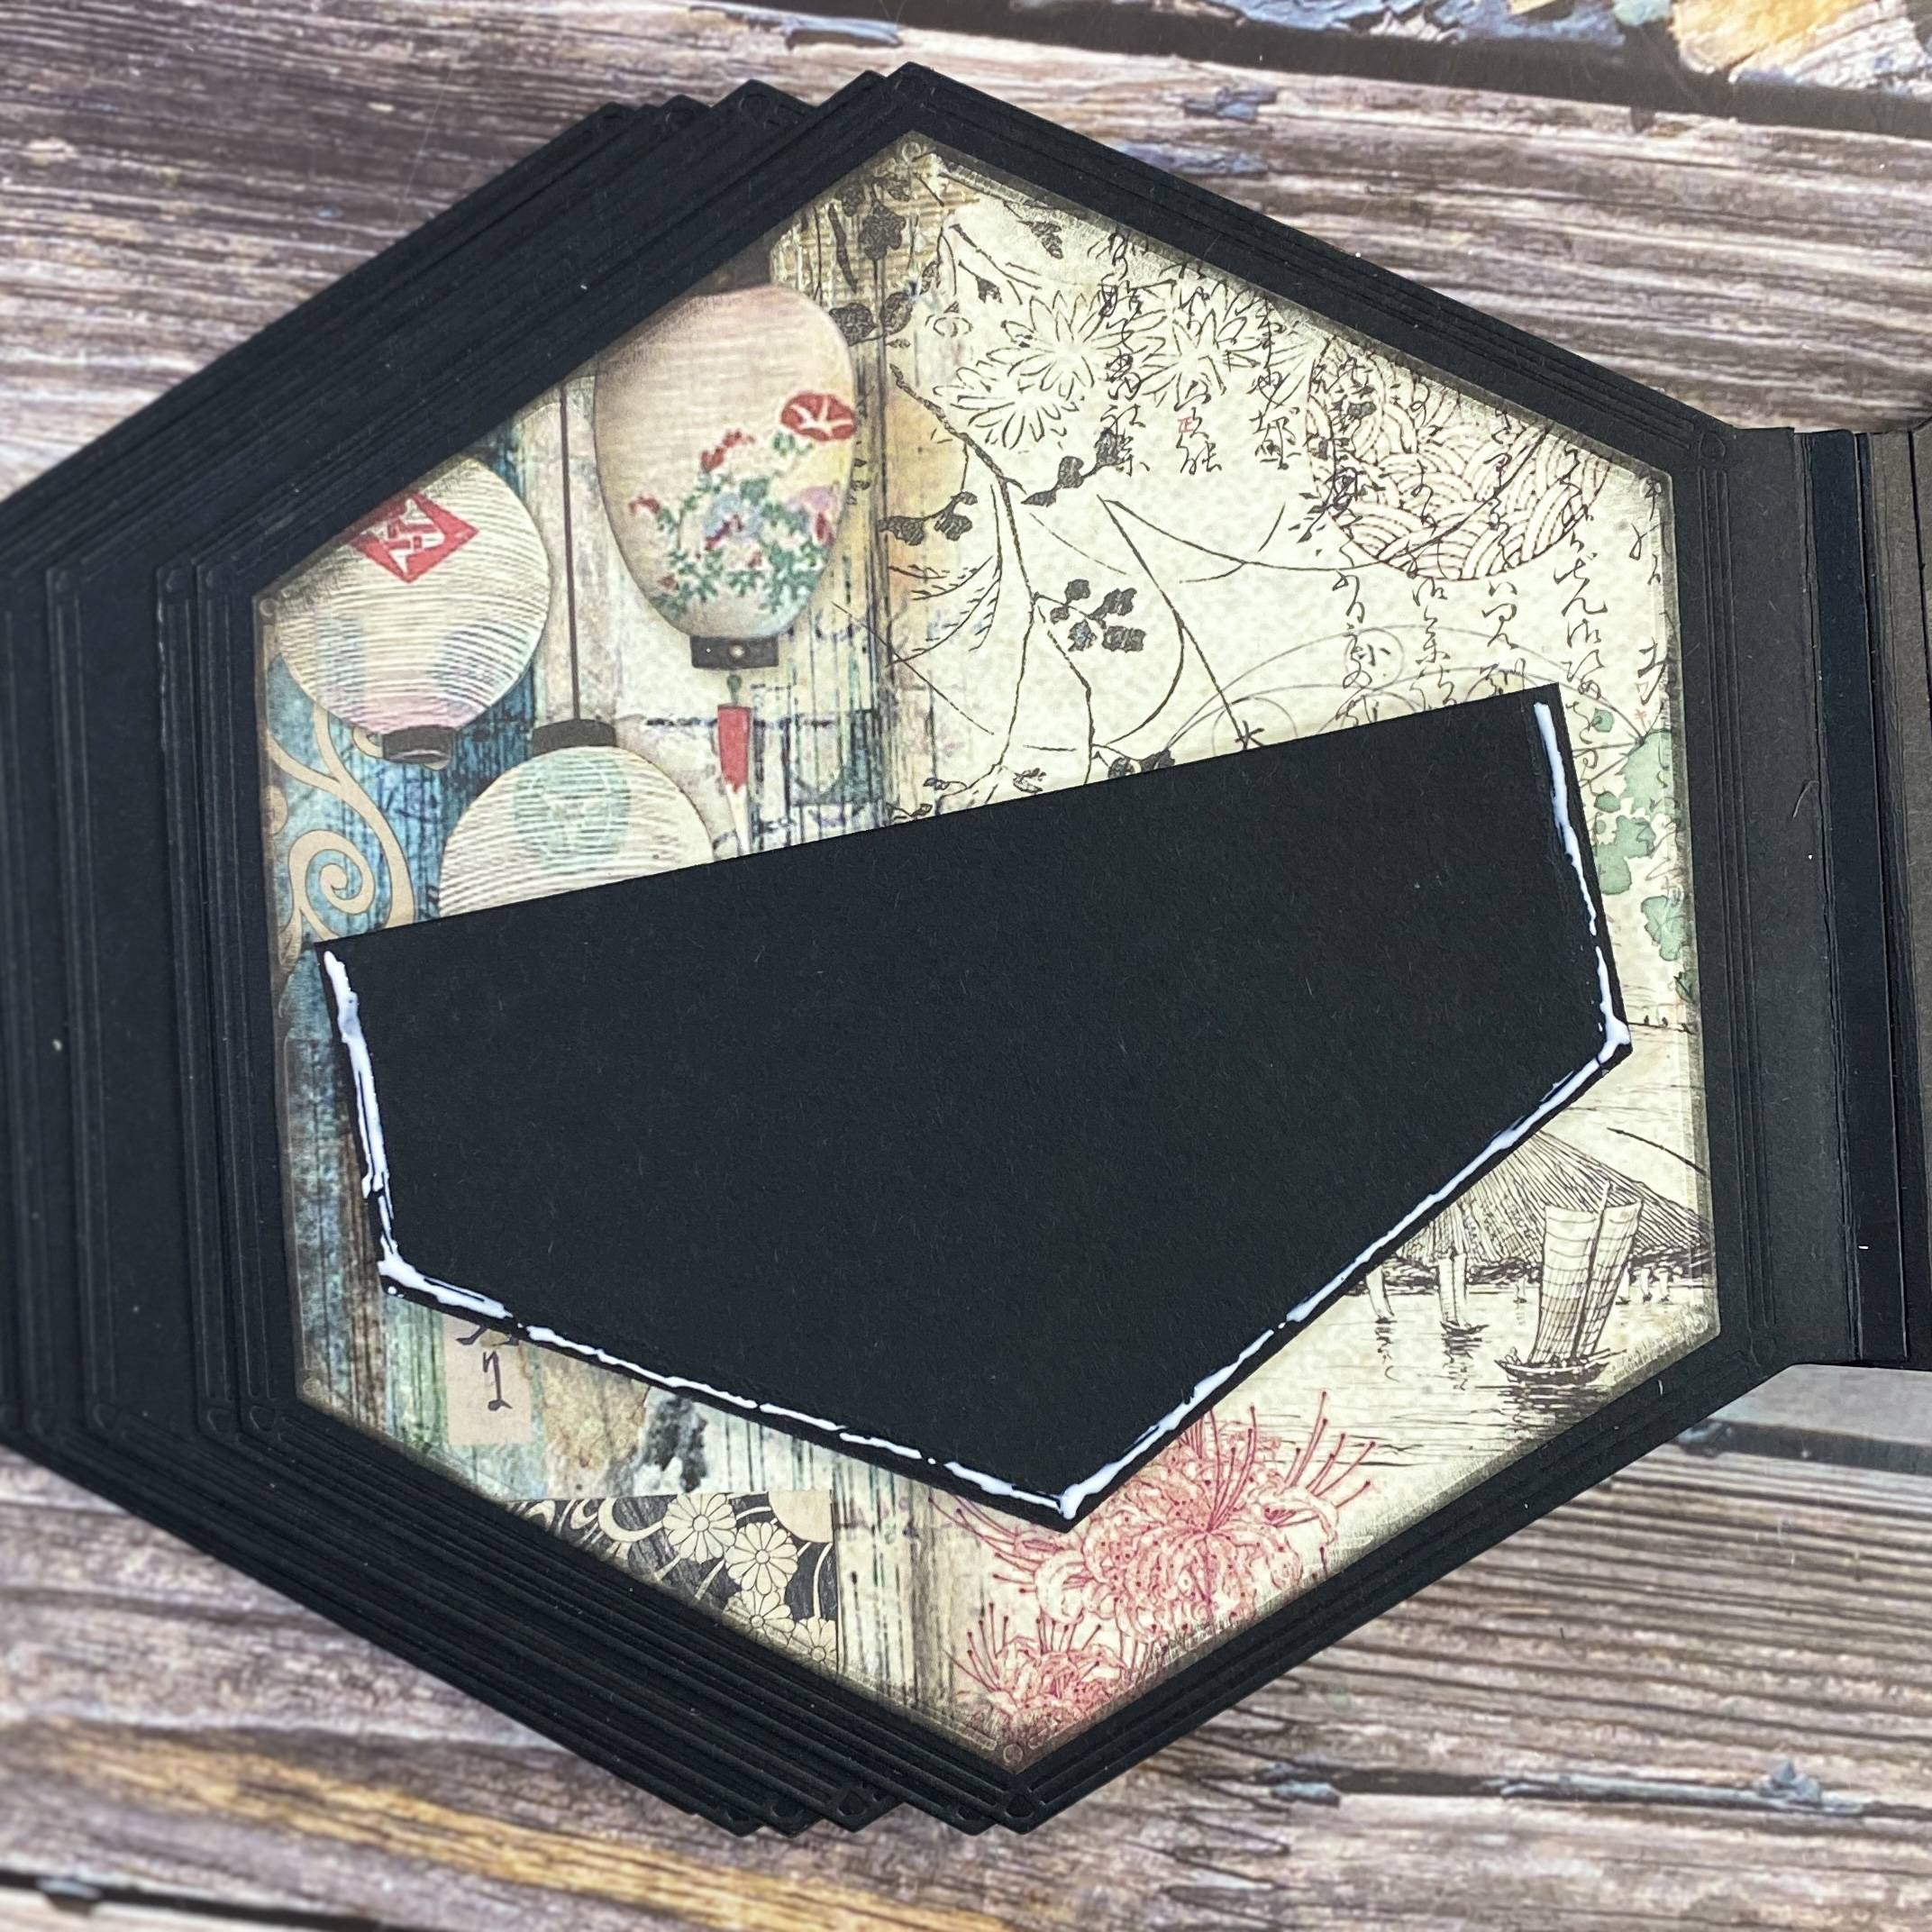
Add double-sided tape and wet adhesive to adhere to your page.
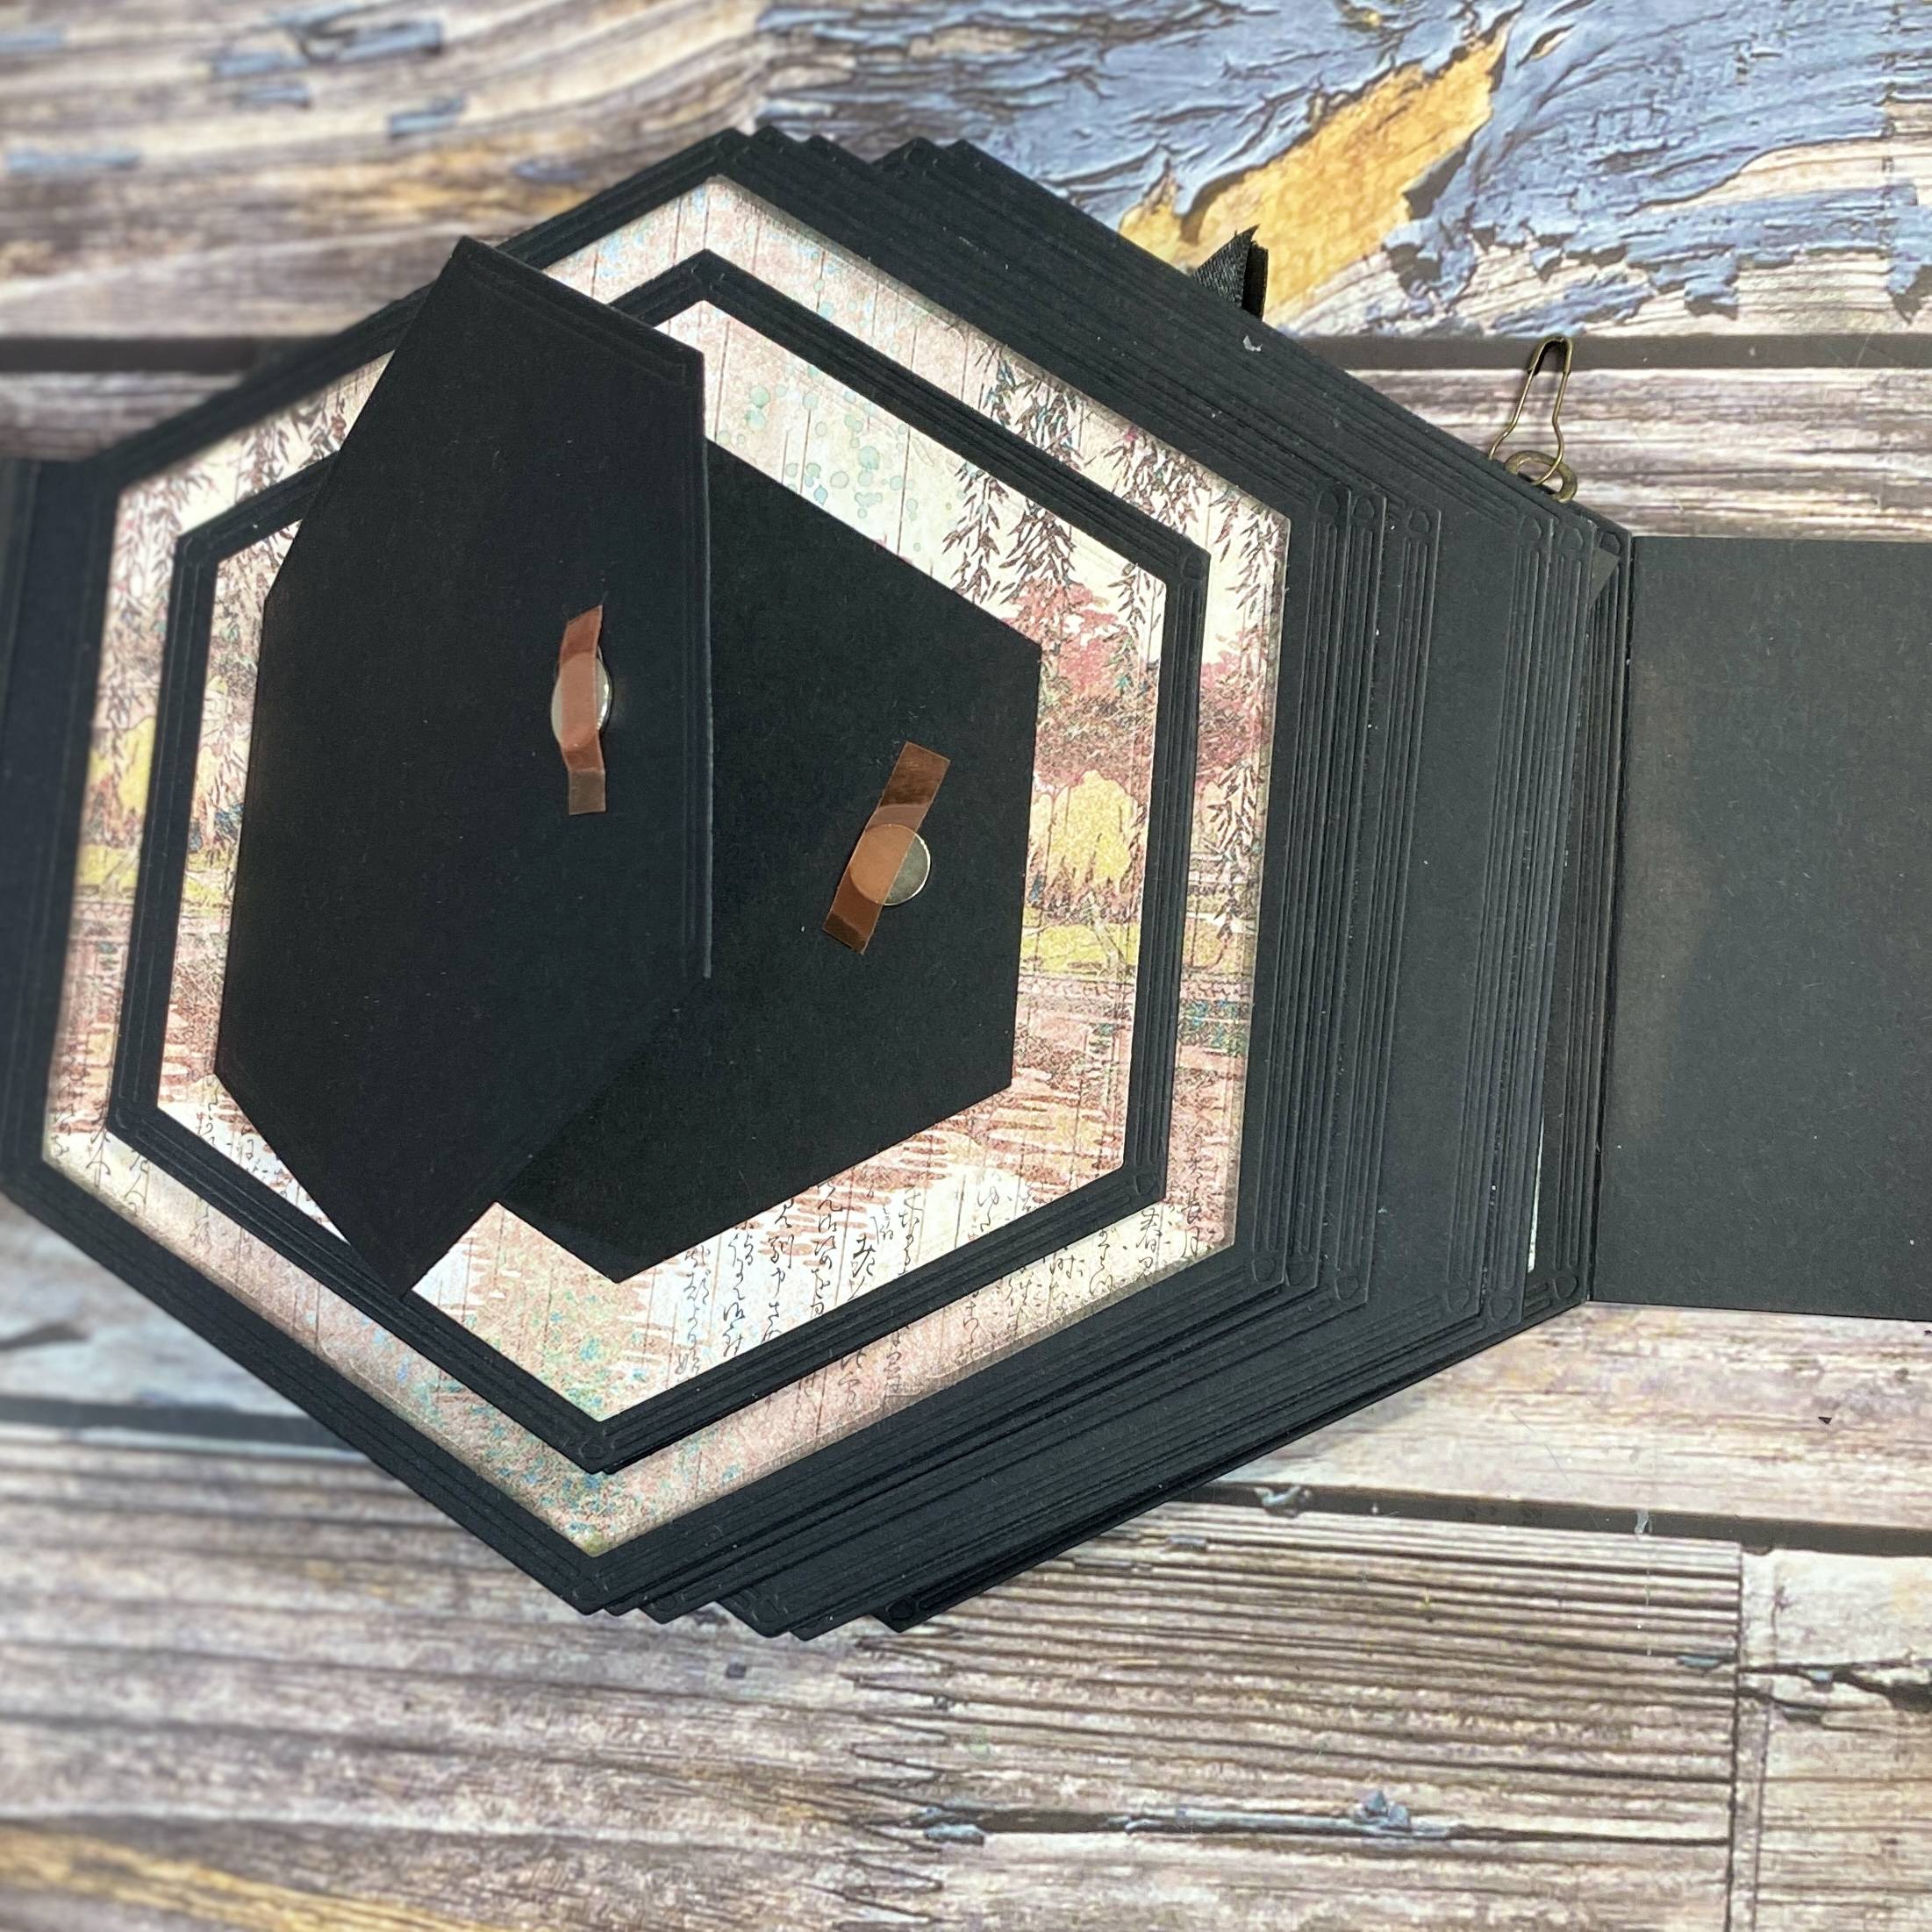
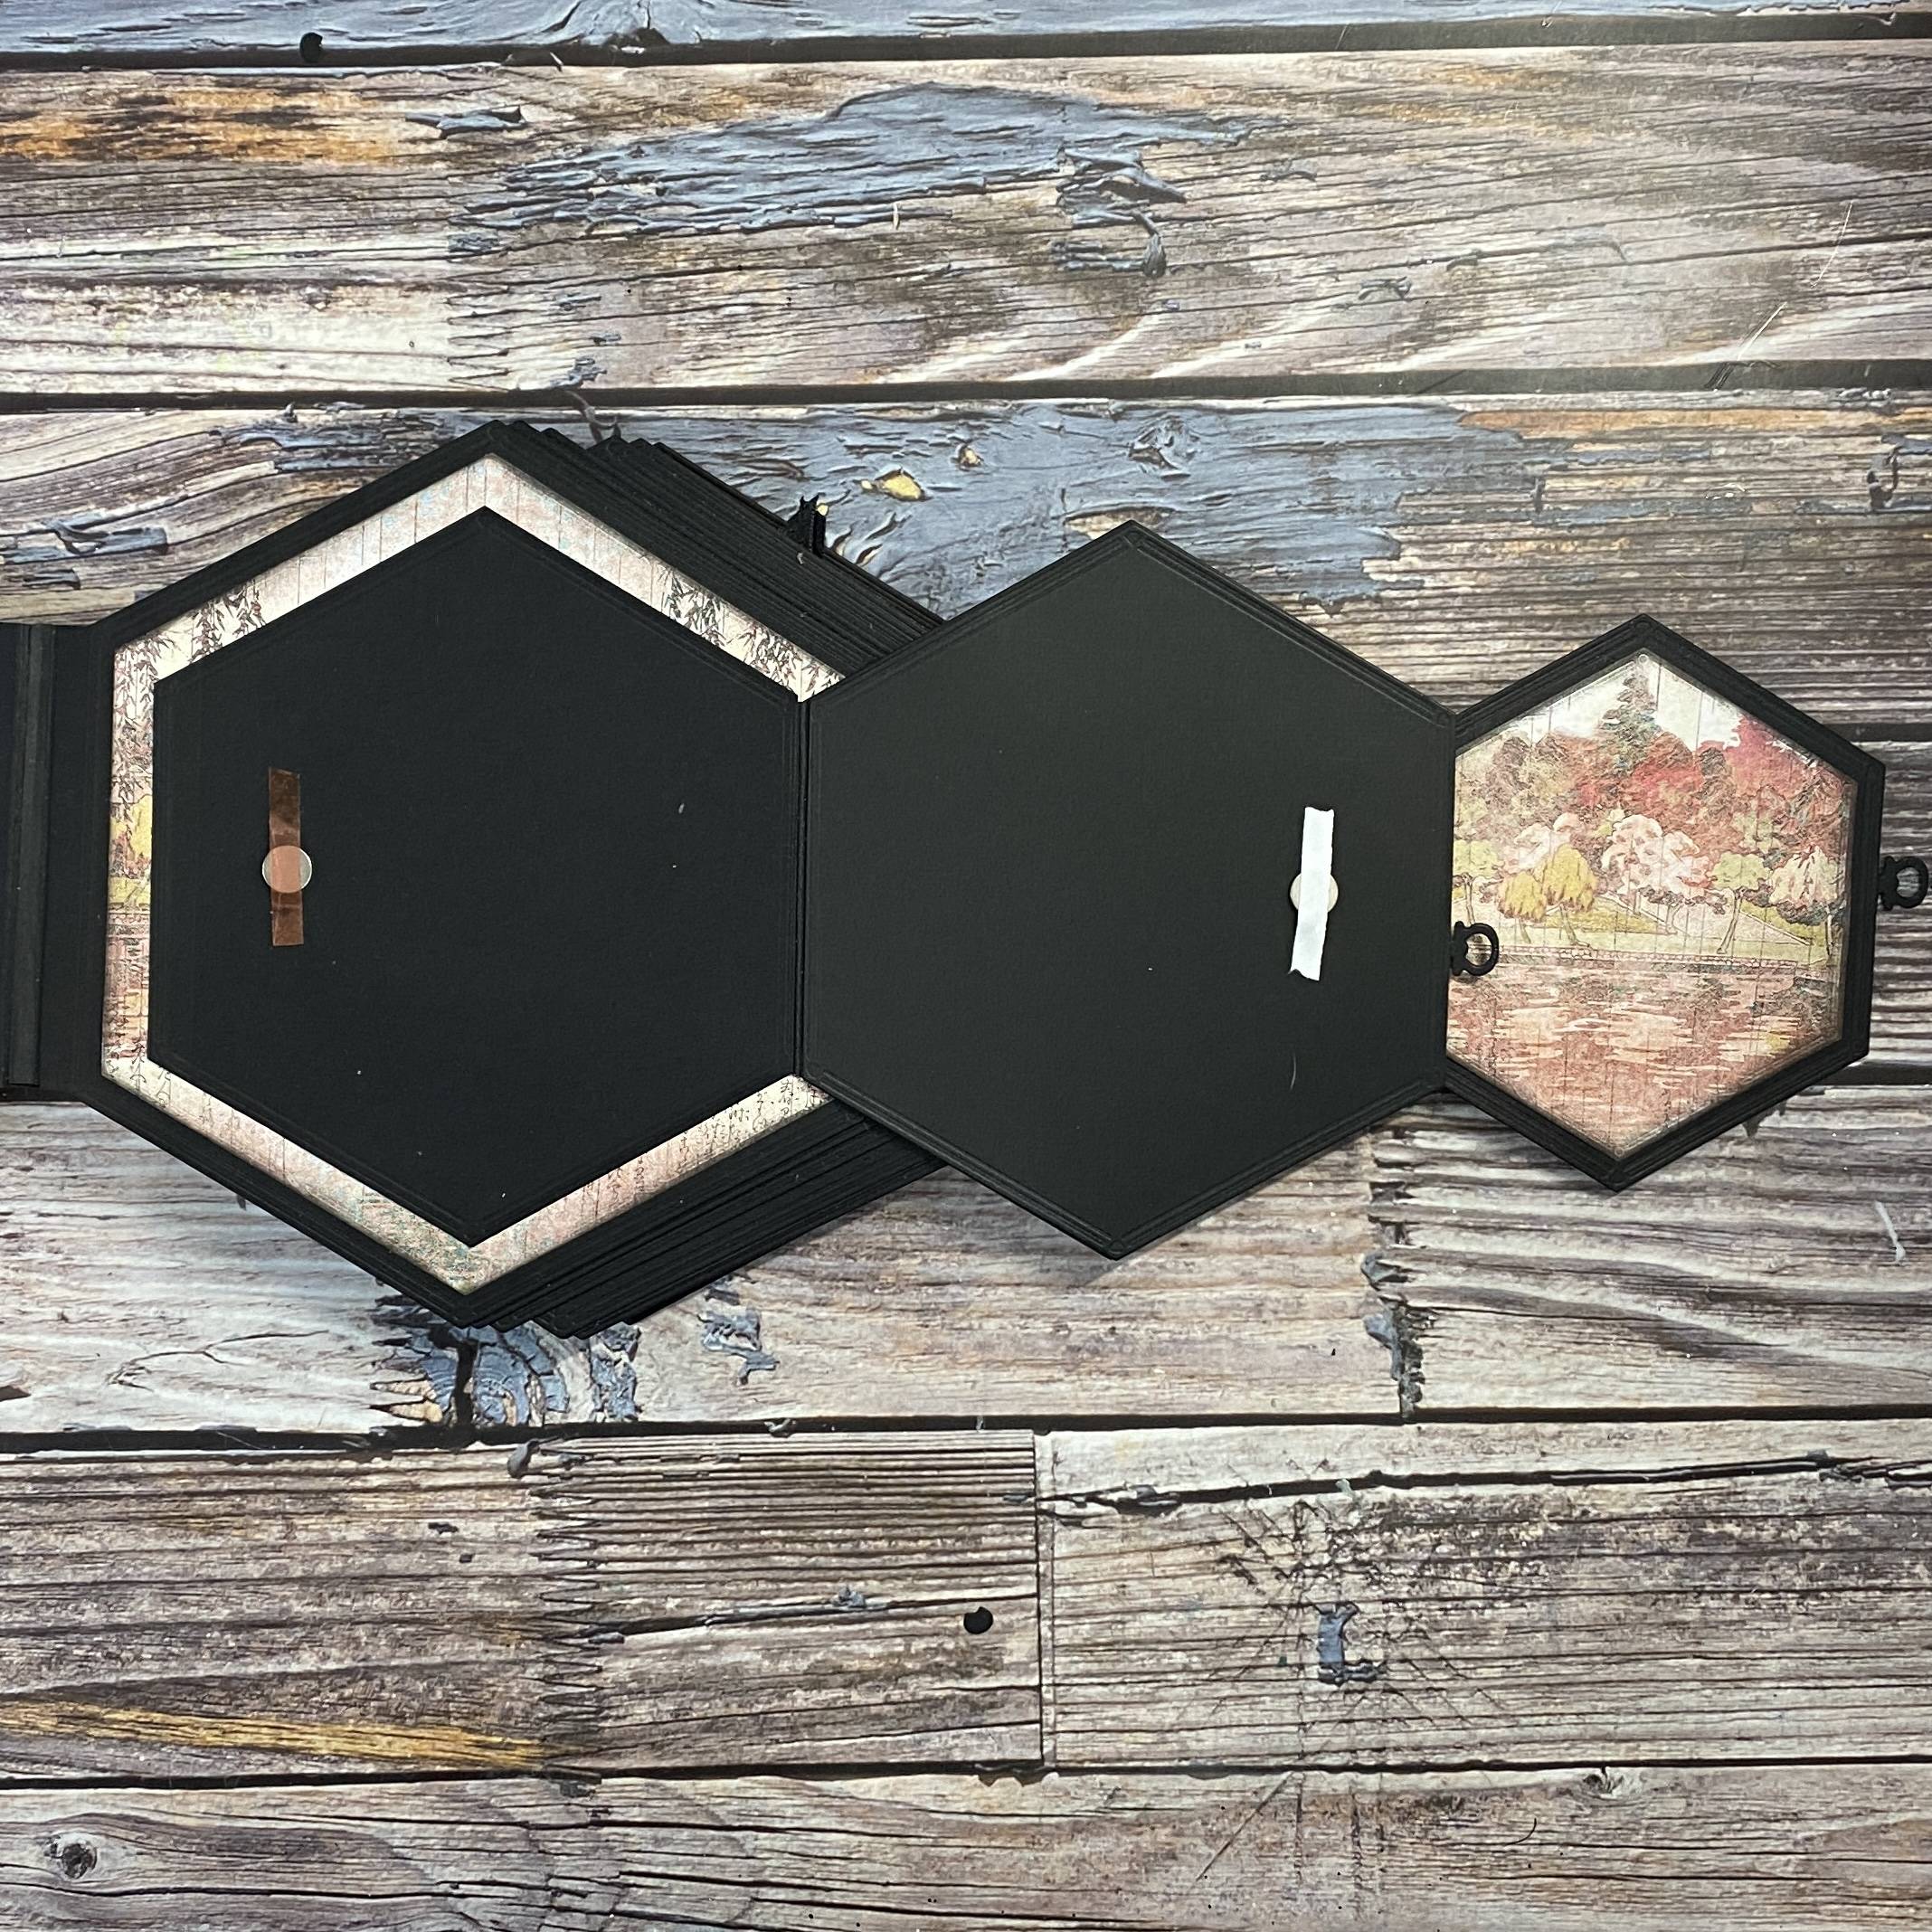
Step 15
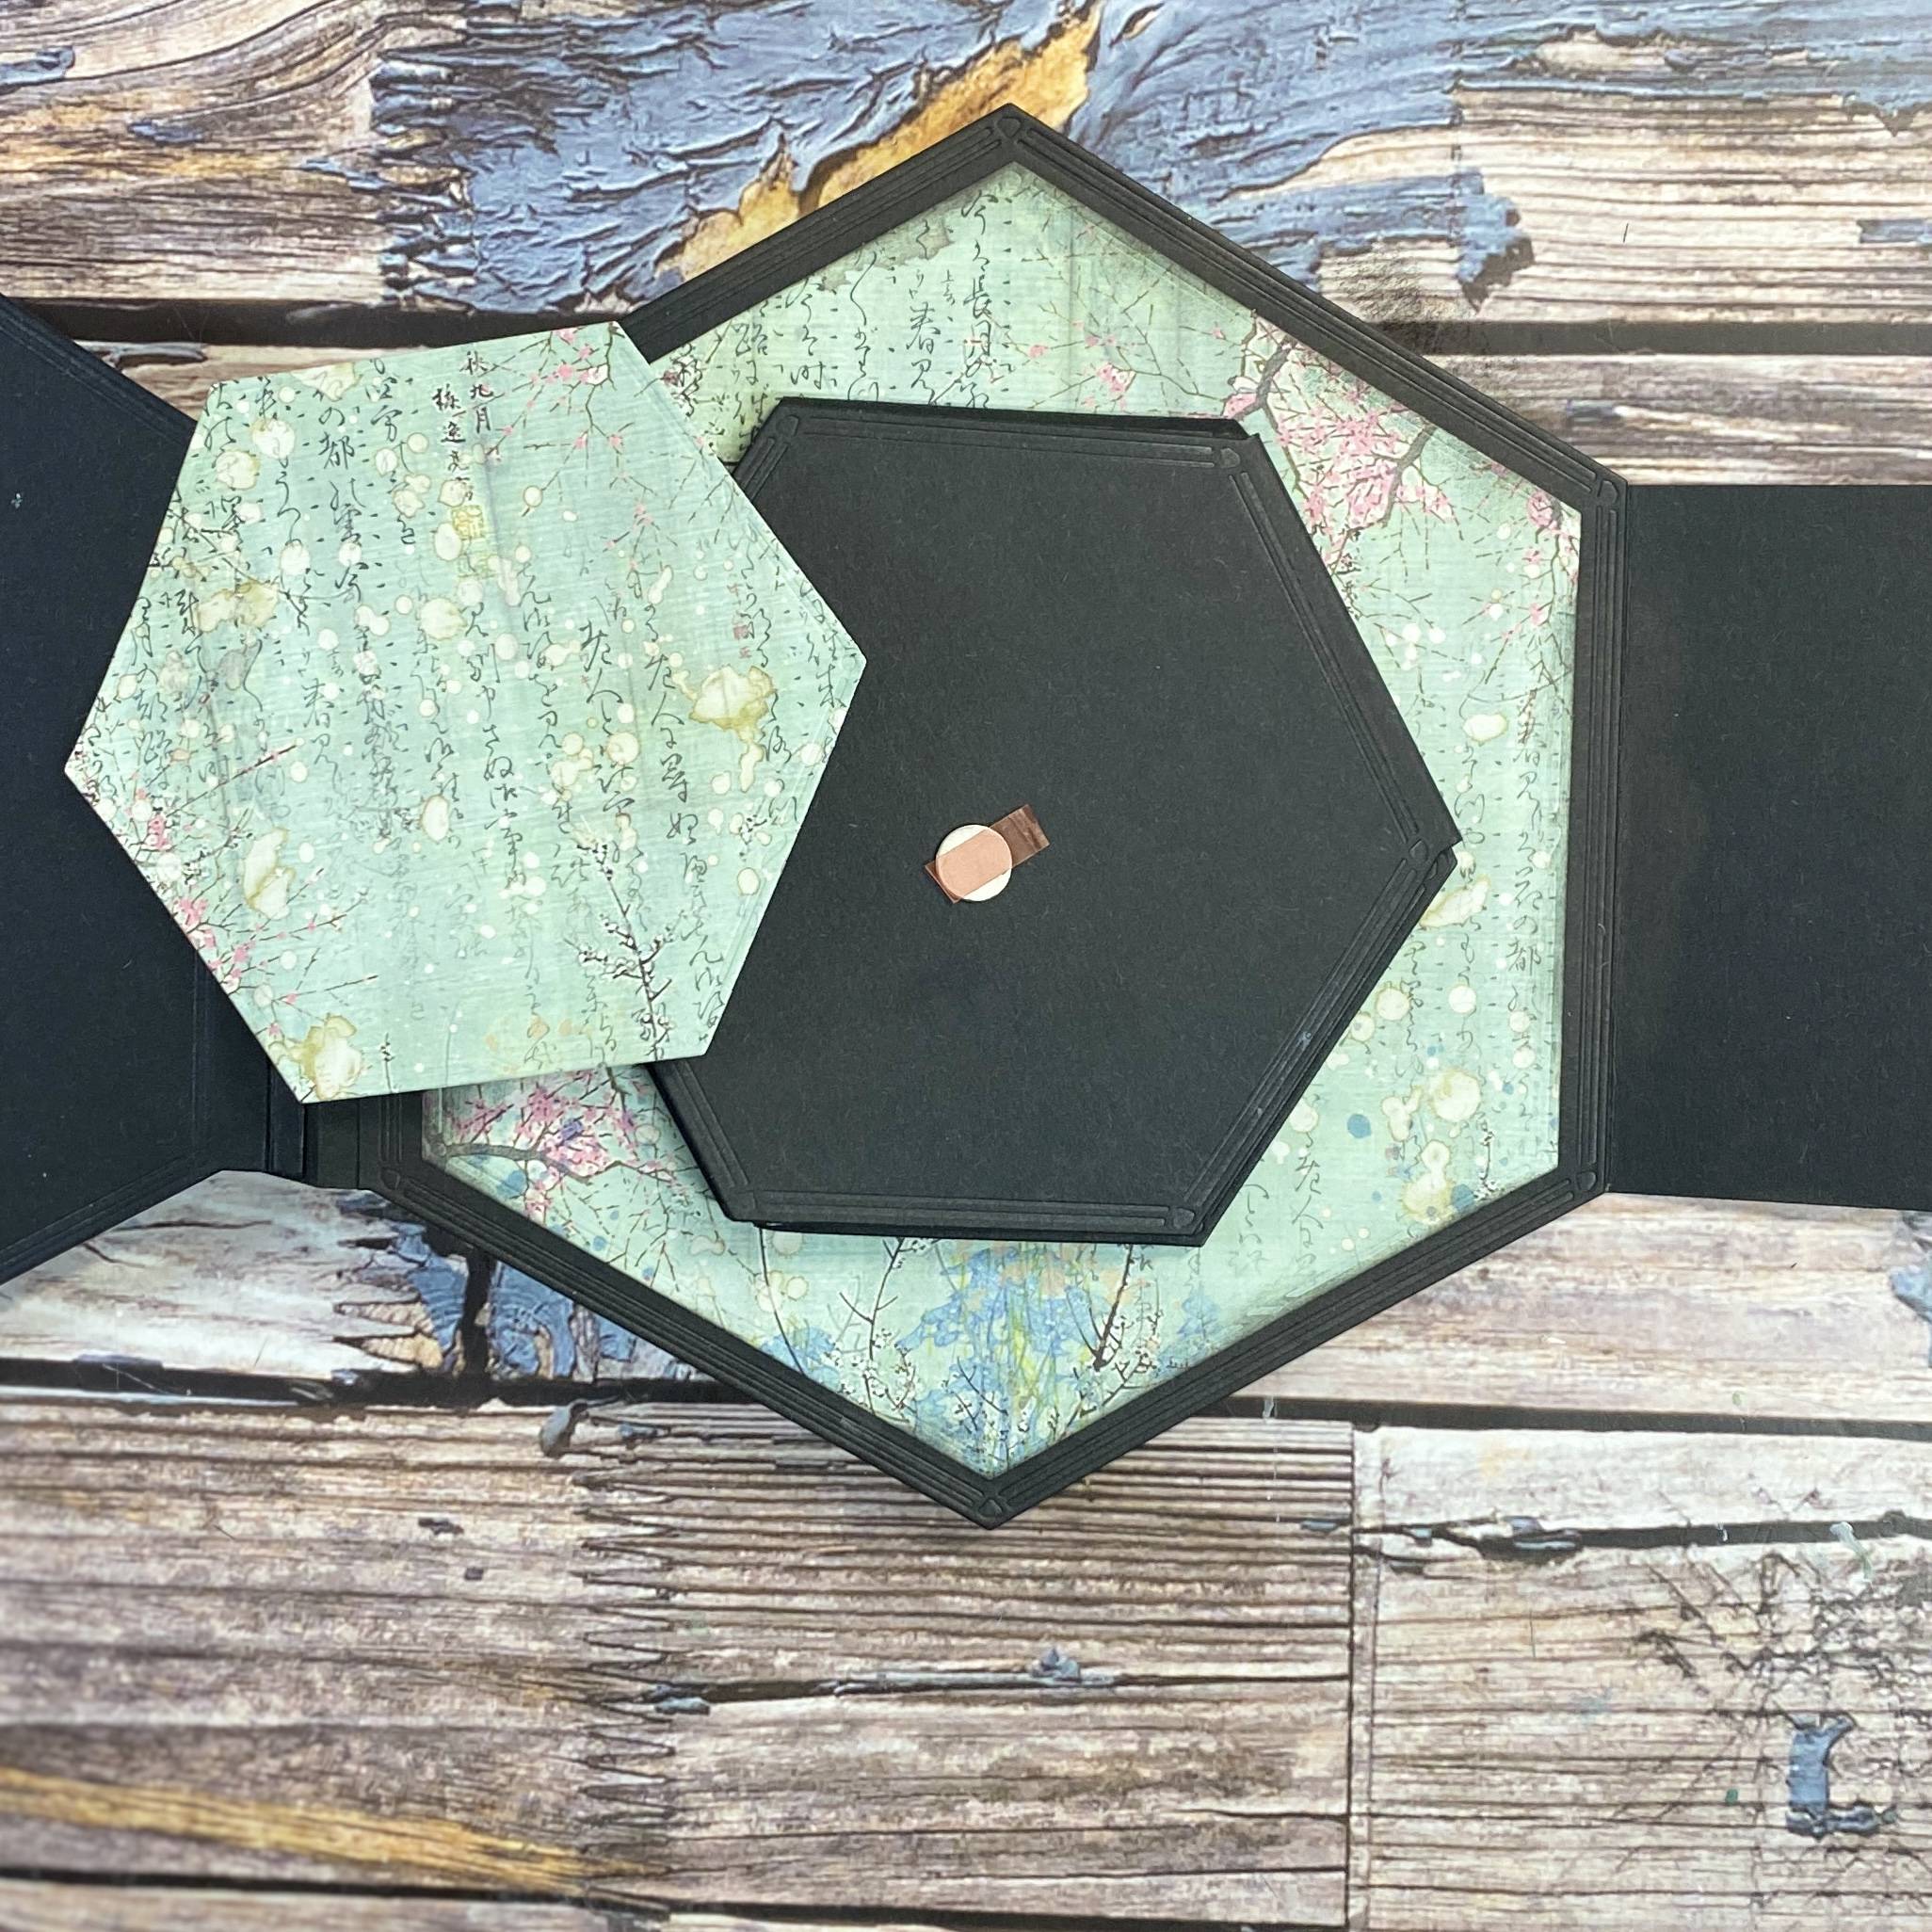
Use magnets on a few of the pages to ensure closure.
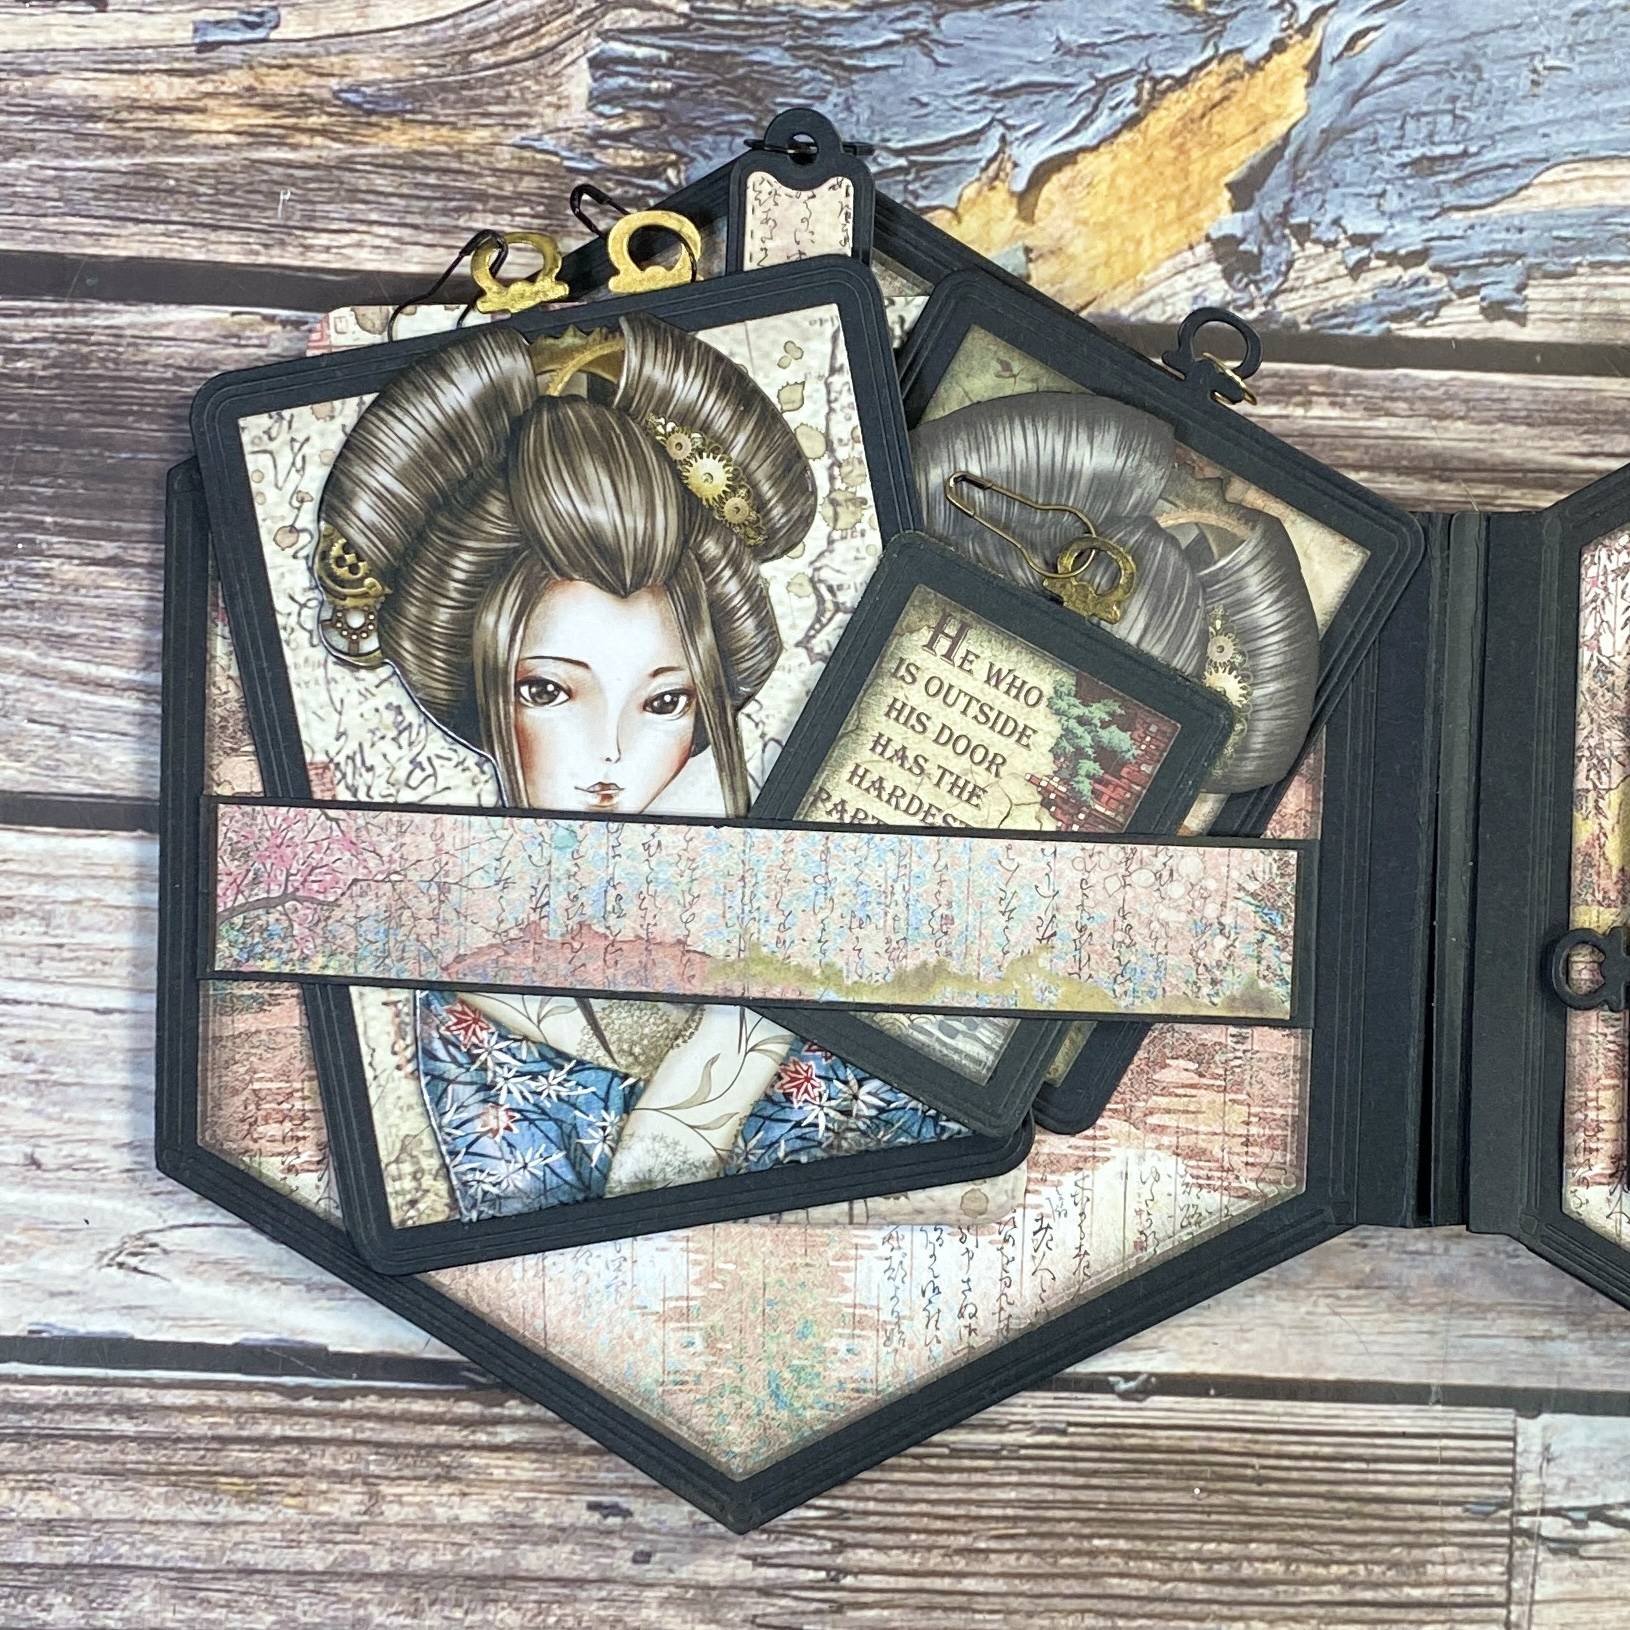
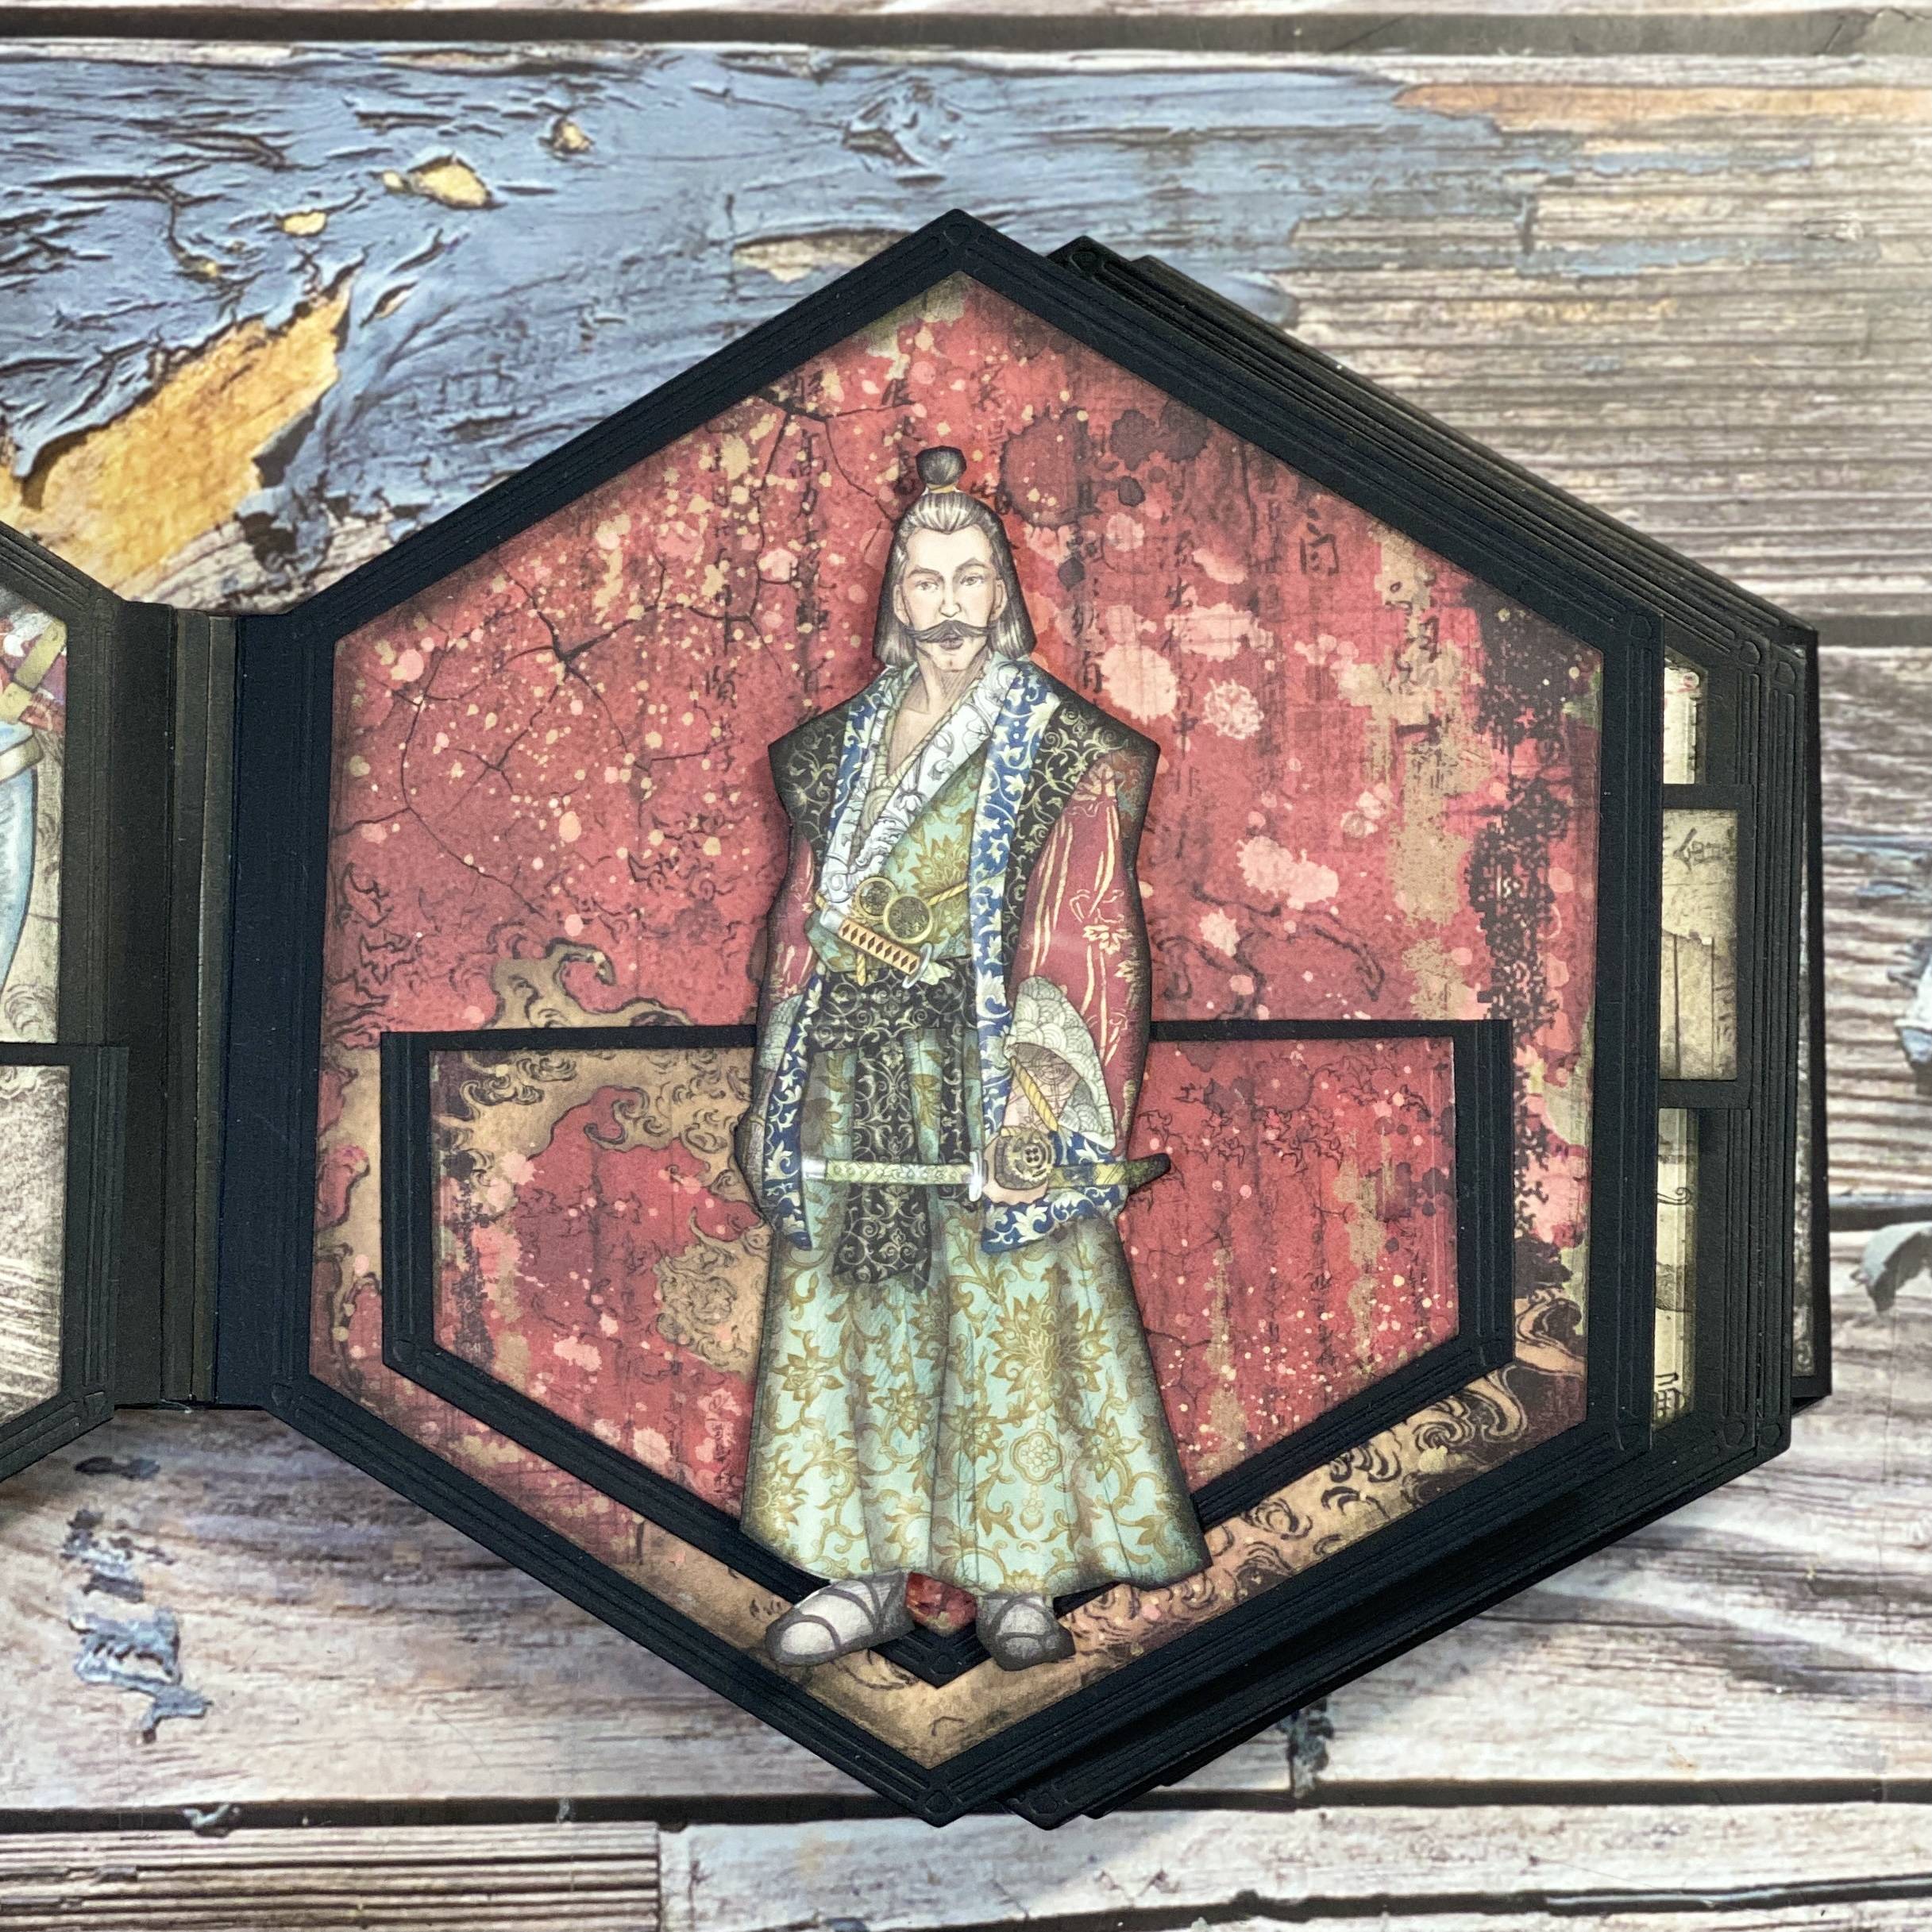
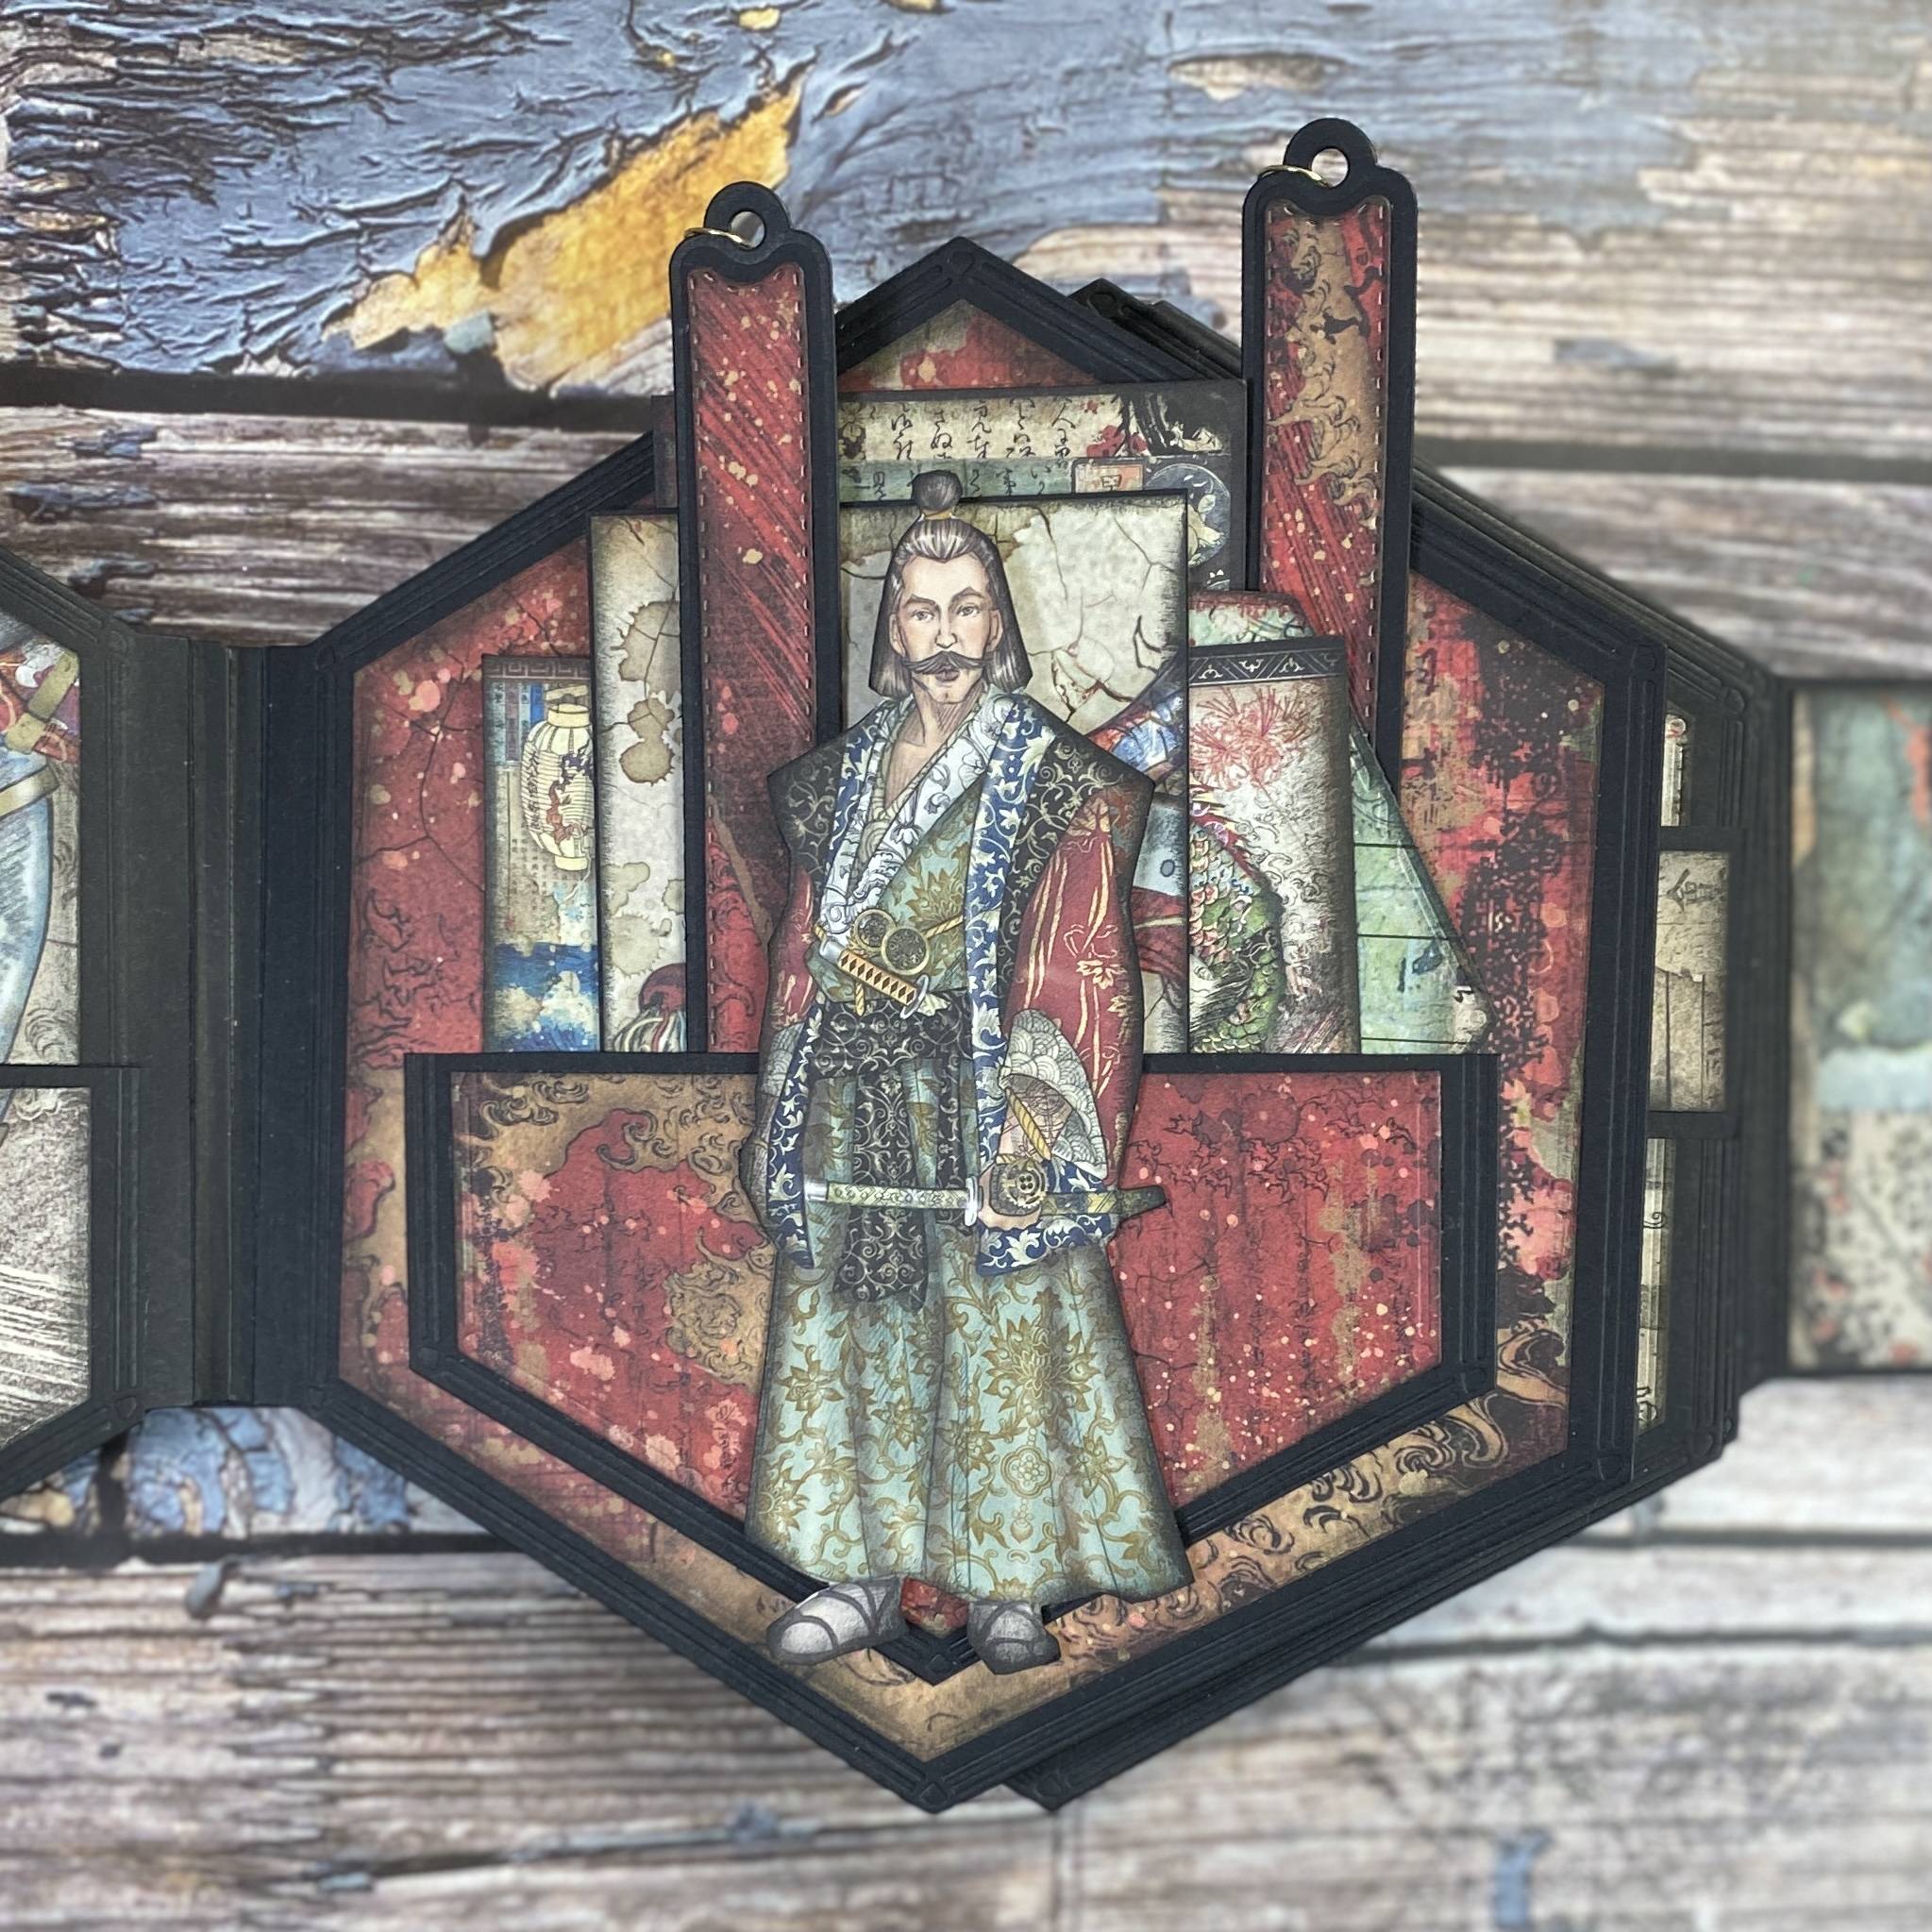
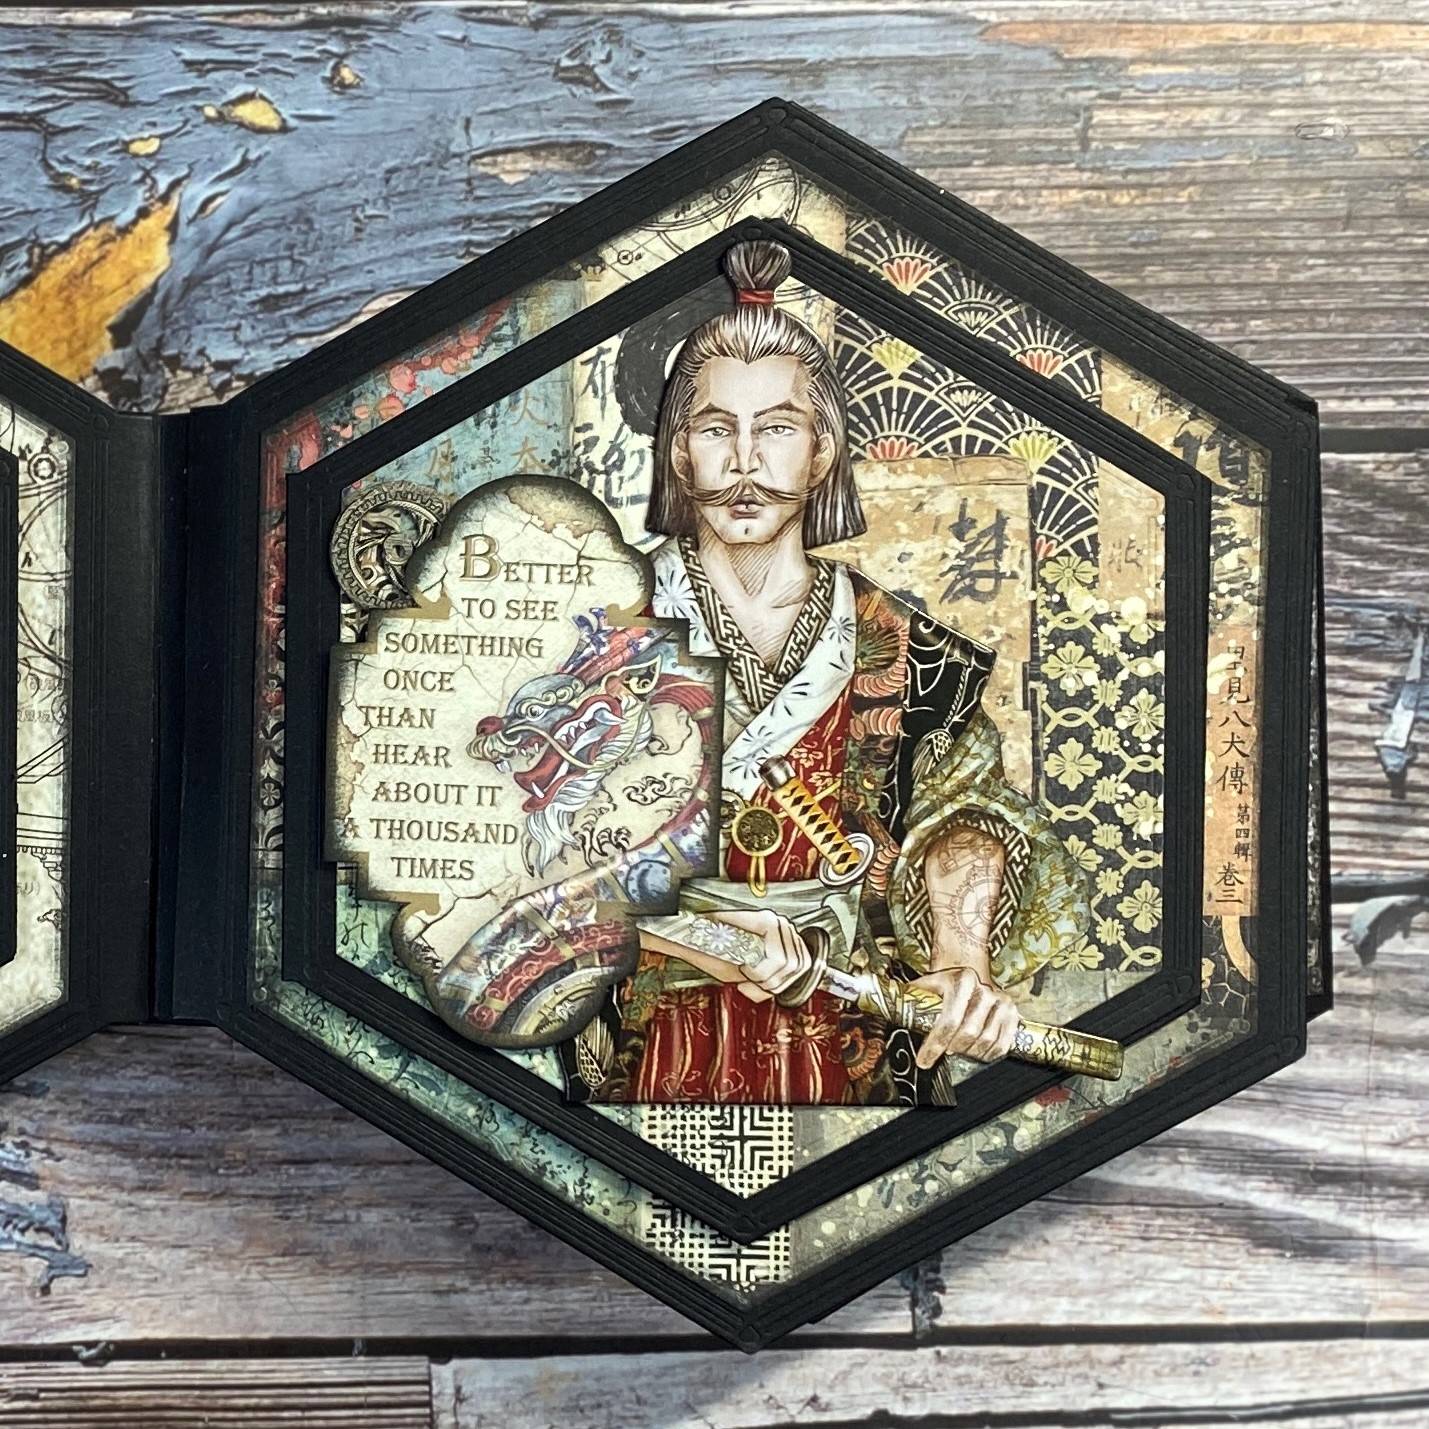
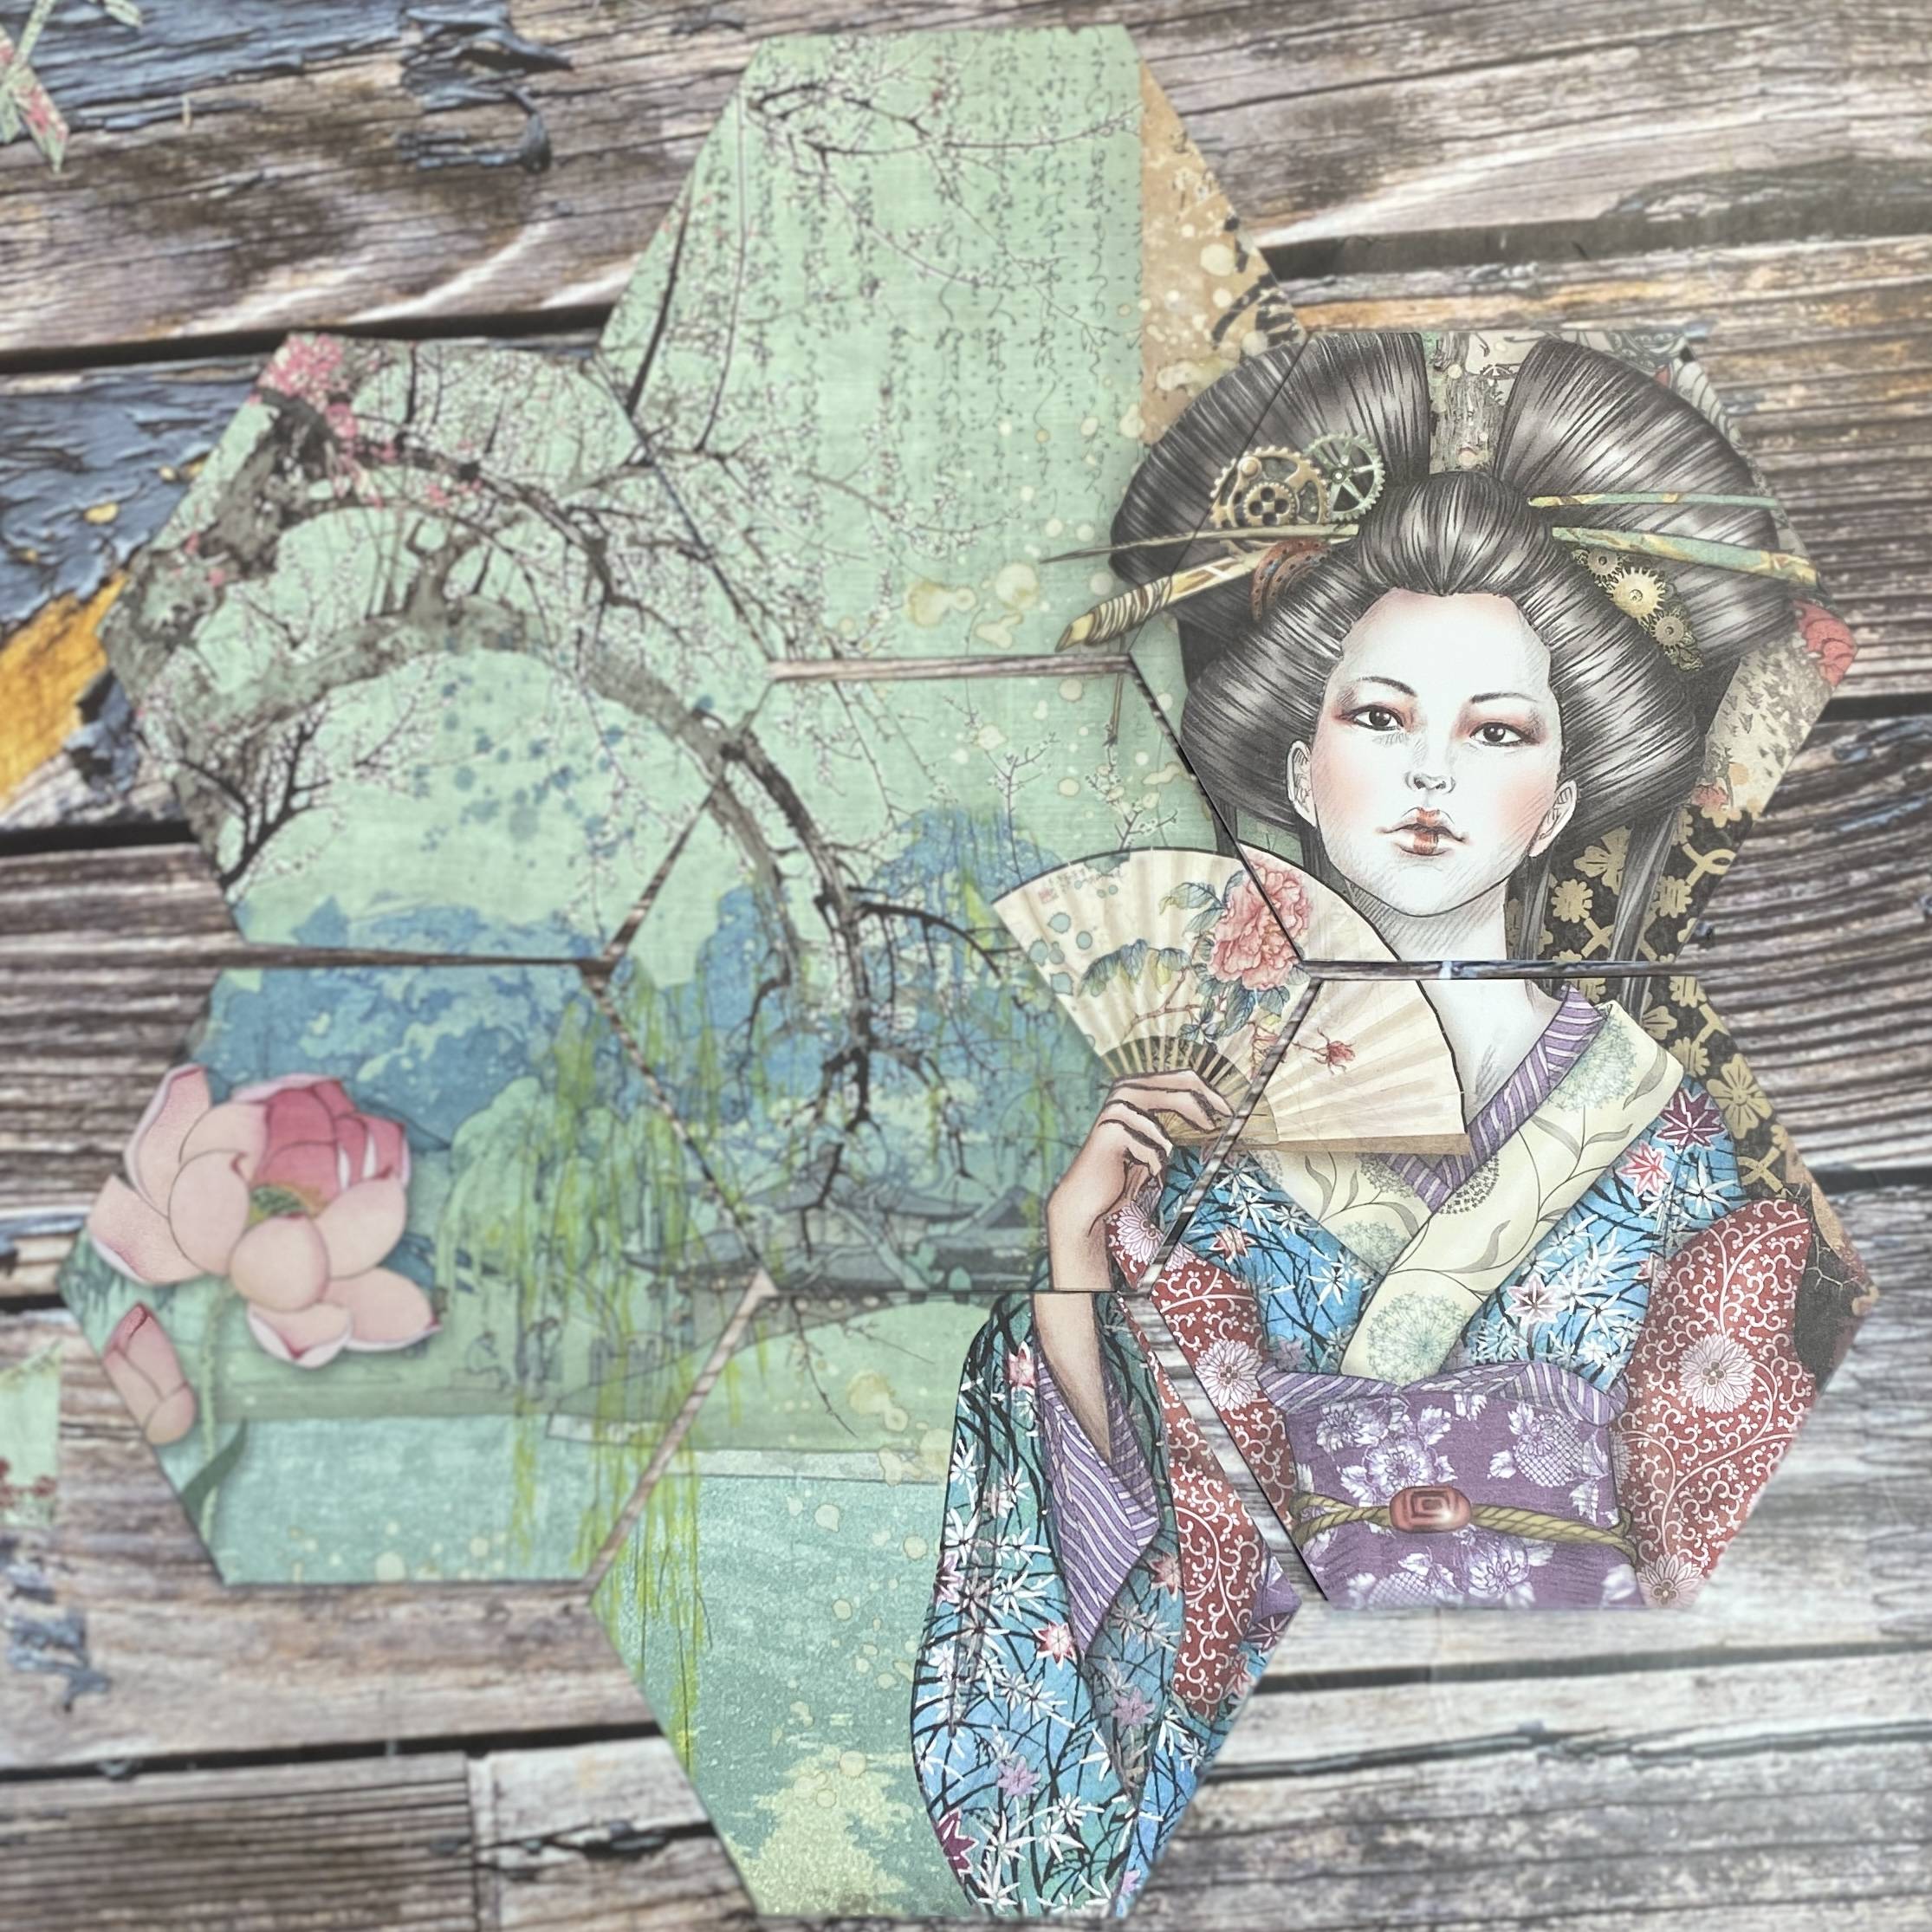
Step 16
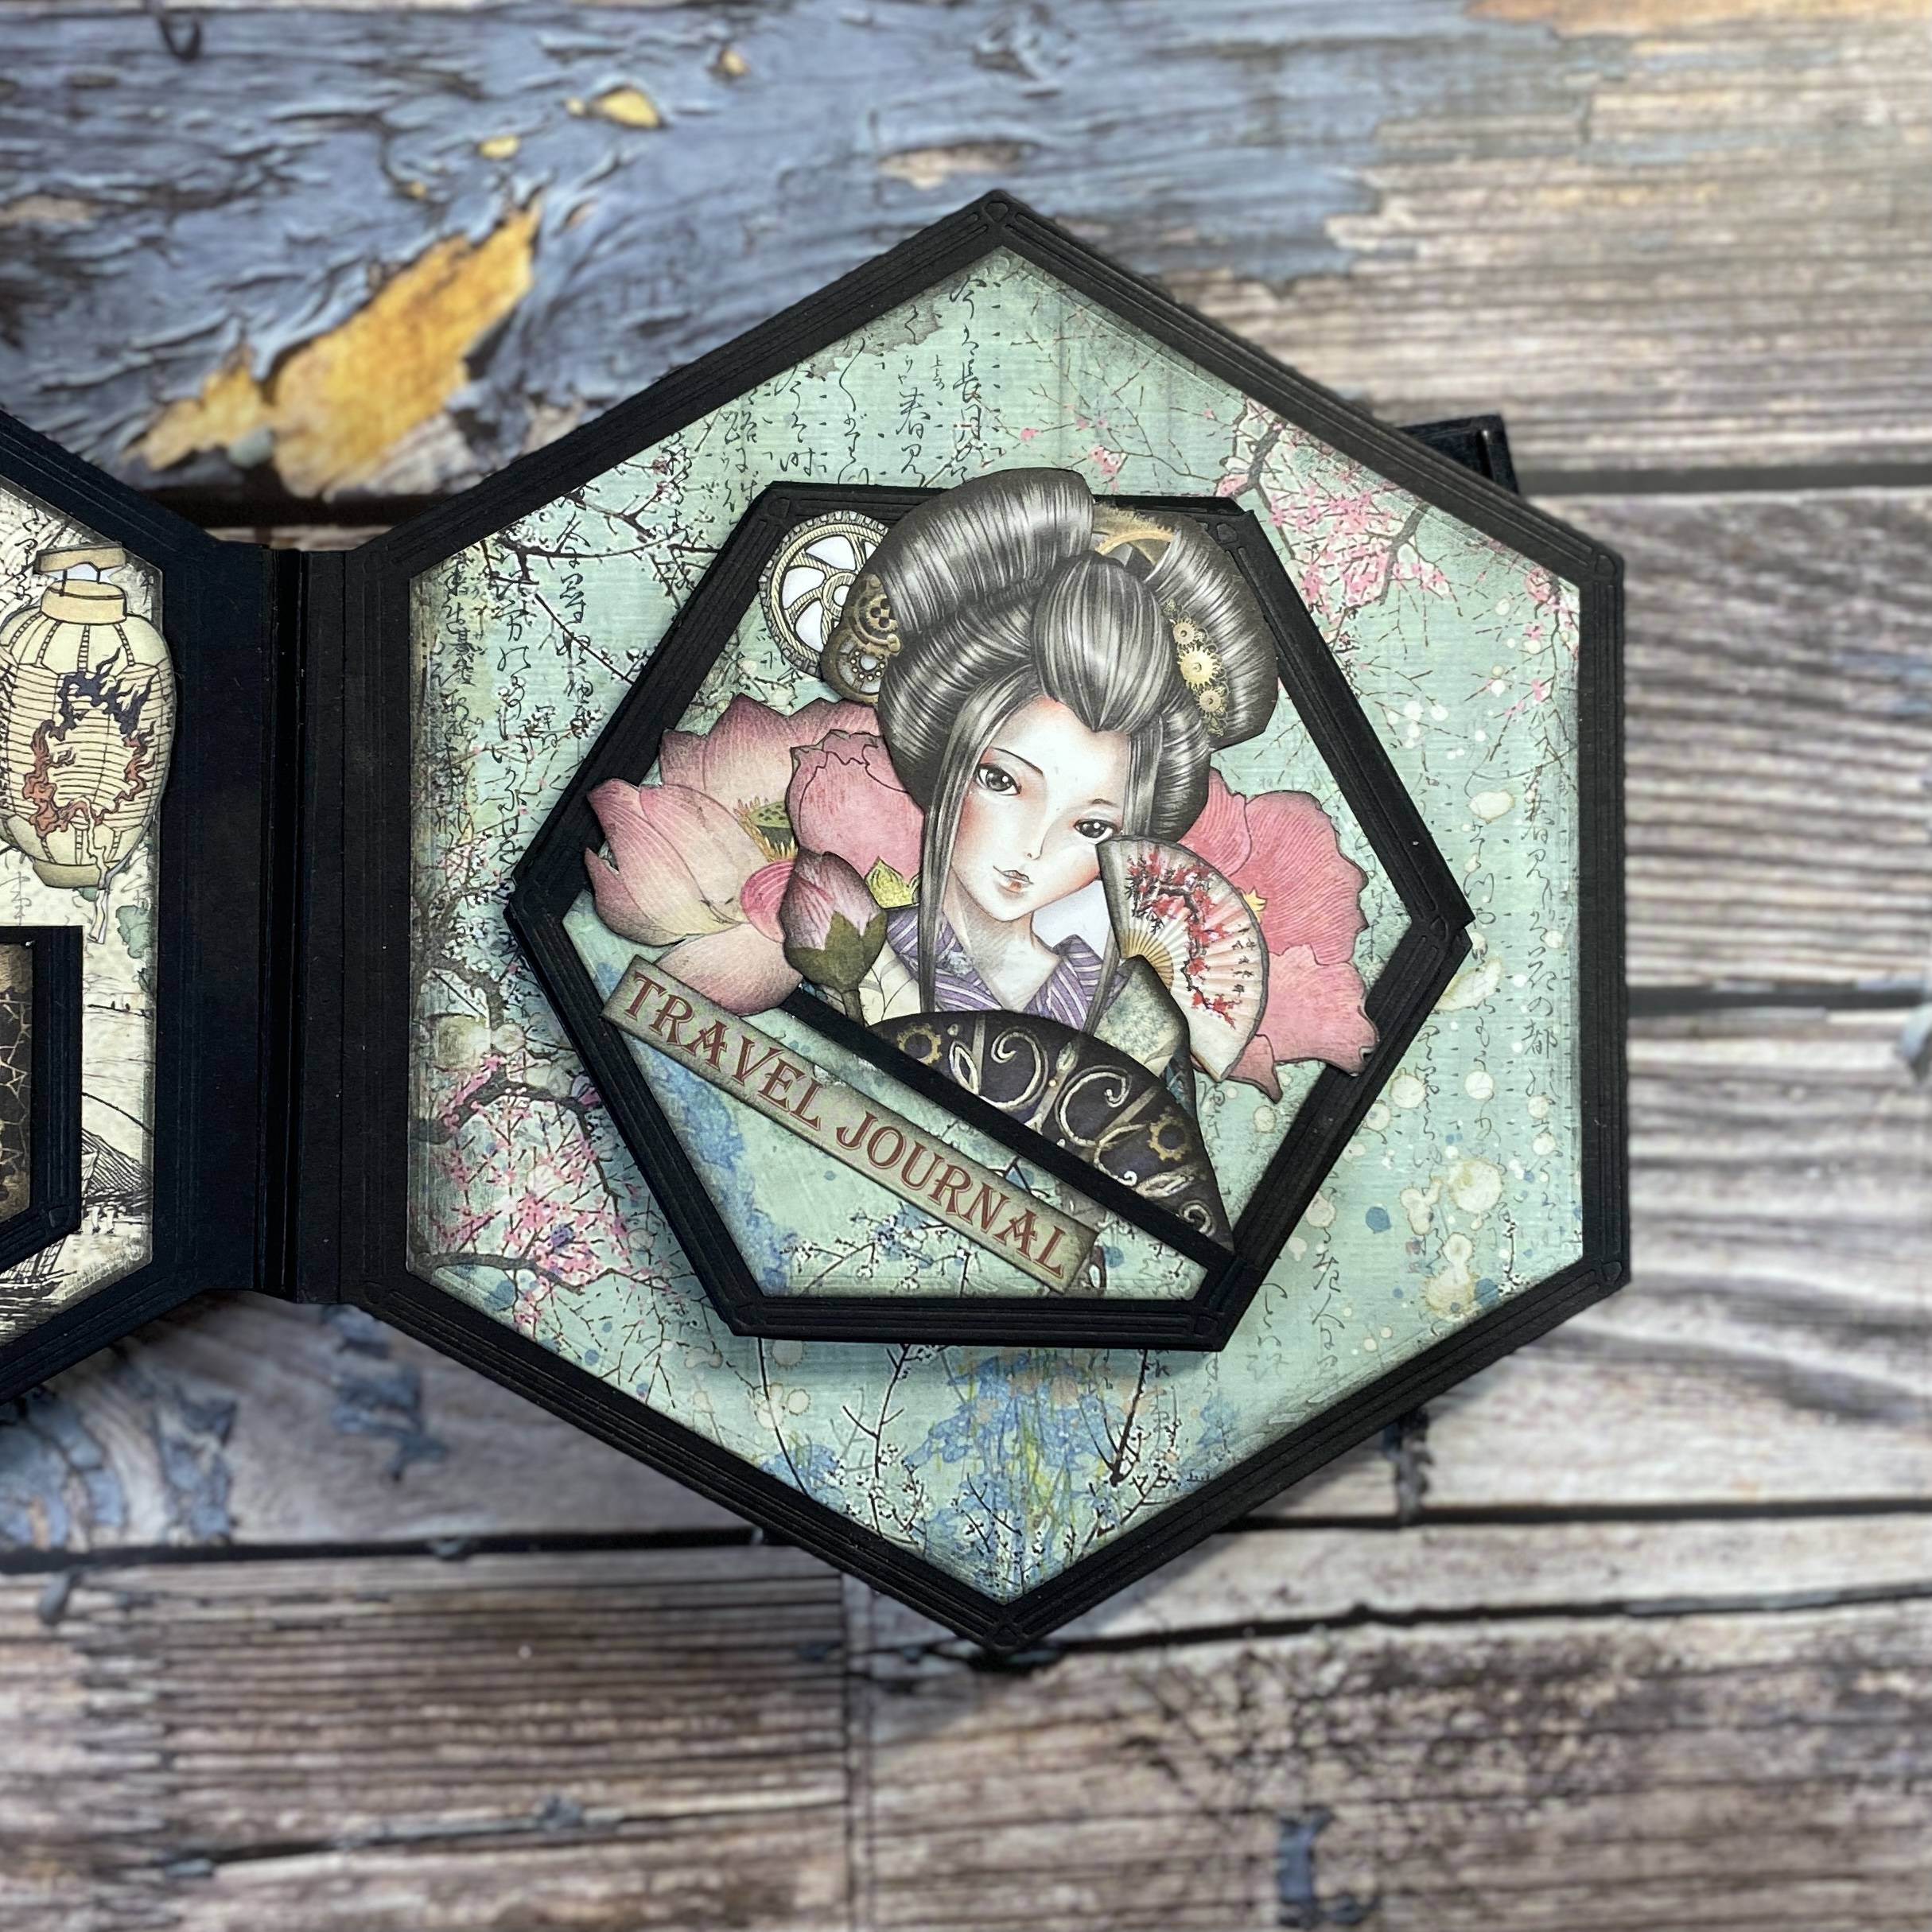
Layer up and fussy cut elements for a focal point.
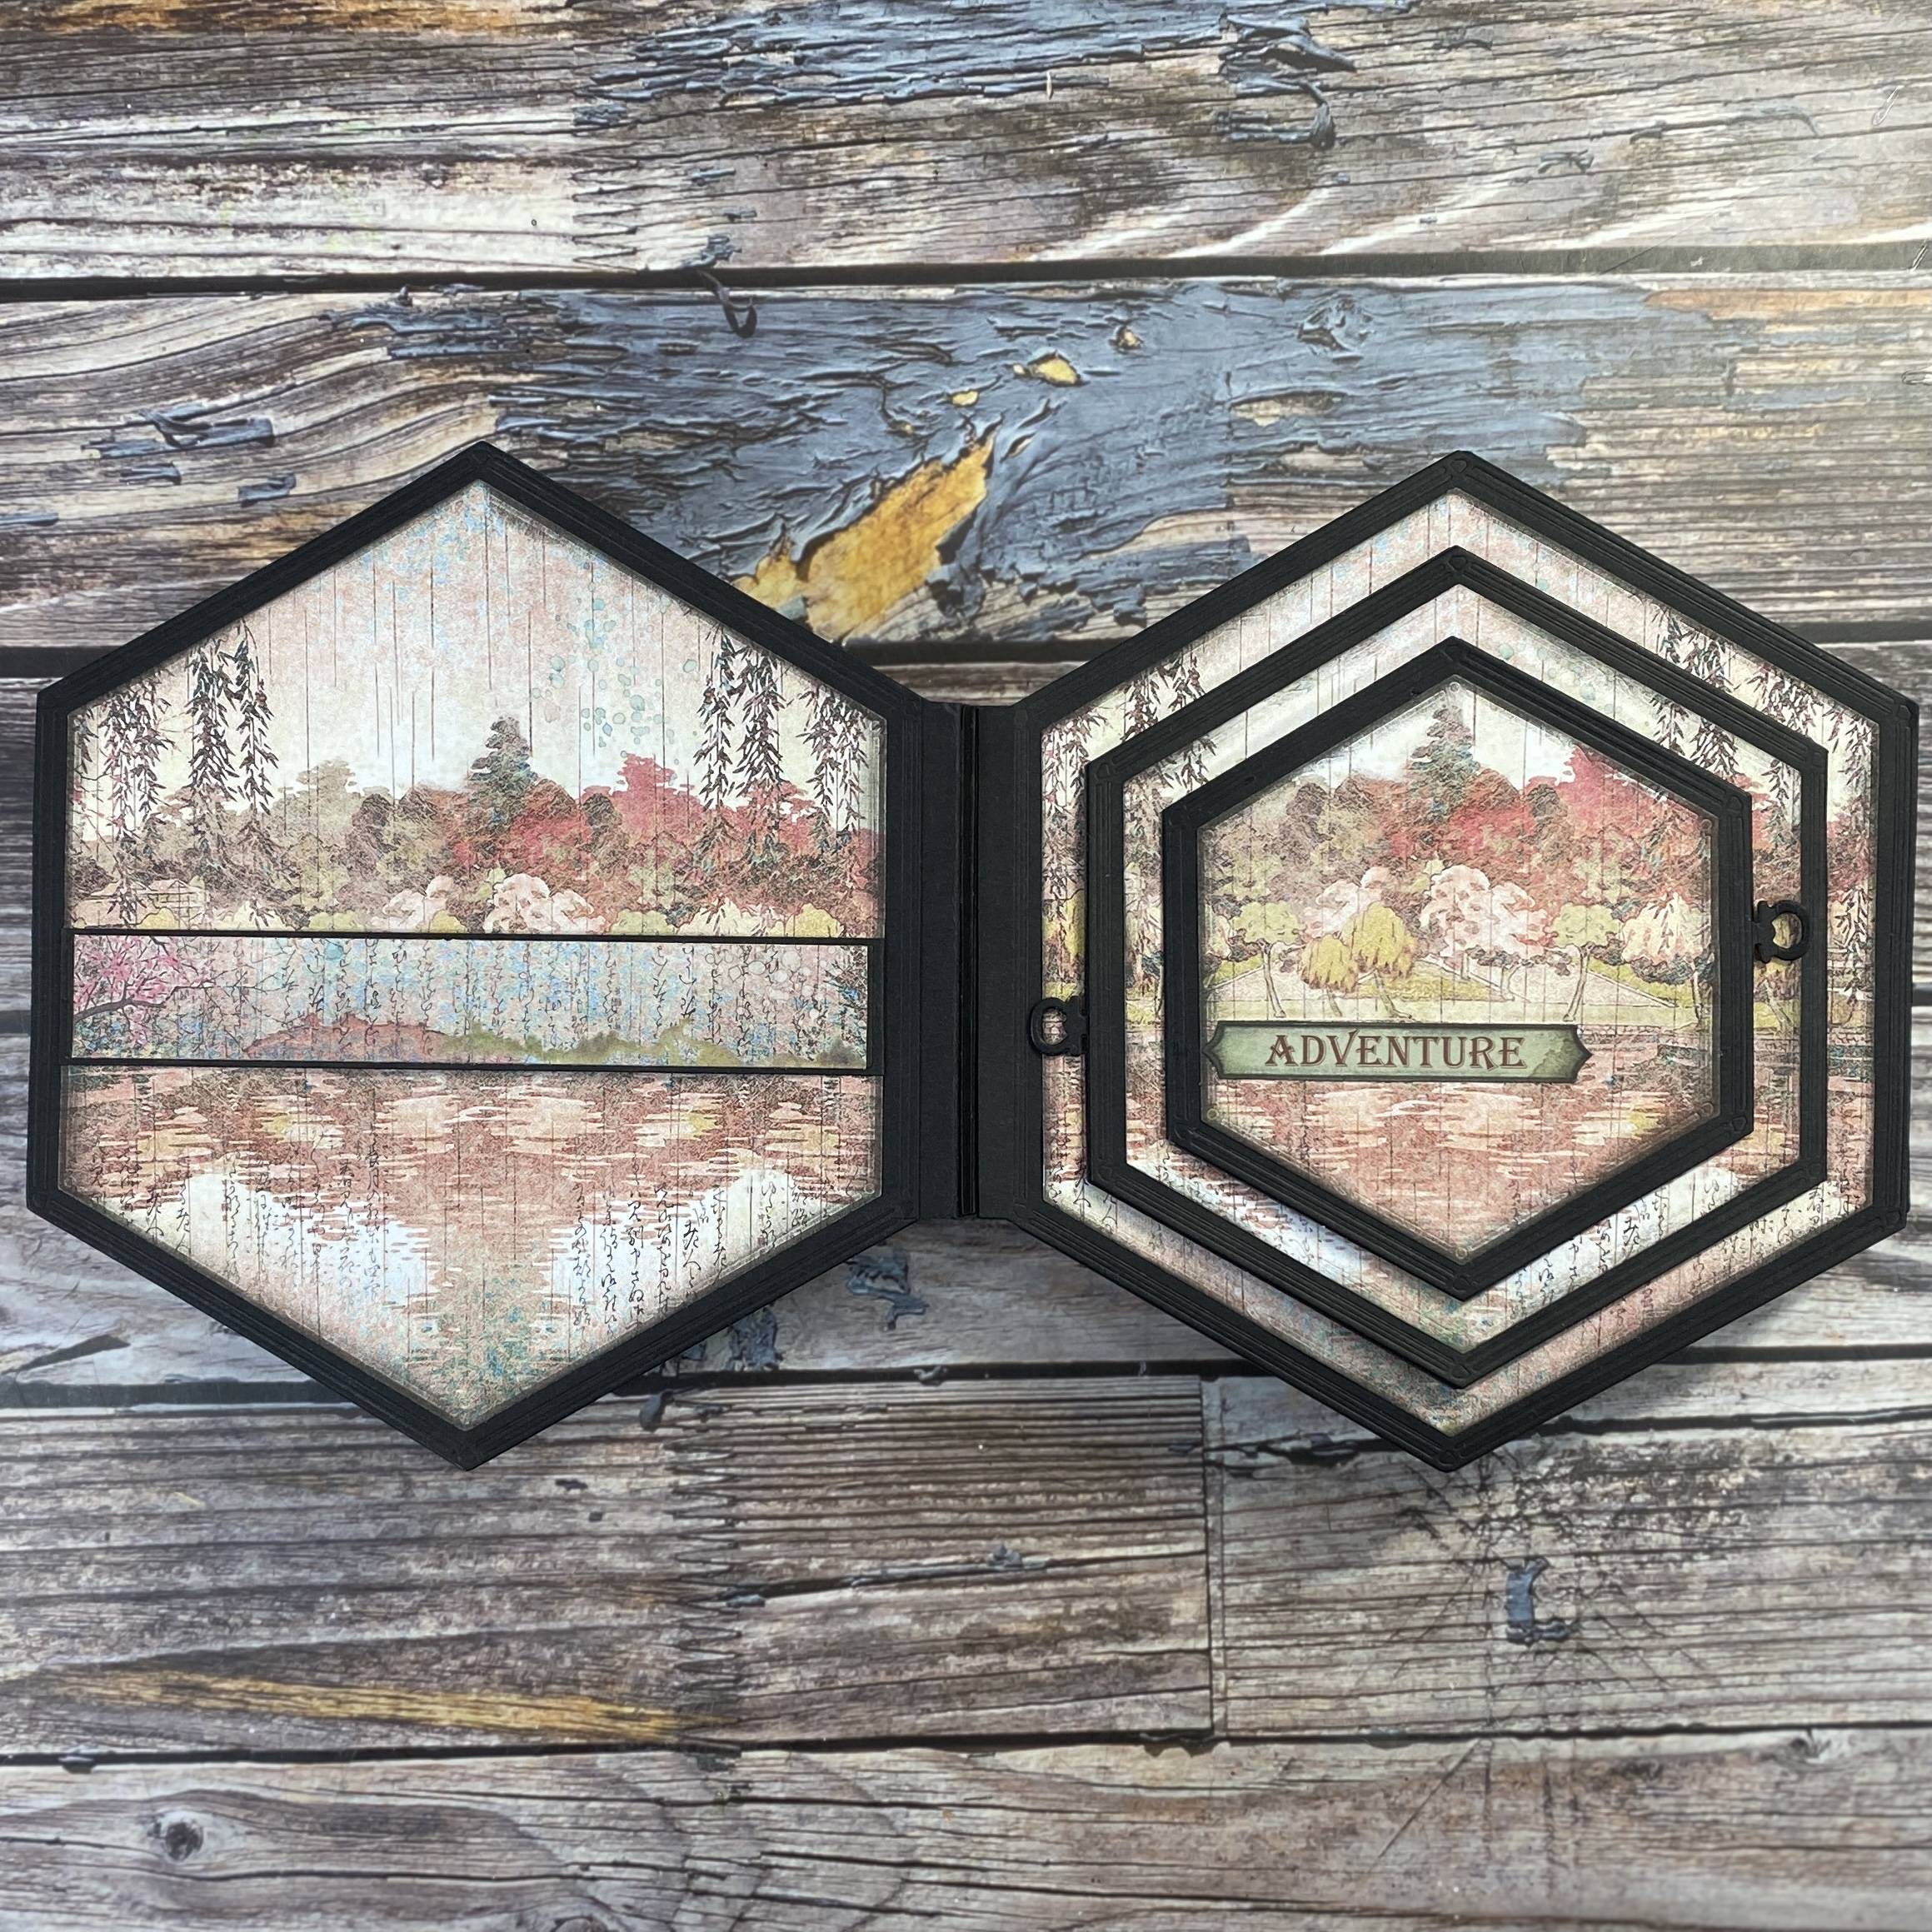
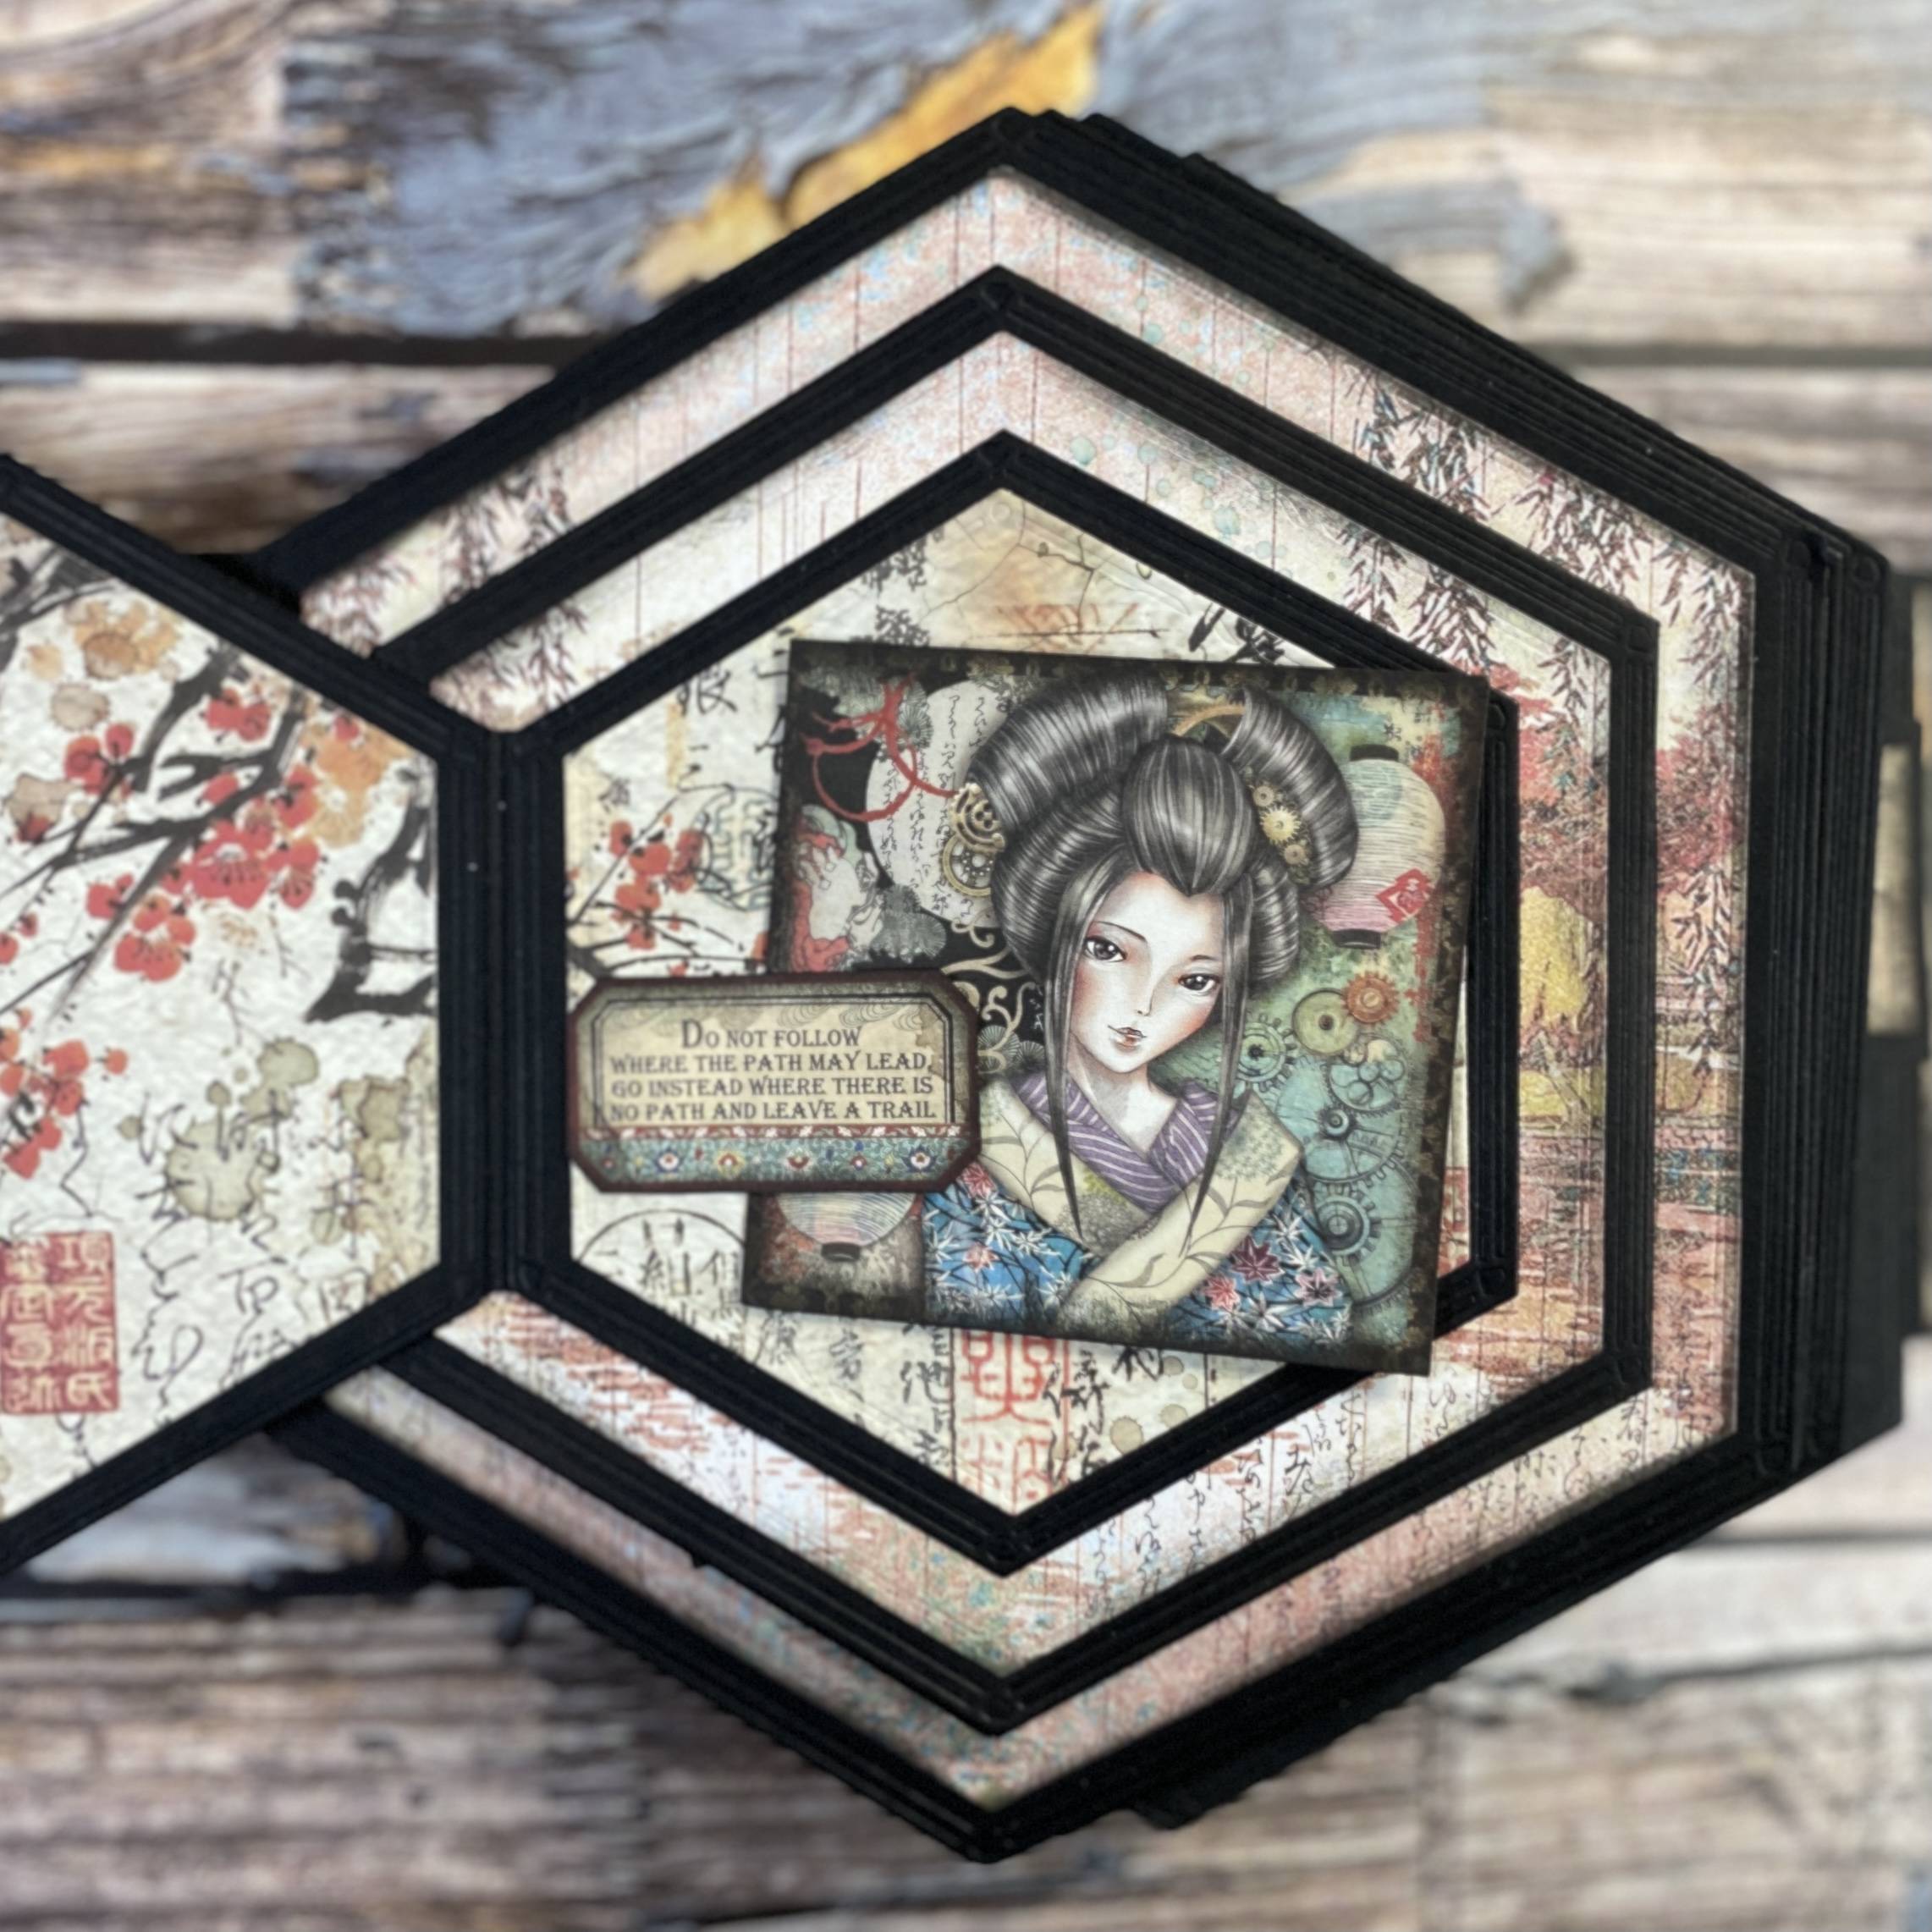
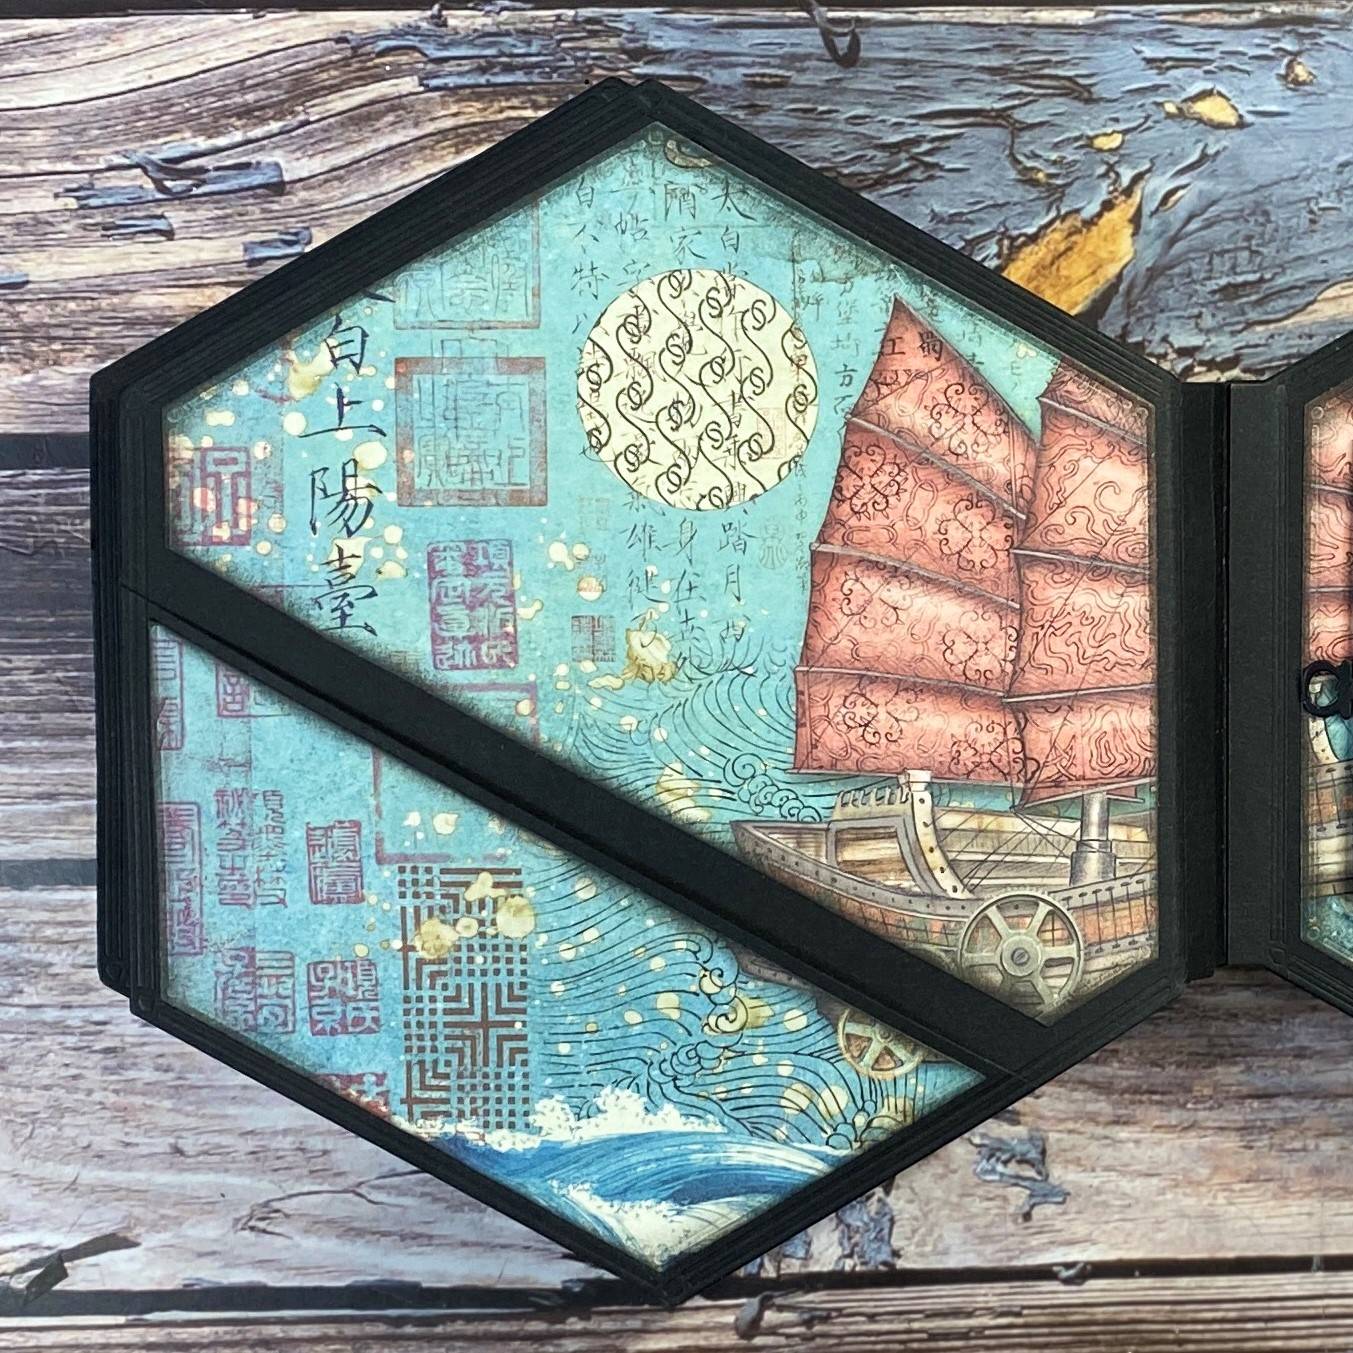
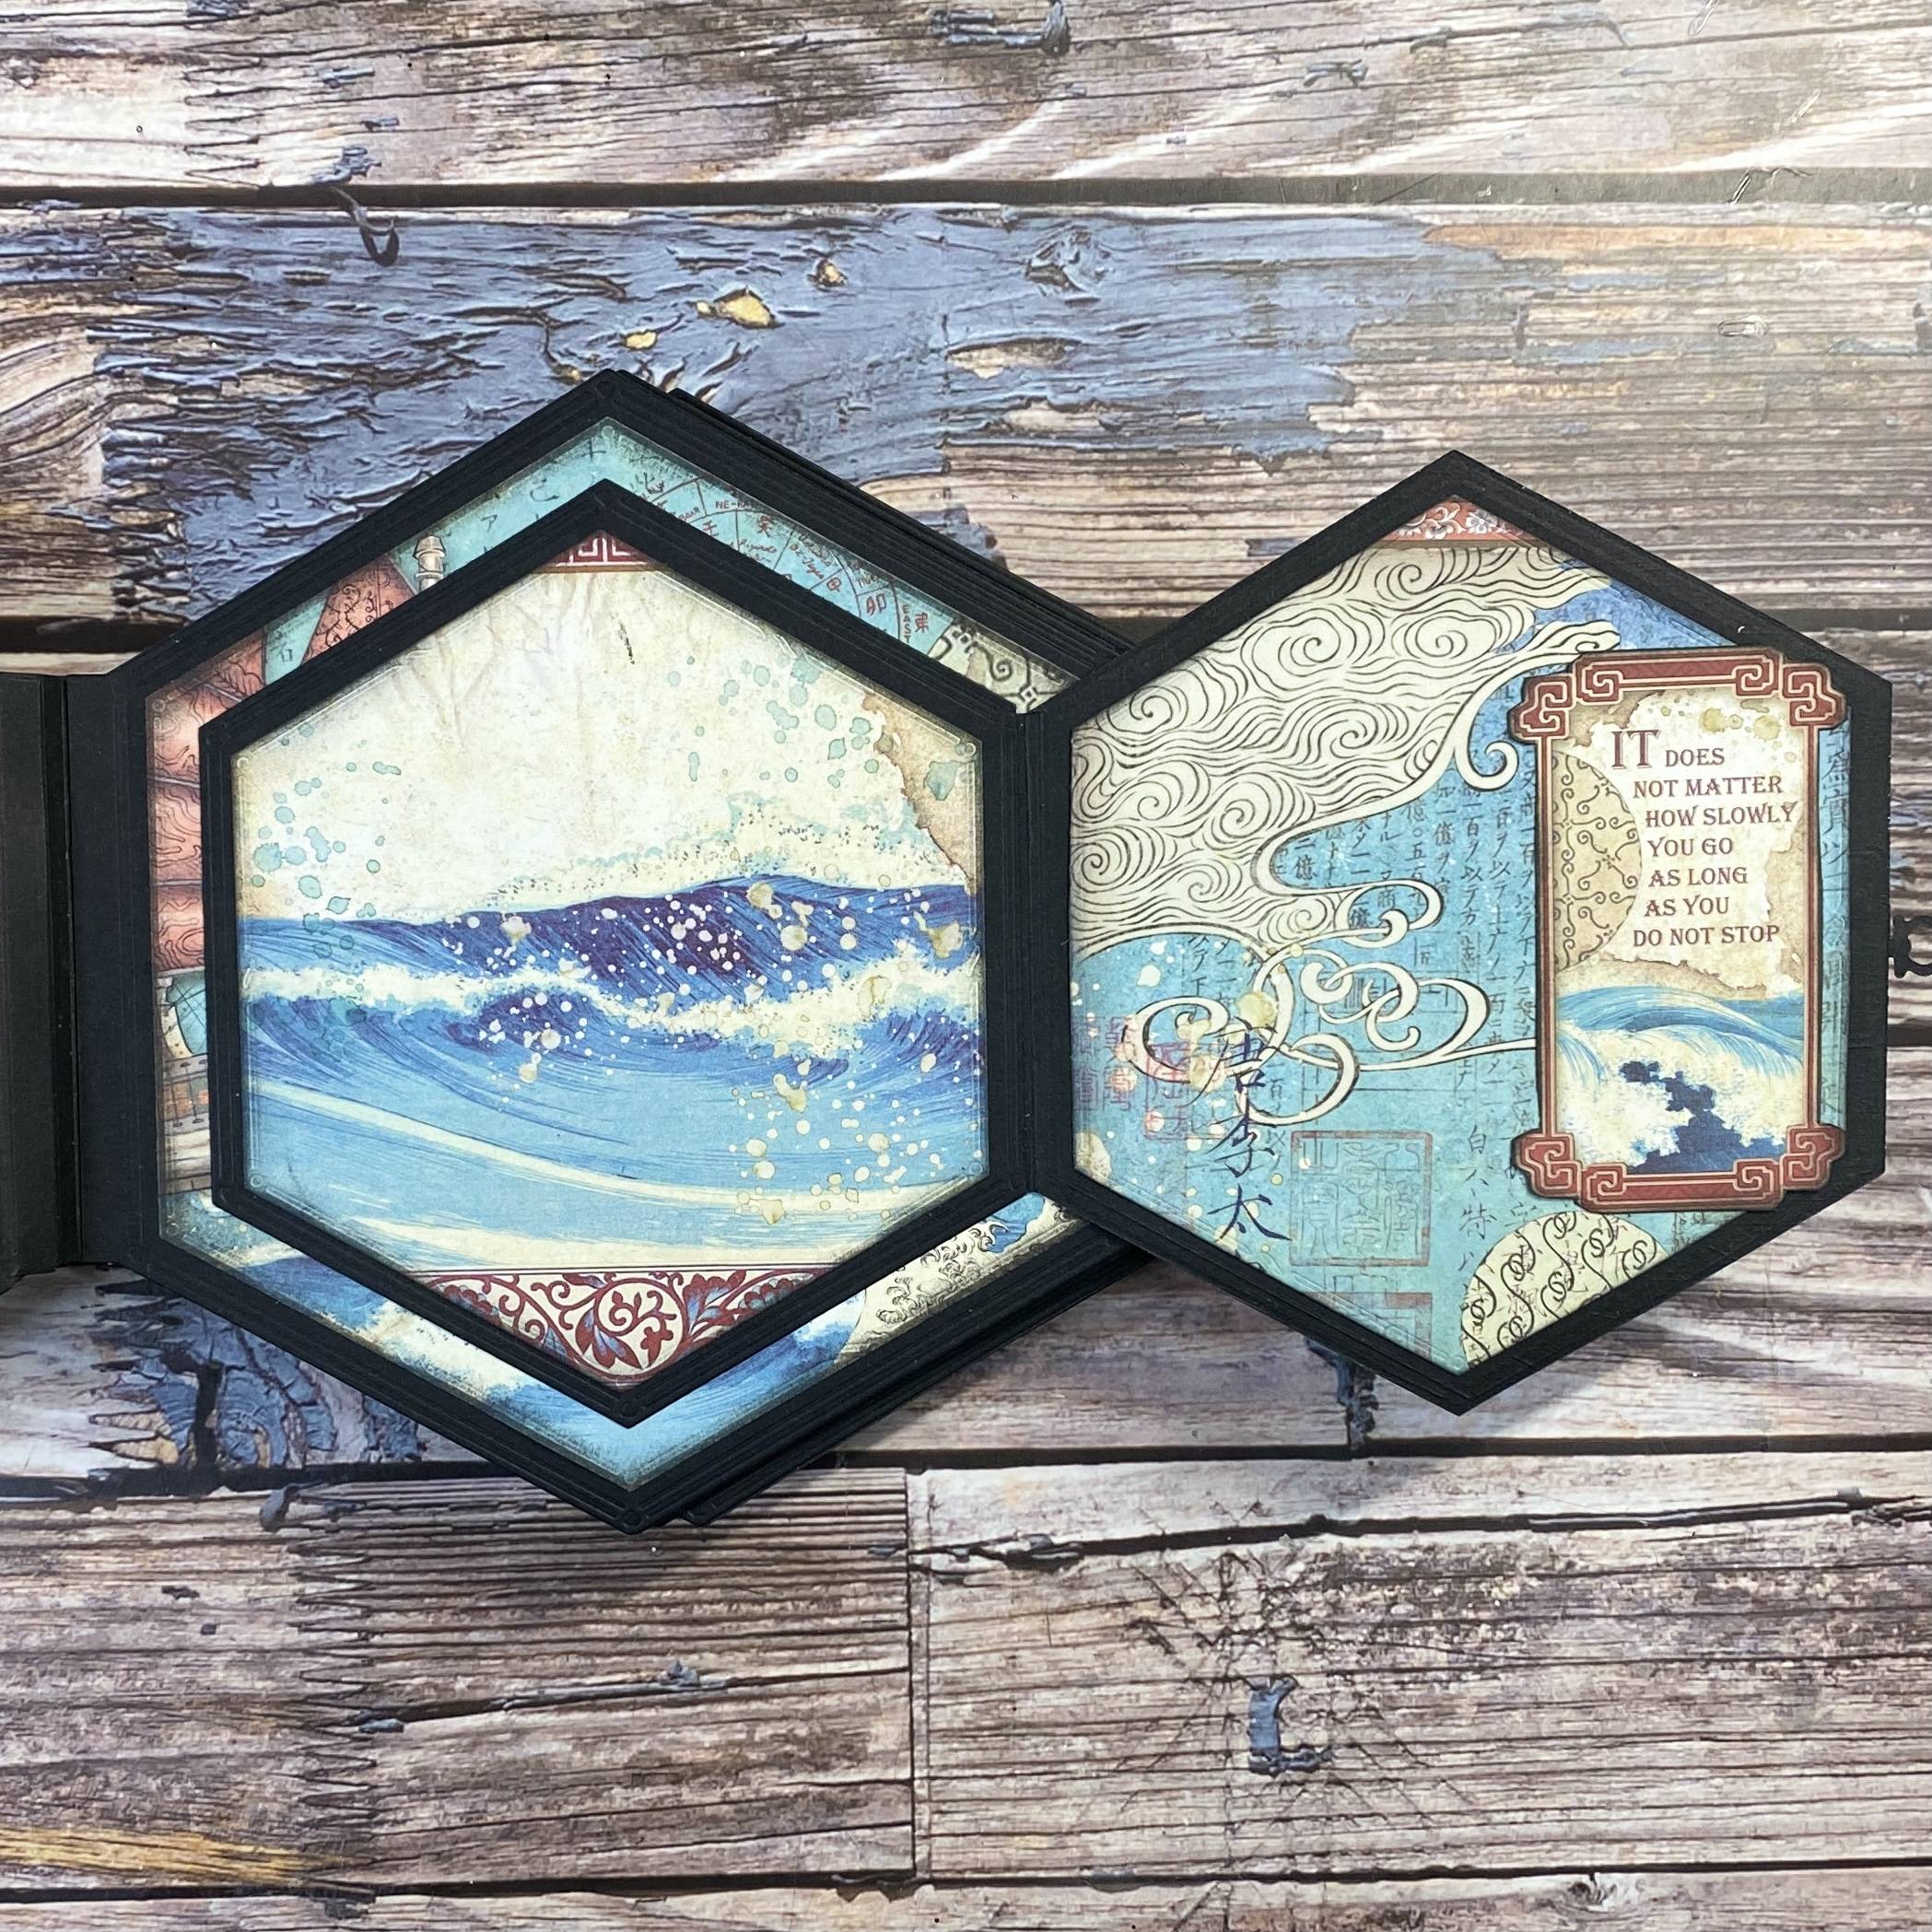
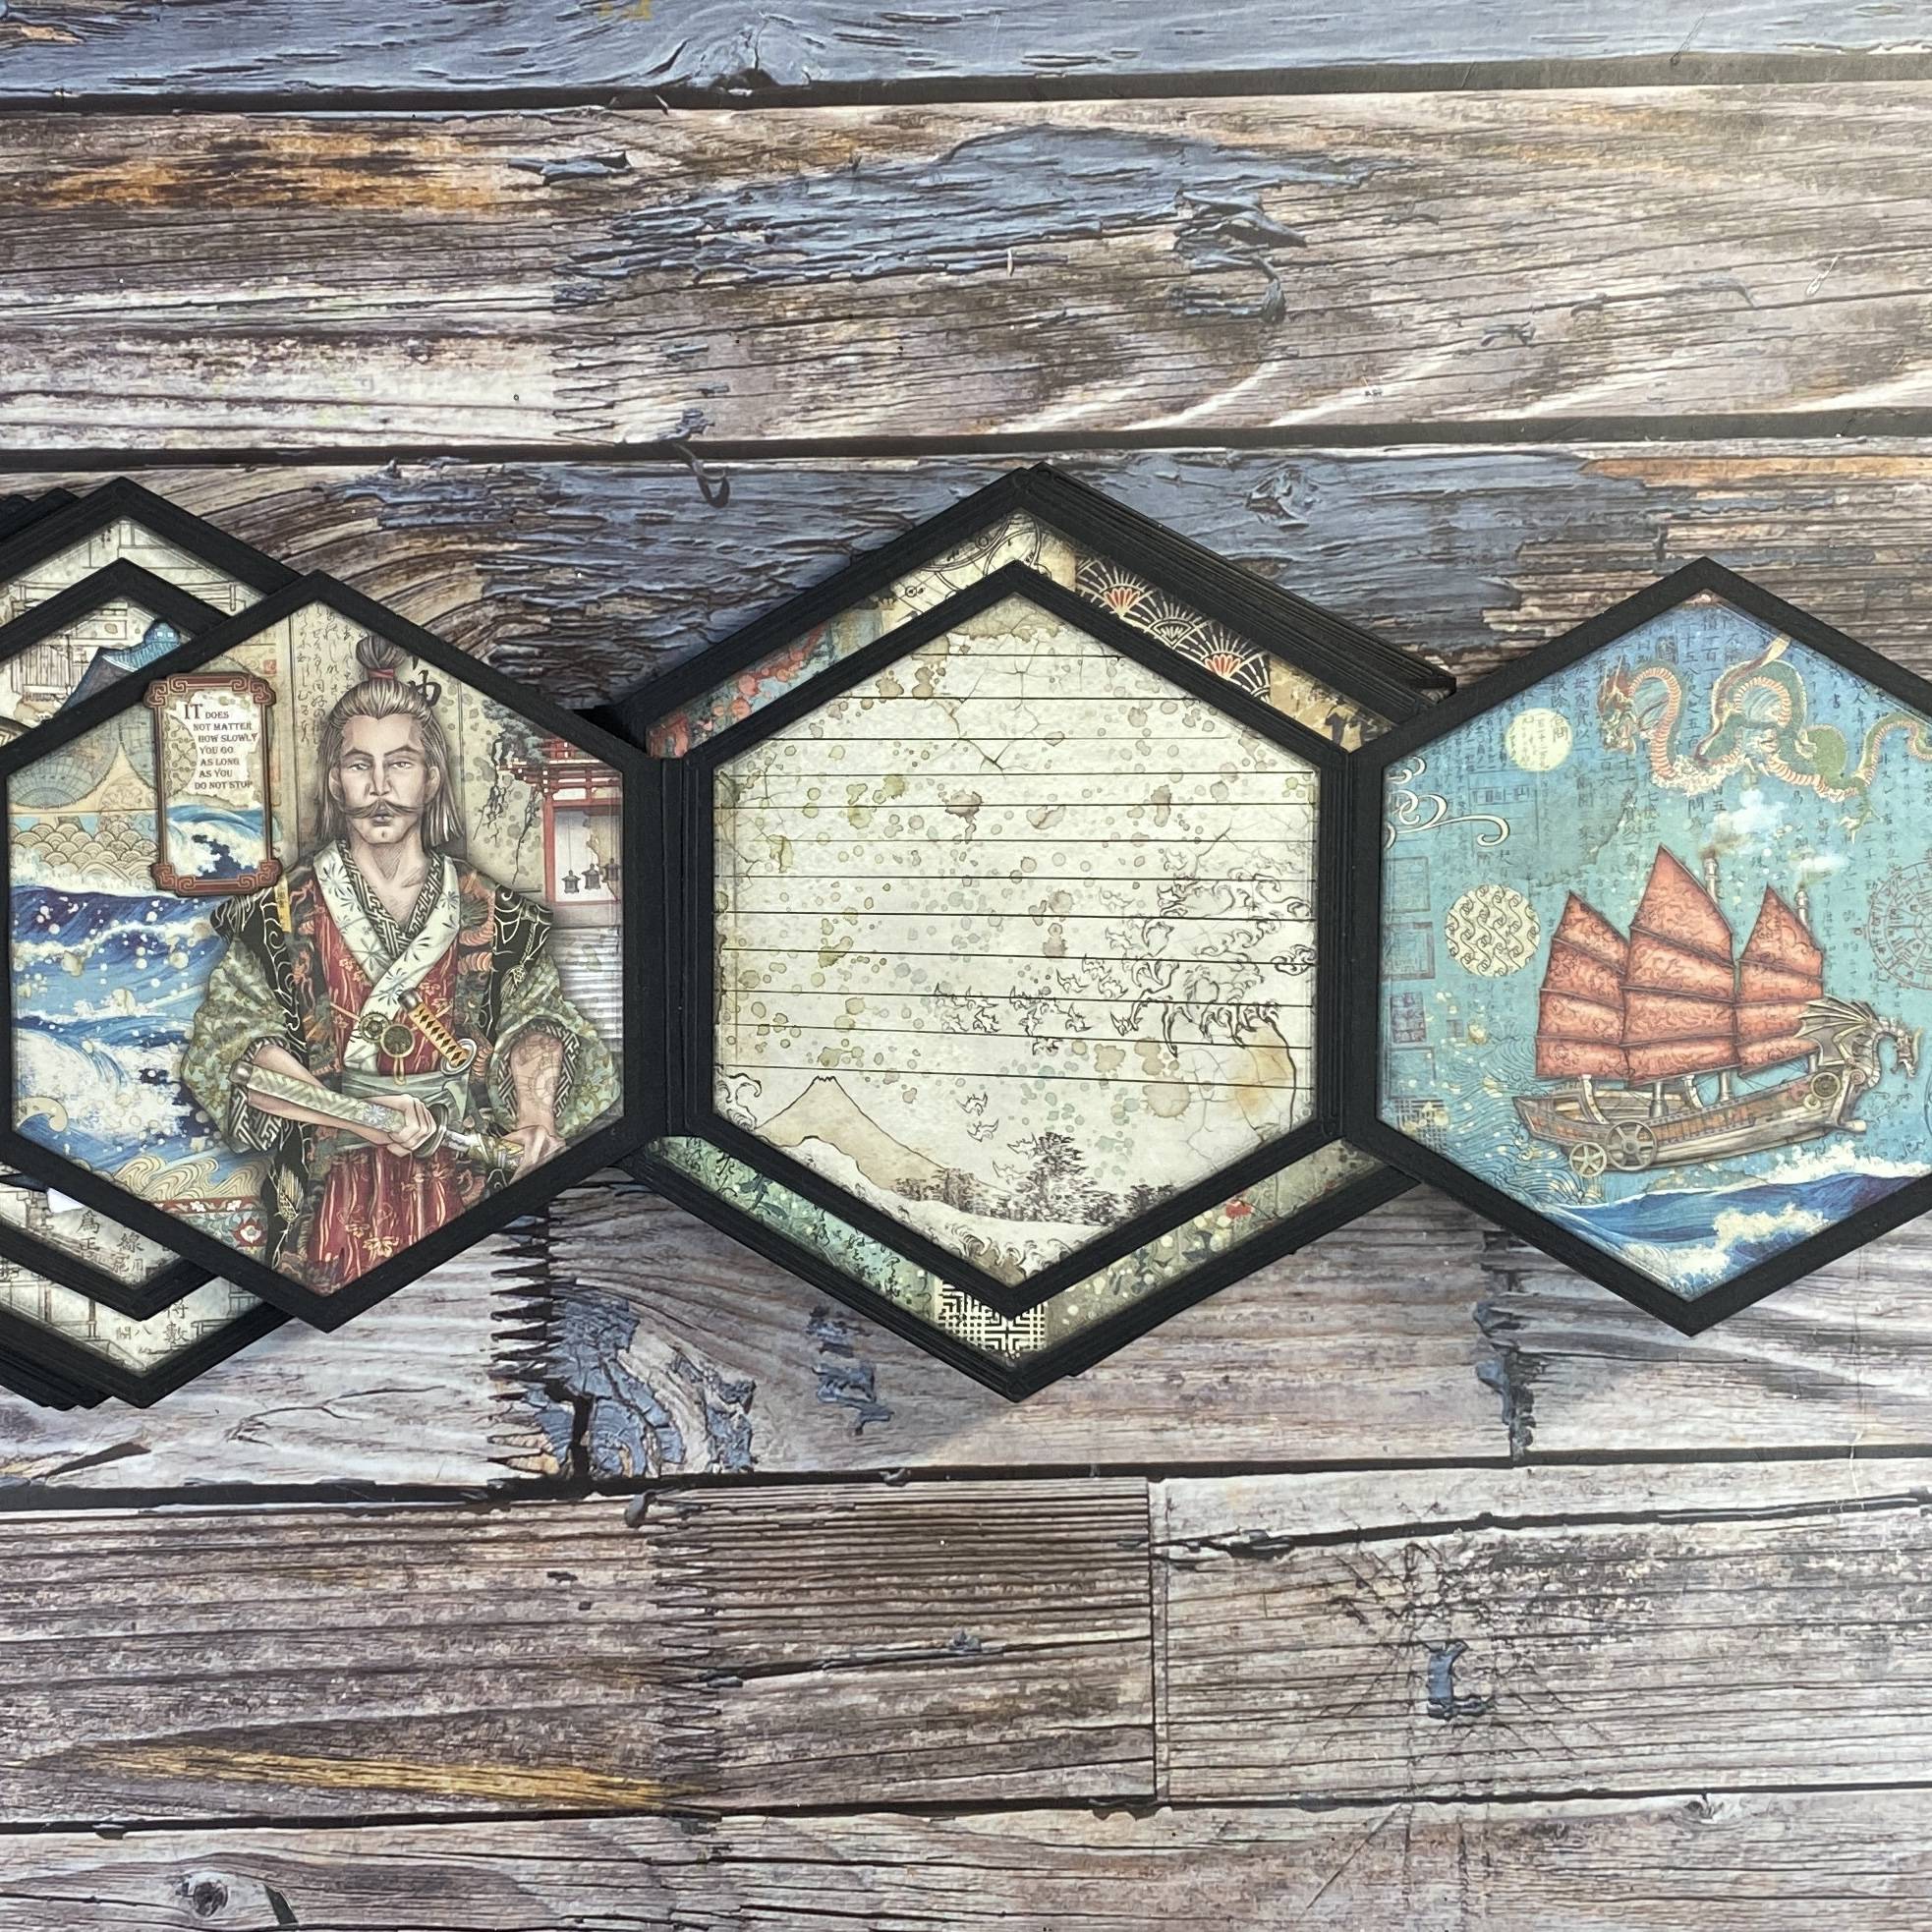
Step 17
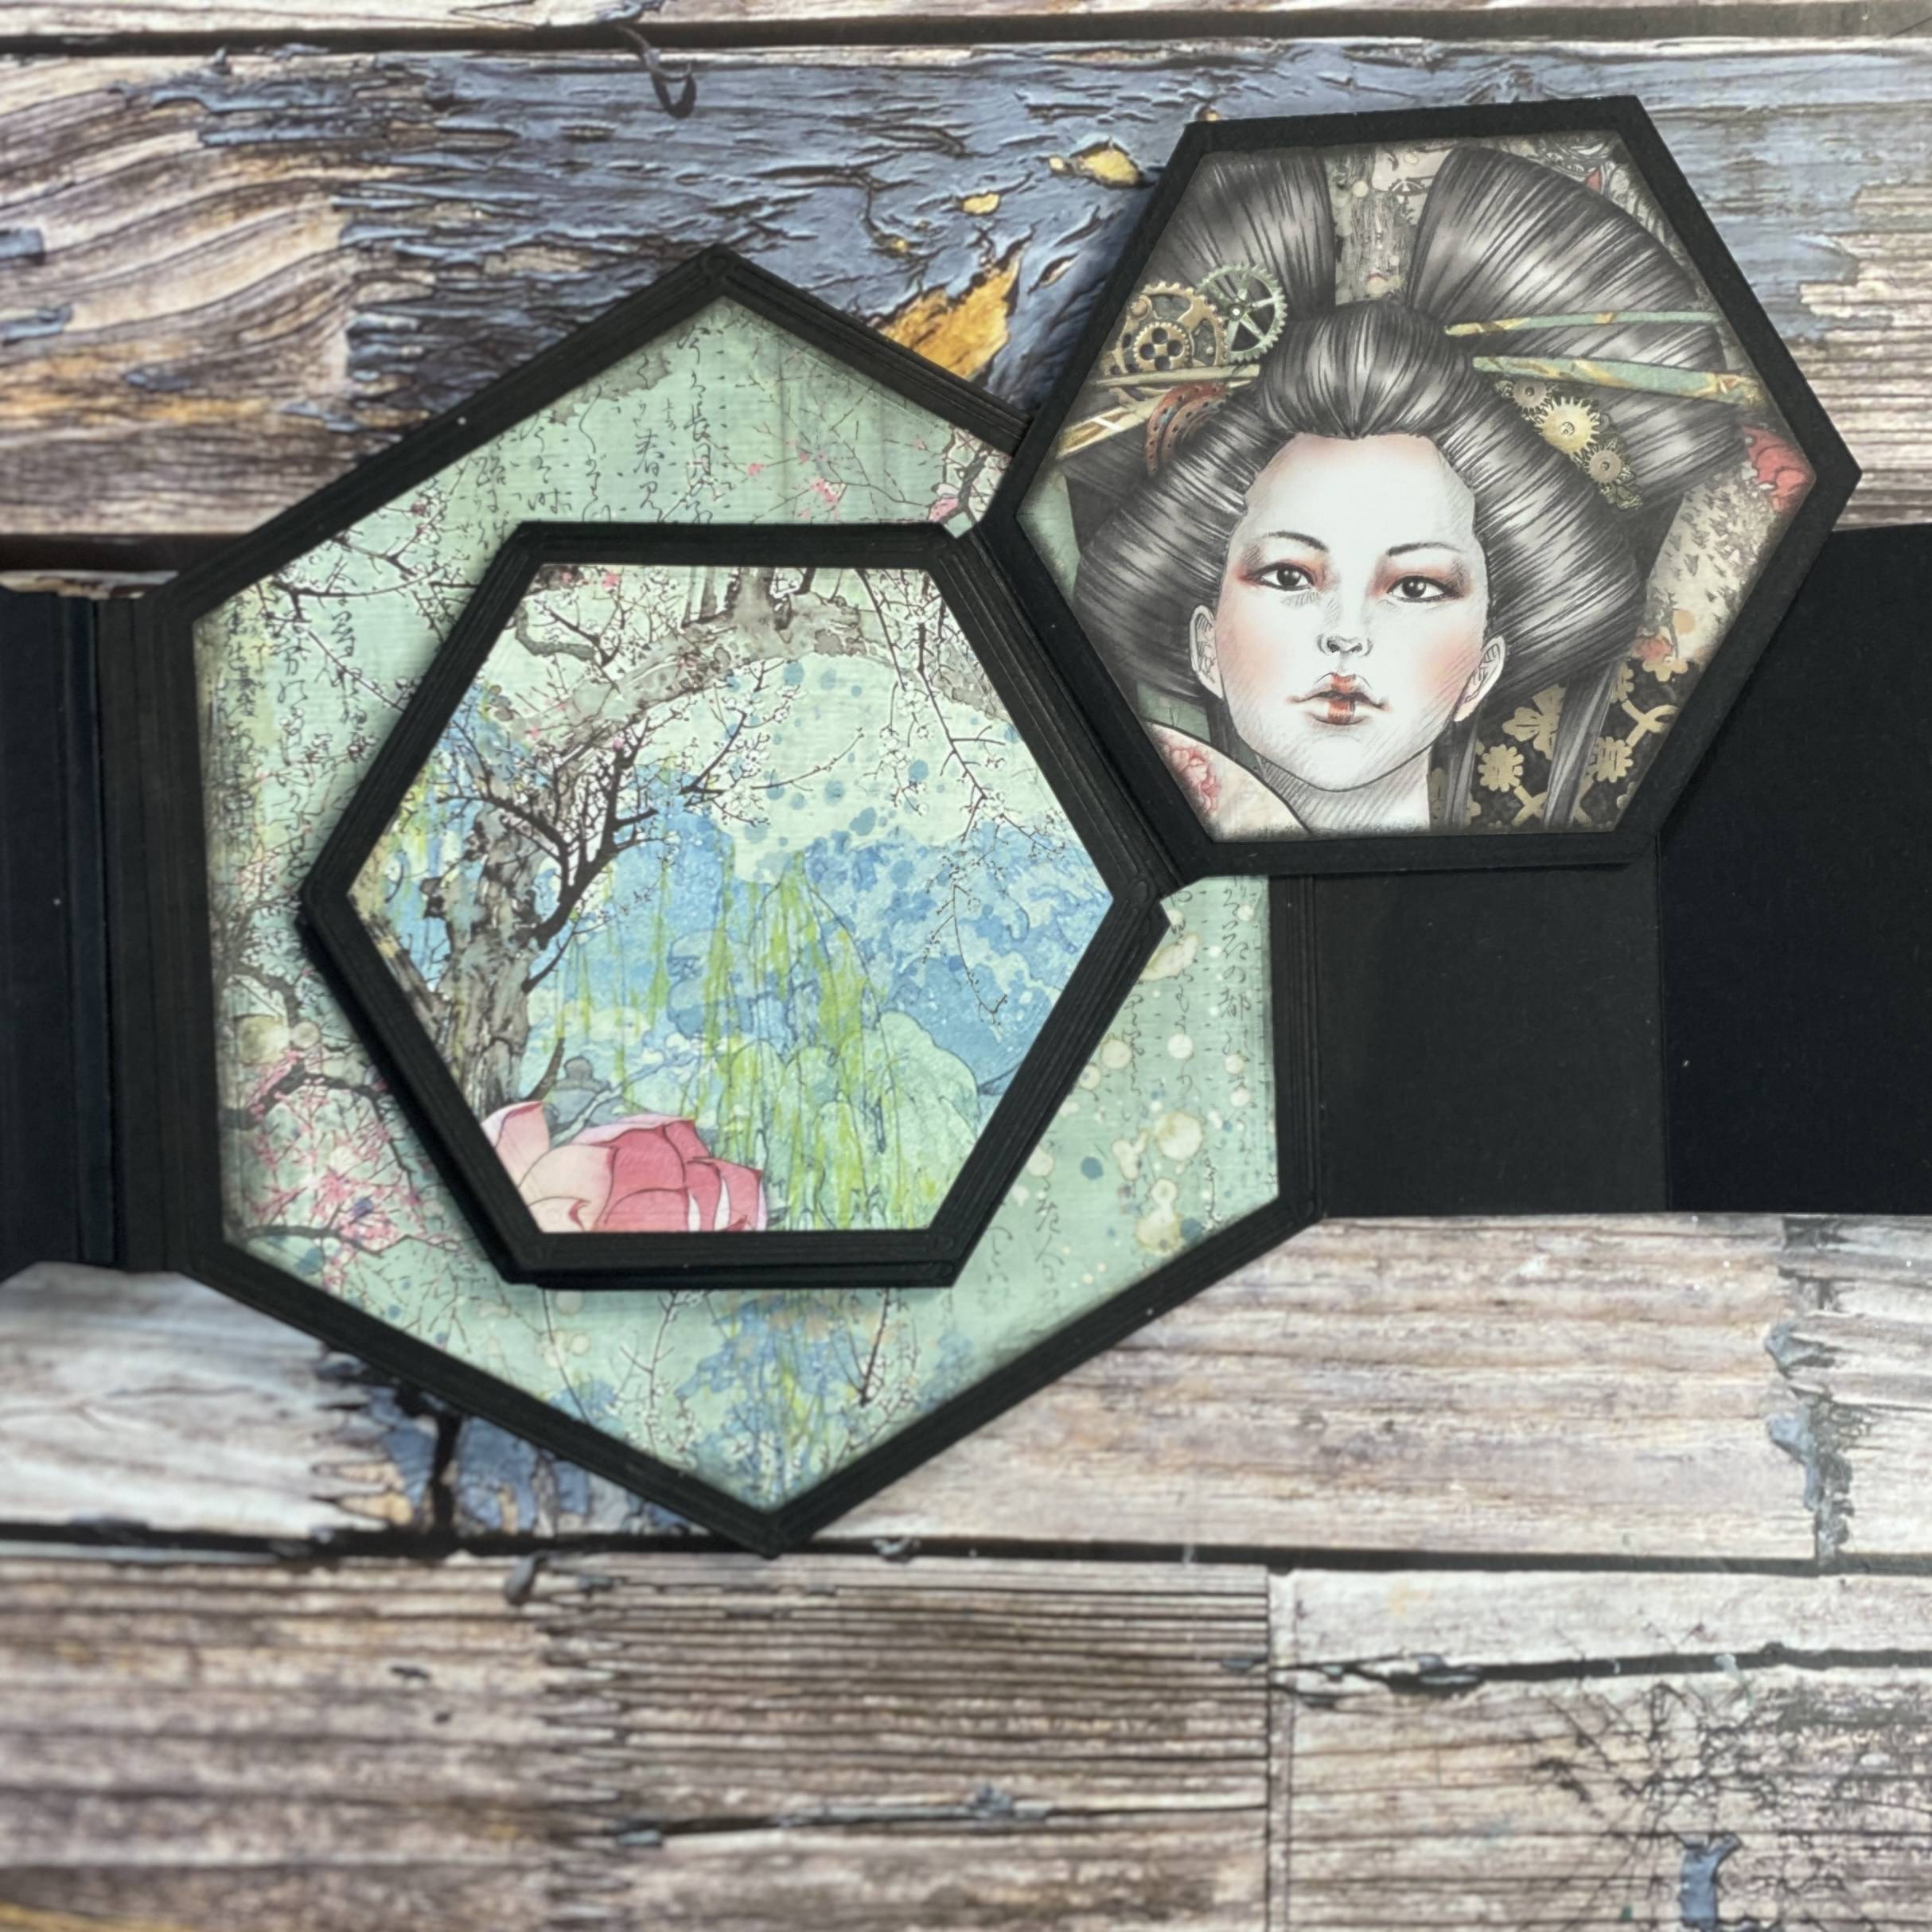
As well as having the cut outs for your main image, you will also need to die cut pieces for all the tops of your hexagons.
Step 18
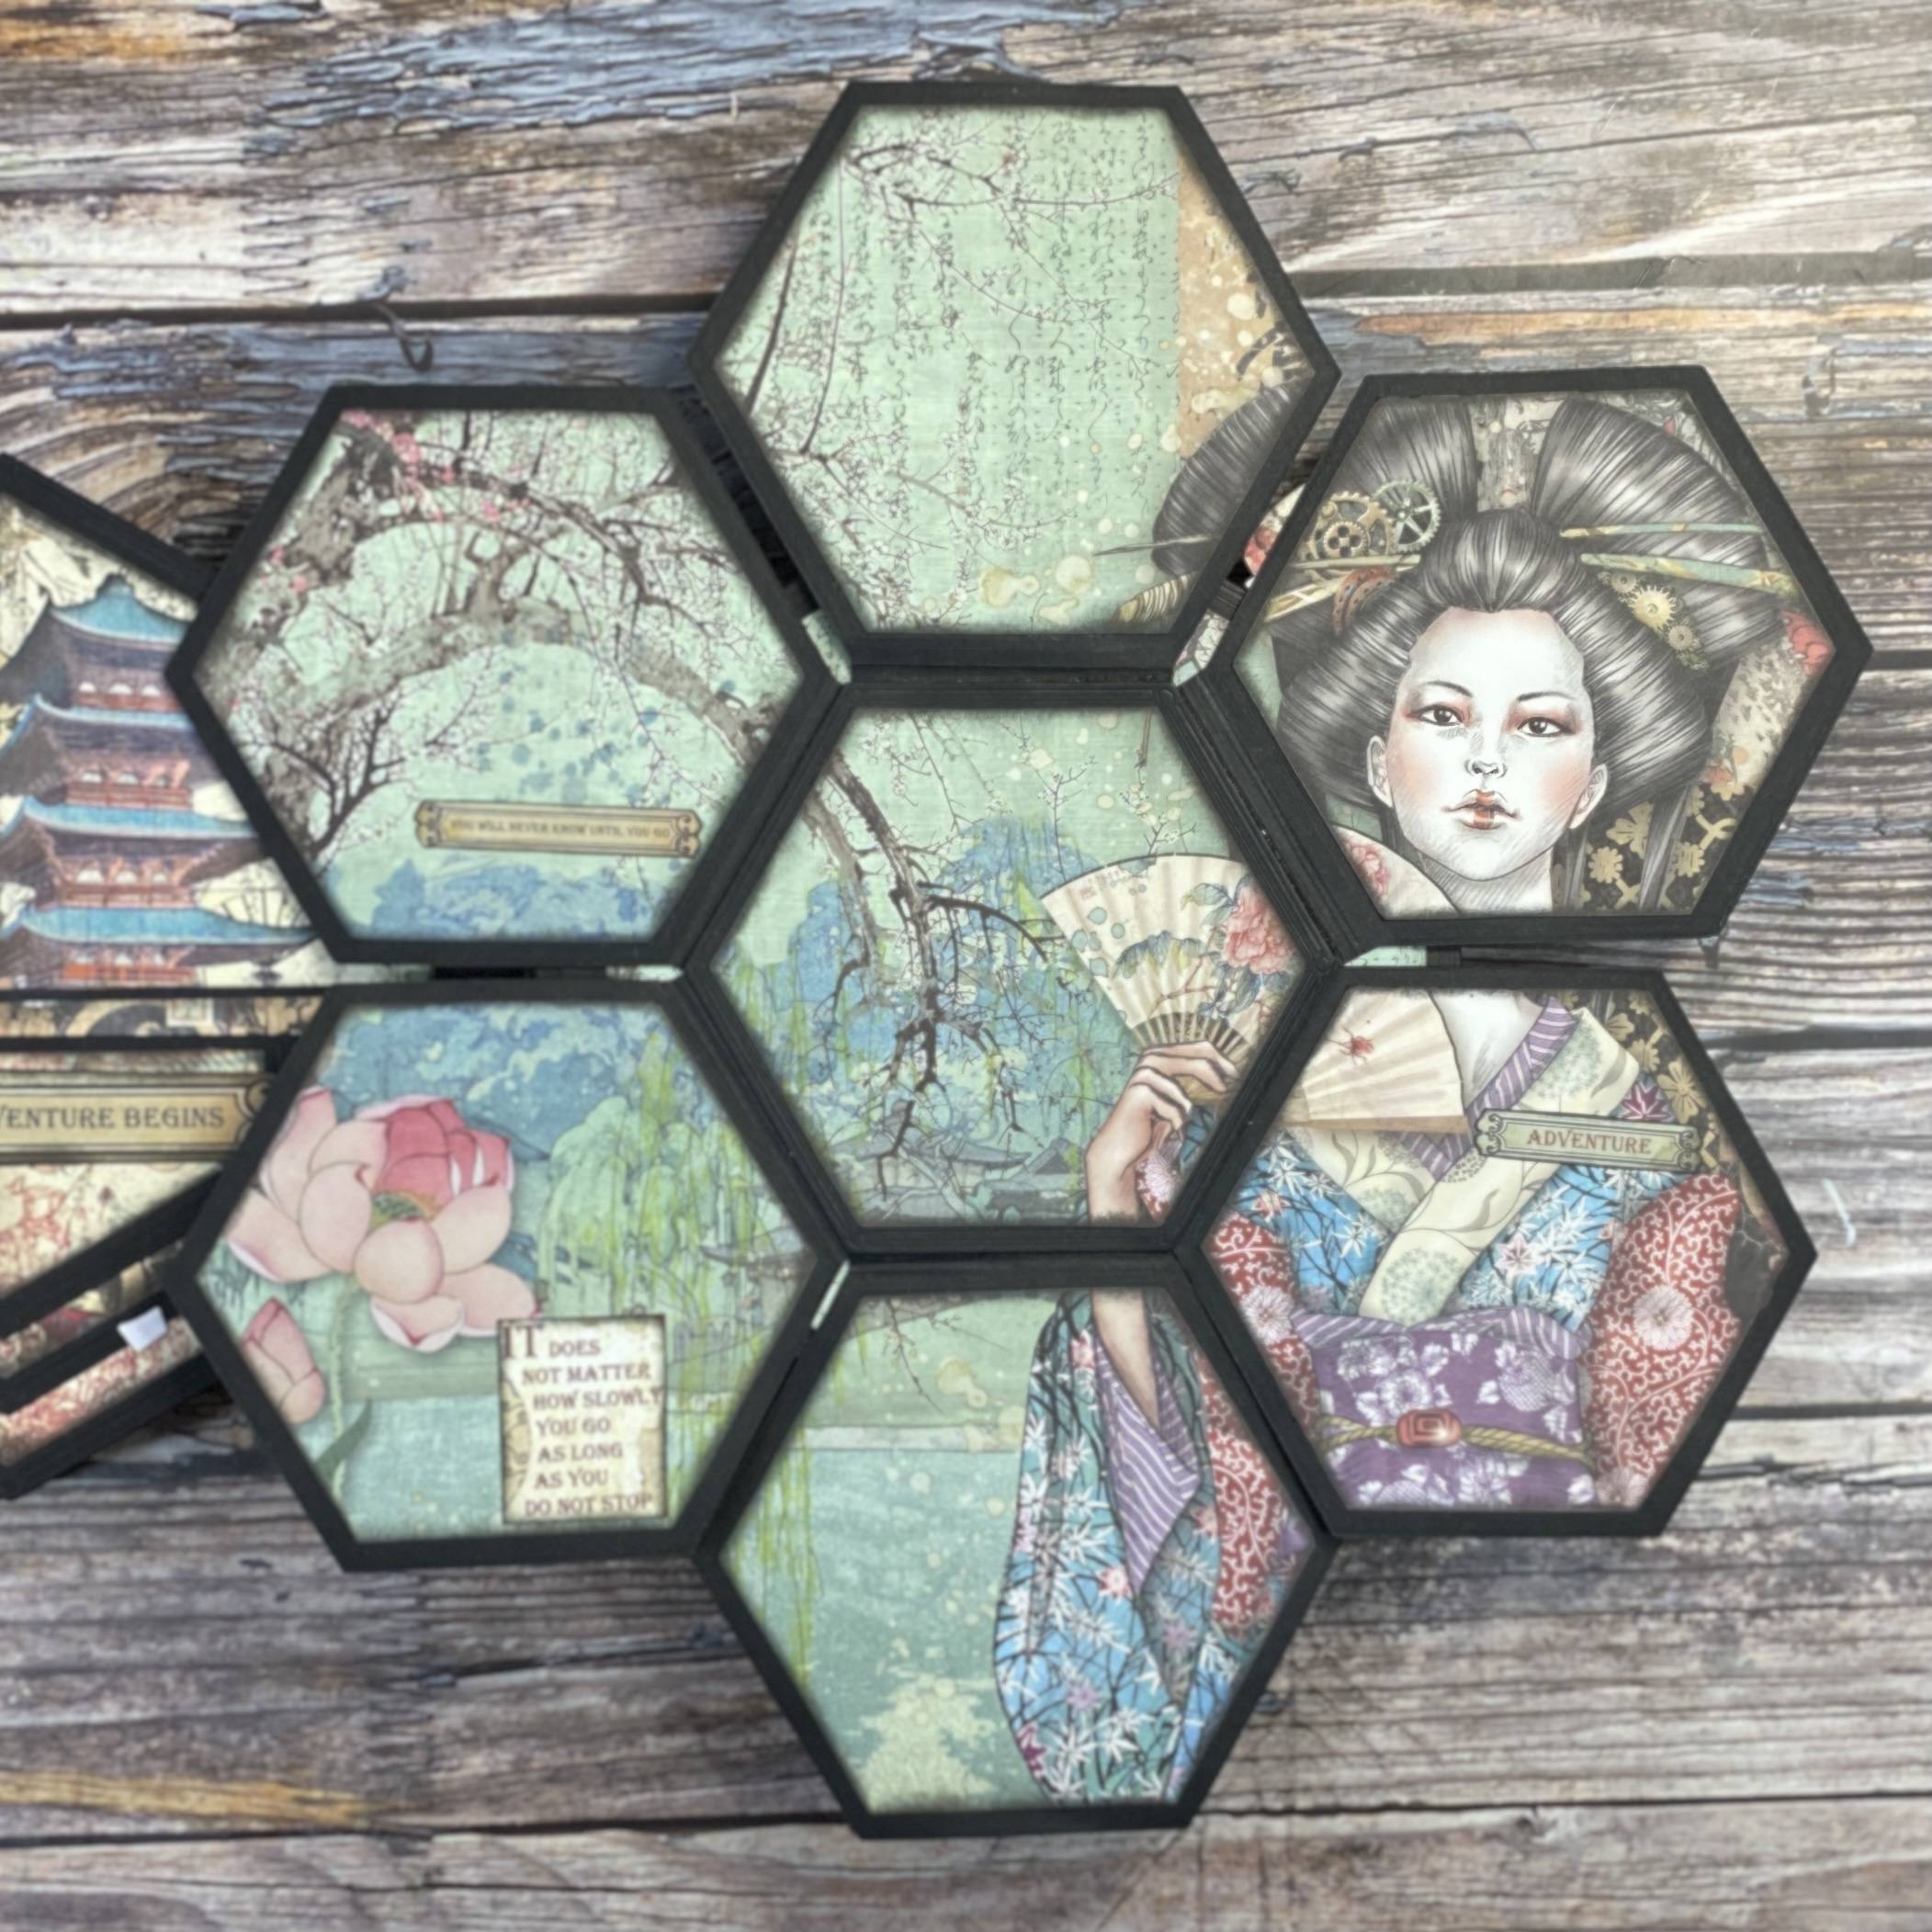
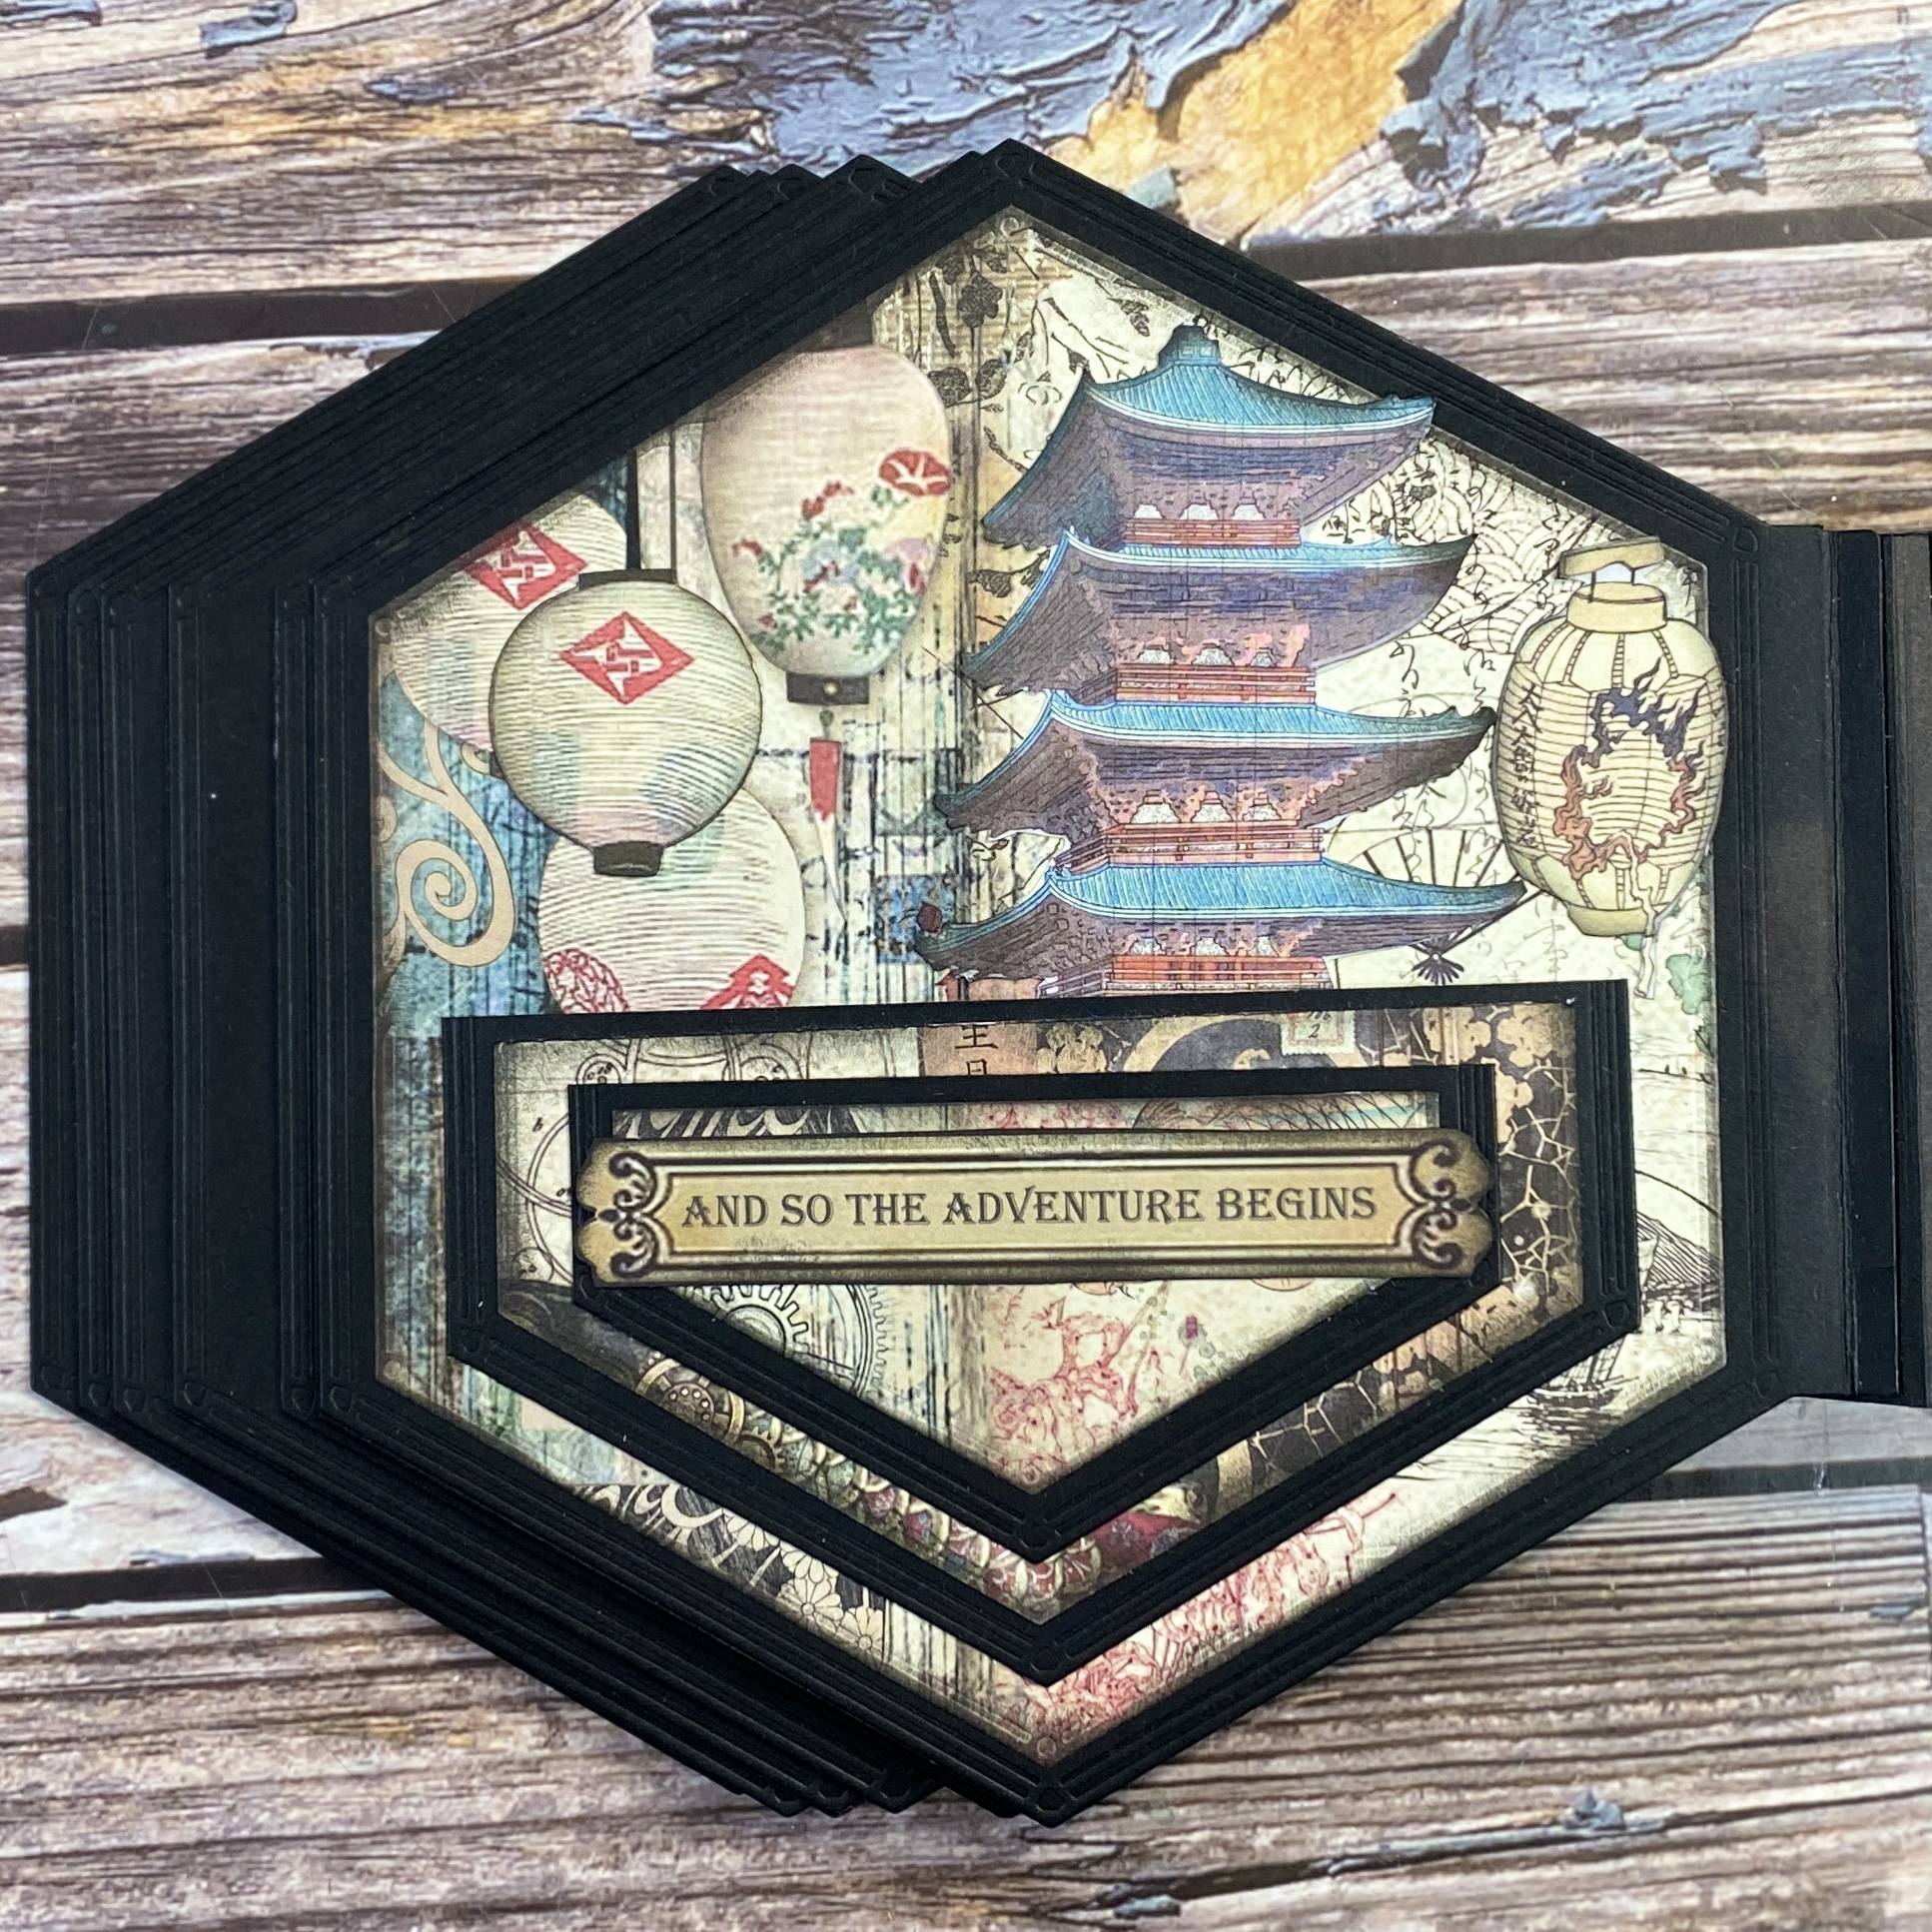
Once all your patterns are in the right order and opened, you can see the beautiful image. Add sentiments or small, non-dimensional pieces to finish off your page.
That was A LOT of information but hopefully easy to follow and separated in bite-size chunks. If you have any questions, please do not hesitate to message me on social media. Also, be on the lookout soon as I’ll be giving this amazing book away! Details will be shared soon! I’ll also be sharing a walkthrough on YouTube so you can see all the pages and amazing elements in the flesh. For a full list of products used, I’ll have a complete overview on my own blog. I think we’ve covered everything, and it’s been a joy to create something for pleasure.
See you soon, love from Jen Kray (kittenmoose)
Buy The Craft Project
